Pruning Your Grapes After a Major Freeze

Previous posts, Pruning the Grapes (Part 1) and Pruning the Grapes (Part 2), have discussed techniques for pruning your grapes. In most cases, these two posts contain everything needed to prune your grapes using the four-cane Kniffin system. However, pruning grapes sometimes involves more than simply dressing them up. In general, your canes can remain fully productive for many years, but sometimes mother nature steps in and causes severe damage. In my case, all of my young caned died completely and there was nothing to do about it. In addition, two-thirds of the mature canes suffered above ground loss, which is what I want to talk about in this post.

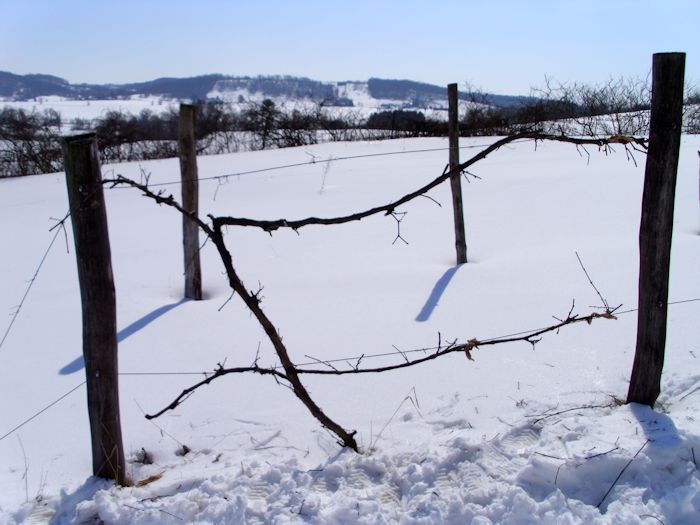
Good hearty canes will come back after a major freeze that kills the top of the plant. No, you won’t get anything in the way of grapes after the top is killed off, but the root stock is well-established and coming back after the freeze is a lot faster and easier than planting new canes. The spring after the freeze will see the old canes looking like gray skeletons and you might think everything is lost, but give your plants time. Look carefully at the ground around the old canes.

The first year after a major freeze will see all sorts of suckers coming out of the ground. Just leave them be. Let them climb up using the old canes as support. What you’ll end up with with look like a horrid mess. The new canes will grow everywhere. That’s fine, just don’t look too often if the mess offends you.

In the spring of the second year, carefully work with the mess. Remove the skinny trunks. One or two the trunks (with their associated canes) will look quite hearty. Leave both for the time being. Also remove the old, dead, trunk and associated canes with extreme care. You don’t want to damage your new canes, which may very well end up resting on the ground for a while. It takes time, but work slowly and carefully. (I find that working through the mess usually requires an hour or perhaps two per plant, so allocated plenty of time and don’t rush.) Eventually, you’ll clean up everything but the two strongest canes.

Now that you’re down to two contestants, carefully look at the canes attached to each of the trunks. You need to consider which trunk has the heartiest canes placed in the right positions for the trellis system you’re using. In my case, I looked for the best trunk with four canes—two upper and two lower. Cut off the trunk you don’t want to use.

It’s important to remember that your plant is frozen and won’t be very flexible during this time of year. Carefully tie the canes to the trellis using a stretchy material that won’t harm the canes. I cut up old, clean pantyhose. It’s stretchy, holds up moderately well in the sunlight, and is inexpensive. Plus, it tends to dry out quickly after getting wet, which means you won’t introduce mold to your plants. You’ll likely need to work more with the canes later in the spring, after they defrost, but before they become productive.

In most cases, mother nature won’t kill your plants. The roots will survive even if the top of the plant is completely dead. Unlike most orchard plants, you don’t normally need to worry about grafts when working with grapes, so using those root suckers is a great way to get your grapes back after being killed off. Instead of the seven years required for new plants, you could potentially get grapes from the restored plants in as little as three years, so the time spent coddling the damaged grapes is well worth the effort. Let me know your thoughts on grape pruning at [email protected].


Time to Check for Tent Caterpillars

A lot of the documentation I read about tent caterpillars online says that they’re relatively harmless, which is true when they appear on certain kinds of trees. However, when it comes to fruit trees, tent caterpillars can become a horrible problem. In fact, tent caterpillars nearly killed our plum trees (which are still recovering three years later).

The problem is one of tree growth. A lot of trees get a secondary growth of leaves. When the tent caterpillars do their job during the mid-spring to late-spring months, they damage the first growth of leaves. The trees can recover with the secondary growth. However, many fruit trees get just one set of leaves for the entire summer, so when the tent caterpillars damage them, the tree is stripped for the summer and can’t store enough energy for the winter months.

Tent caterpillars also tend to strip fruit trees, partly because they’re smaller than some of the other trees that are affected by them. In fact, that’s what happened to our plum trees. The foliage was stripped before we knew what was happening and the trees simply didn’t recover. After viewing other trees the tent caterpillars have attacked, it becomes obvious that they really are just a pest at times.

Part of the solution is to inspect the trees carefully during pruning. Unfortunately, even a close inspection won’t reveal all the tent caterpillar clusters and some hatch. During the spring months I take regular tours of the orchard to look for the tent caterpillar nests, especially during the early morning when the night moisture reveals the nests with greater ease. (The inspections are also good exercise and are quite pleasant, so it’s not really work in the traditional sense of the word.) I hand pick the caterpillars and ensure I crush them. Removing them from the trees simply invites them to come back later.

The trees that seem most affected by tent caterpillars are plums and apples. Cherries are also affected, but the tent caterpillars haven’t acquired a taste for the Mesabi cherries for whatever reason (the yellow-bellied sapsuckers tend to avoid them as well). Untouched are the pears, which don’t seem to attract nearly as many pests at other trees on our property do.

A proactive approach to dealing with tent caterpillars is essential if you want to maintain tree vitality. Make sure you take that walk each day to mellow out, improve your health, and keep your trees healthy. Let me know your thoughts about tent caterpillars at [email protected].


Waiting for Spring Weather

As I write this post, it’s a balmy 17 degrees outside my window (a mere 3 degrees with the wind chill). It’s definitely not tree pruning weather. At least, it isn’t comfortable tree pruning weather. Of course, that’s the problem of spring-trying to find time to get the tree trimming Roanoke done in weather that doesn’t promise frostbite (at least, not immediately). There is always a race that occurs. On the one hand, you have trees that are on the verge of waking up and you need to prune them before that happens. On the other hand, you have old man winter sticking around just long enough to make life difficult.

Trying to figure out the best time is made even more difficult by the weather conditions. It pays to have some sunlight when you prune so that you can see bug infestations on the trees and pick them off. For example, this is the time of year you want to find the egg clusters of the Eastern Tent Caterpillar. However, you don’t want full sun either. For the most part, you’re looking up into the trees to see where to prune next. If the sun is constantly in your eyes, you may not prune the tree correctly (not removing enough or removing too much). So, finding a partly cloudy day when the temperatures aren’t too extreme during the most perverse weather of the year can prove difficult, if not impossible. All this also assumes you can drop everything else to do the pruning. I know that some tree removal companies can also do pruning, and those who are unable to maintain their own trees for whatever reason may well choose to make use of such a service, but I quite like doing it by myself so, for now, that is what I shall continue to do.

Generally, I find that the perfect weather is nearly unattainable and settle for something that works. A little too warm is better than not warm enough, but I also have my handy wood stove to warm up in front of should things get too cold. A little hot chocolate or broth goes a long way toward making less that perfect weather endurable. Truth be known, pruning is normally a cold affair that’s enjoyable simply because the snow has abated and there is the promise of warmer weather to come.

Of course, what warms us most this time of year is the hope of spring. Even with the weather the way it is today, you see all the indicators that spring has arrived. My personal favorite is the birds; at least, until our Easter garden starts to bloom. What is your personal favorite indicator of spring? Let me know at [email protected].

Pruning the Grapes (Part 2)

It has been a while since I wrote Pruning the Grapes (Part 1). Of course, the grapes were actually pruned long ago. In fact, the biggest impediment to my pruning the grapes was the knee deep snow in many areas of the orchard. We still have some snow, but it has greatly diminished since then. In that first post I described some of the conclusions I had reached from pruning our own grapes and watching others work with their canes. I also mentioned that we use a four-cane Kniffin system for pruning purposes. I decided to grab a few pictures of the pruning process, in part, because the pictures in books sometimes make it hard to see precisely what you should do. This is just one method of how to prune grapes, but there are several other ways of doing so. If you’re wanting to learn to prune grapes, then carry on reading for my version –

There are actually two kinds of buds on a grape cane. The first is sharp and pointy like the one shown here.

PruningGrapes0202

This bud type produces the leaves later in the season. The second is rounder, almost globular like the one shown here.

PruningGrapes0203

This bud type produces the flowers that will eventually produce the grapes. The concept that completely eluded me at the outset was that a grape won’t produce any more buds for the current year after the previous year’s growing season. In other words, the buds you grow this summer are for next year’s fruit. When you prune, you must prune with the idea that the buds you have now are the only buds you’re going to get, so you need to prune carefully. A lot of the books also fail to point out that you want to keep the buds nearest the main branch so that the grapes receive sufficient water and nutrients. Finally, each spur should have only two or three fruiting buds-the globular ones. The spur can have any number of leaf buds-more is better in this case.

Some of these pictures are a bit hard to see because the light was intolerably harsh on the day I worked on the vines. However, there are a few things you should notice in this picture:

PruningGrapes0201

Notice that the spurs coming off the main cane don’t necessarily point down as it always seems to show in the pictures in books. The spurs will eventually point in the right direction because the grapes will pull them down. Don’t worry about spur direction-look instead for the spurs that have the nicest fruiting buds.

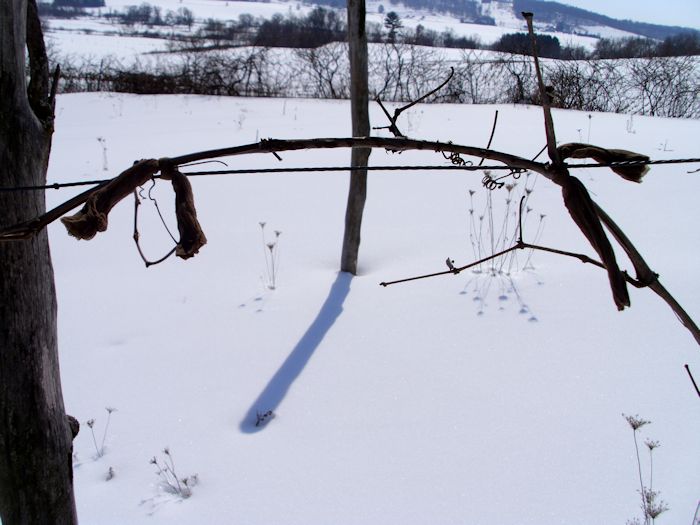
Also notice that the canes are tied to the steel cable. You need to put the canes in contact with the cable to promote attachment to it. Those curlicues coming from the cane are actually quite strong and will hold it in place, but only if they actually curl around the steel cable. You can’t use anything harsh to tie the canes in place. We actually use old pairs of pantyhose that have been cut up into usable pieces. The pantyhose are quite inexpensive and last several years (as many as five) before they start to disintegrate too badly. The most important part though is that they hold well without causing damage to the cane. Using a steel cable manufacturer you can trust is important to make sure your machinery is working properly and efficiently for you.

When you get done, your cane won’t look quite as pretty as the ones in the book. In fact, grape vines tend to look a bit gnarled. Here is how the pruned vine looked this year when I got done with it.

PruningGrapes0204

You can see the trunk, the four fruiting canes, and the spurs coming from the canes. The canes are looped or tied to the steel wire as needed. I’ll actually retie the lower left cane when the season progresses. At the time I pruned the cane, I was a bit worried about breaking it, so I left it as is. The upper right cane will also require a bit more support. Again, I chose to wait until it warms up a bit and the cane is more flexible. This grape vine will likely produce sixteen nice sized clusters of medium-sized grapes that I’ll eventually use to make wine or Rebecca will use for jelly or juice.

This is my approach to pruning grapes. Of course, there are many schools of thought on the issue. However, what I do hope is that the combination of pictures and some insights will help you get better grapes out of your vines. Let me know your thoughts on grape pruning at [email protected].
Pruning the Grapes (Part 1)

Previously I had written about trimming our trees. We normally perform tree trimming in March or possibly April in a really cold year. The snow is gone and the temperatures, even though they’re still quite cool, are warm enough to work in without suffering frost bite. Pruning grapes seems to be a different story. Past experience has shown us that pruning grapes in March almost assures that we won’t obtain much in the way of a harvest because the cuts don’t have time to heal properly before the grapes start pumping water into the stems. What you end up seeing is water dripping from all of the cuts if you prune grapes that late.

We’ve also tried pruning our grapes in the fall. Unfortunately, the winter air damages the cut ends, leaving more dead material than we would like. It also seems as if the wildlife takes the fresh cuts as an invitation for further pruning. We actually had several vines trimmed to unusable nubs by the local deer. Obviously, fall pruning doesn’t work for us either.

As with many other self-sufficiency issues, this one is a learning experience. We know that if we keep at it long enough, eventually we’ll have a good system down for our grapes. You can read all you want and ask everyone who has any idea at all about how to do things, but your plot of ground is different from any other plot of ground out there. When you’re self-sufficient, you have to be prepared to experiment. So, undaunted by previous failures, this year we’re pruning our grapes in mid-January. The timing will allow the grape ends to heal before spring takes hold, but should present less opportunity to the local wildlife for extra trimming and the weather won’t have as much of an effect either.

The approach you use for pruning your grapes depends on your weather and the method you use to train them. We use a four-cane Kniffin system. The approach yields a relatively large number of grapes, is easy to maintain, and doesn’t tend to have problems with mildew due to lack of airflow (as is the case with arbors). Picking can be more time consuming than when working with arbors and you need a source of rot resistant posts. Fortunately, we do have a native source of rot resistant posts in the form of the black locust trees that grow in our woods. Farmers actually planted them to use as fence posts.

Most of the books we have say that it takes seven years for grapes to grow to sufficient size to start producing well. Our own experience says that it’s more like ten years, especially if you have wildlife constantly nibbling at the canes. We finally ended up staking out one of our dogs to keep the wildlife at bay one year so the vines could grow unmolested.

We’ve chosen to plant a number of grape varieties: Niagra (white), Catawba (red), Concord (purple), Delaware (pinky purple), and King of the North (blue). Each cultivar has specific properties to recommend it. For example, the Delaware produces an outstanding wine grape, while the Concord is better for jelly production. The King of the North is a good juice or table grape. We prefer the Niagra for table and juice uses, but it should also make for a nice wine. The Catawba has yet to produce sufficient quantities of grapes for us to test it for various uses, but we’re assuming that we’ll use it for wine. When choosing grapes for your own vineyard, make sure you pick from a variety of cultivars. A single mature trunk can produce a significant number of grapes (upwards of 40 pounds), so you need a plan for using them.

It’s also a mistake to prune every year. I had noticed some of our local vineyards don’t trim their canes absolutely every year. When I started pruning every other year, our harvest went up significantly without reducing the vitality of the vines. It may be that some locations require yearly pruning, but this doesn’t seem to be the case here.

What are your experiences with grapes? Do you favor particular cultivars over others? Let me know your thoughts at [email protected].