Harvest Festival 2016

This has been an interesting year in the garden. In looking at the Harvest Festival 2015 post, I see a year that offered me what I would call the standard garden items. Not so this year. The problems began with a late frost that wiped out my grapes and pears. In fact, it nearly wiped out my apples as well, but I learned a curious lesson with the fruit this year because of the apples. All the outer apple trees had no fruit, but those in the center of the orchard did have some fruit. In other words, the trees on the outside protected those on the inside. I didn’t get a lot of fruit this year, but it isn’t a big deal because my larder is setup to provide multiple years’ worth of any particular item. The lesson I learned was not to prune too heavily when the weather is uncertain (as it was this year). In fact, the reason the apples survived as they did was because I didn’t have time to prune them much at all.

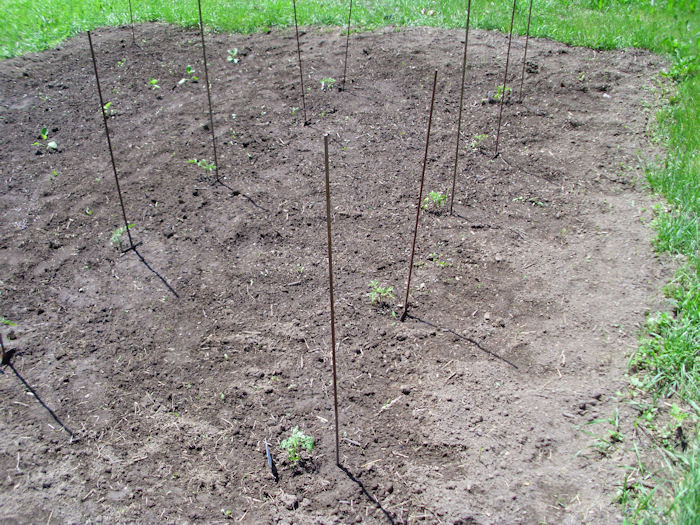
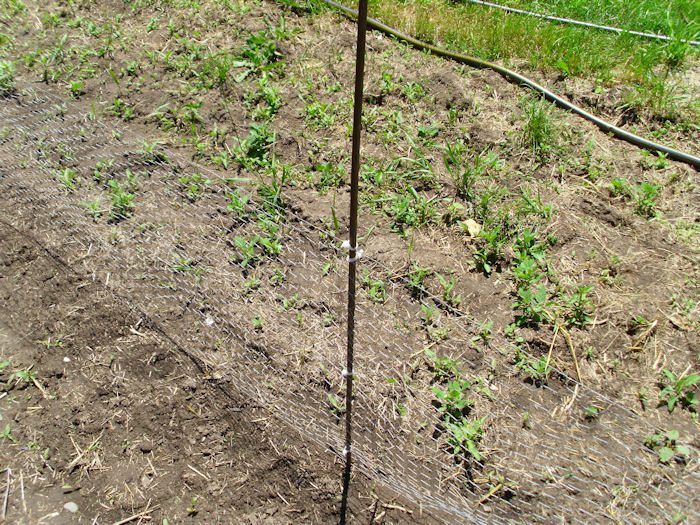
The garden also behaved quite oddly this year due to the weather. The Wisconsin winter was semi-mild this year without nearly as much snow as normal, so different bugs survived than normal. In addition, the weather was either hot or cold, without a lot of in between this summer. It has also been the fourth wettest summer on record. All these changes produced prodigious amounts of some insects that I don’t normally see and the vegetables didn’t produce as expected.

As an example of odd behavior, I normally have a hard time growing cauliflower. This year I grew huge cauliflower and one plant is attempting to grow a second head, which is something that never happens here. On the other hand, broccoli, a plant that always does well, didn’t even produce a head this year. All I got were some spikes that didn’t taste good (they were quite bitter). The rabbits didn’t even like them all that well. The cauliflower is usually plagued by all sorts of insects, but this year there was nary a bug to be seen. The point is that you need to grow a variety of vegetables because you can’t assume that old standbys will always produce as expected.

Two other examples of odd behavior are okra (which normally grows acceptably, but not great) and peppers (which often produce too well for their own good). This year I’m literally drowning in beautiful okra that gets pretty large without ever getting tough, but the peppers are literally rotting on the plant before they get large enough to pick. I’m not talking about a few peppers in just one location in the garden either—every pepper plant completely failed this year.

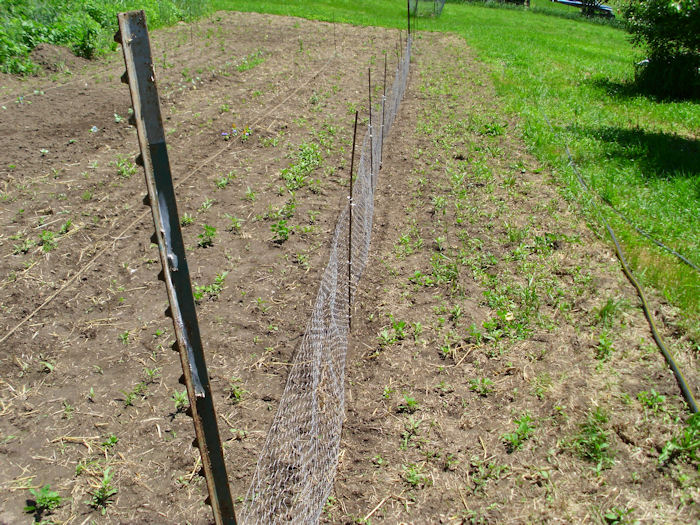
Location can be important and planting in multiple locations can help you get a crop even if other people are having problems (and I didn’t talk to a single gardener this year who didn’t have problems of one sort or another). One example in my case were potatoes. I planted six different varieties in six completely different locations in the garden. Five of those locations ended up not producing much of value. A combination of insects destroyed the plants and tubers. All I got for my efforts were rotting corpses where the potatoes should have been. The last area, with Pontiac Red potatoes, out produced any potato I’ve ever grown. The smallest potato I took out of this patch was a half pound and the largest was 1 ¼ pounds. I didn’t even find any of the usual smallish potatoes that I love to add to soup. The potatoes were incredibly crisp and flavorful. The odd thing is that this patch was in an area of the garden that doesn’t usually grow potatoes very well.

A few of my garden plantings didn’t seem to mind the weather or the bugs in the least. My peas did well, as did my carrots. I grew the carnival carrots again because the colors are so delightful and even canned, they come out multiple colors of orange, which dresses up the shelves. I also grew of mix of yellow wax and green beans this year. The two beans work well together canned. They have a nicer appearance than just yellow or just green beans in a can. However, because the two beans have slightly different tastes, you also get more flavorful meals out of the combination.

I still stand by the statement I made long ago when starting this blog, every year is both a good and a bad year. Because I planted a wide range of vegetables and ensured I didn’t plant all the vegetables in a single location in the garden, I ended up with more than enough vegetables to can or freeze. No, I didn’t get all of the vegetables that I had hoped to get, but I definitely won’t starve either. My larder is quite full at this point. Let me know your thoughts on ensuring a garden has a significant variety of items in it to ensure success at [email protected].


Garden Structures

Rebecca and I have managed to get the garden planted for the year. The contents of the garden vary each year to accommodate our personal tastes and also to ensure the larder remains full of good things to eat. One of the big things we wanted to do this year was install a new fence potentially made from aluminum. We are yet to do this but we have learned all about this and more from Illinois Fence Company. So, this year, the small garden (20′ × 20′) contains tomatoes, okra, and eggplants. Our tomato crop is a bit smaller this year at only twelve plants in the main garden (we also have two plants in the salad garden).

Like many people, we use cages to hold our tomatoes. However, the somewhat strong winds in our area have a habit of knocking the tomato cages over and damaging the vines long before they’re through for the season. To prevent this from happening, I came up with a technique for enhancing the survivability of the cage setup using electric fence posts. Electric fence posts come in a number of formswe prefer the 48″ metal variety that comes with a triangle of metal at the bottom. You push them into the ground with your foot and they hold relatively well for smaller loads. Each tomato cage requires one fence post as shown here:

TomatoStakes01

Place the posts so that they’ll oppose movement by the wind, so that little triangle at the bottom has the best chance of holding when the wind is high. The next step is to get the tomato cages in place. Put the upper ring (or third ring on a four-ring tomato cage) on the outside of the post and the second ring on the inside of the post so that the post is threaded through the tomato cage. Use cable ties to secure both rings to the post as shown here:

TomatoStakes02

You can clip off the excess cable tie using a side cutter pliers. The combination of tomato cage and electric fence post normally keeps everything in place, even in high winds. The completed setup looks like this:

TomatoStakes03

The main garden (60′ × 80′) contains a wealth of vegetables and fruit this year. Of course, you saw some of the permanent bed items in the Early Spring – The Garden and Orchard post. In addition to those items, the main garden now contains potatoes, summer squash, winter squash, snap peas, standard peas, lima beans, green beans, broccoli, cauliflower, brussels sprouts, carrots, sweet peppers, sweetcorn, asparagus, and comphrey. Later in the season we’ll probably plant beets and perhaps a few other short growth time items.

We get bush varieties of vegetables when we can because they require significantly less setup than the vine varieties. However, peas are one of the vegetables for which there aren’t any suitable bush varieties, so we need to erect a fence for them to grow on. The one mistake I made in getting fencing material is that our fence is only 30″ highthe peas really need something taller (upwards of 5′). However, we just let the vines grow over the top and things work out acceptably.

The fence has to be movable from year-to-year to allow for rotation. In addition, we don’t grow peas every year, so sometimes the little fence is used for something else (such as cucumbers) and sometimes not at all. In order to grow the quantities we need, the fence is 50′ long.

The weight of the produce demands that we use something a little more sturdy that electric fence posts to hold the fence up at the ends, so this project requires T-posts, which are considerably heavier than electric fence posts (and more expensive too). In addition, you need a T-post driver/puller to work with this type of post. If you have good chest strength, you can get by with a much less expensive T-post driver and pull the posts out by wiggling and then pulling them out at the end of the year.

We used chicken wire as fencing material. It’s inexpensive, lasts an incredibly long time if you take it down each year (ours is 12 years old now and no sign of rust at all), and the small openings are perfect for peas and cucumbers to grow on. You begin by driving a T-post into the ground and then attaching one end of the fence to it using cable ties as shown here. There are other materials that also act as a maintenance free solution but we like to use the chicken wire as the veggies can climb it, giving it a dual purpose.

PeaPost01

Make sure you use enough cable ties and that the cable ties are of the heavier variety available in garden stores. Use the fencing to help define the location of the second T-post. Drive the T-post into the ground, pull the fencing as taut as possible (using one or two helpers), and temporarily attach it to the T-post.

At this point, you can add electric fence posts every four or five feet. Begin at one end and work toward the other end. Always pull the fence taut, using a helper to make it possible to attach the fence using cable ties. Use four cable ties minimum and make sure you use a double cable tie at the top (one cable tie slightly lower than the other) to keep the fence from sagging too much as the peas or cucumbers grow as shown here:

PeaPost02

Eventually, you’ll get to the other end of the row. At this point, you can reattach the fencing the T-post, if needed, to remove any slack. Your fencing won’t be completely straight, but it’ll look nice and provide good structure for the peas. Here’s my completed fence:

PeaPost03

Of course, the garden is far from complete. We’re weeding between the rows now and will then add mulch. More on these tasks in another blog post. In the meantime, let me know if you have any questions at [email protected].