Herbal Harvest 2014

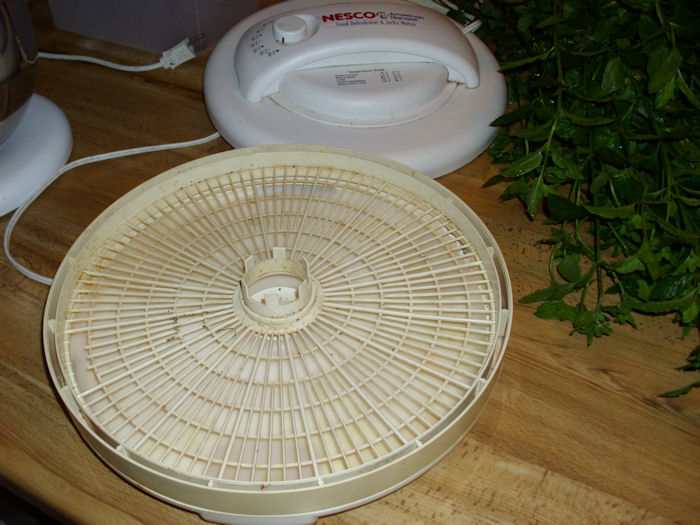
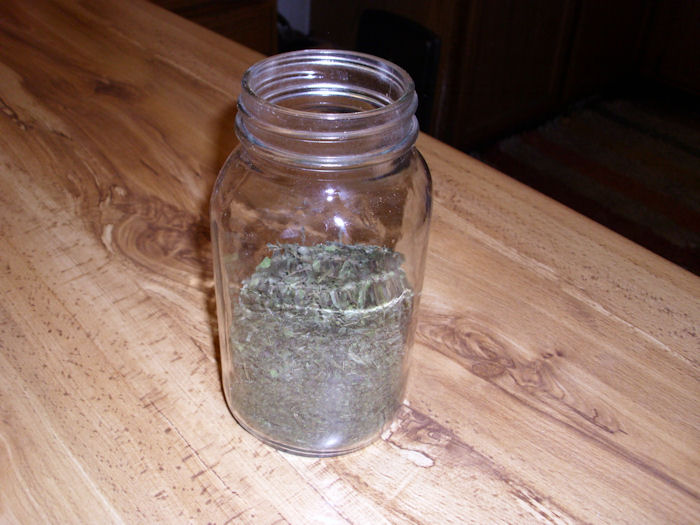
Every year I dry the herbs found in the herb garden for use during the winter months. You can see the technique used in the Drying Herbs post. I’m still using my American Harvest dehydrator to get the job done. However, since the time I wrote that original post, I’ve found a way to improve the potency of the resulting dried herbs. Each layer now has a solid sheet on the bottom. The solid sheet is supposedly designed for fruit leathers and for drying other liquids. The reduction in air flow means that the drying process takes longer, but it also means that fewer of the oils (and other useful elements) found in the herbs are wafted away by the air flow. As a compromise, you can always use the screens instead. The screens keep small particles from falling through, but they also reduce the air flow that robs your herbs of their flavor. The most important issue when drying herbs is to ensure you check their status often and keep the temperature at 95 degrees Fahrenheit (35 degrees C). A higher setting will cause the oils in the herbs to dry out and make your herbs less effective as a result.

I’m also finding that keeping the herbs as whole as possible for storage prolongs their life. You can’t store the herbs very well without crumbling them a little, but keeping the leaves as large as possible appears to help retain the oils. Crumble the leaves or even grind the herb to powder immediately before you use it to maximize the flavor. The less you process the herb, the longer it’ll store.

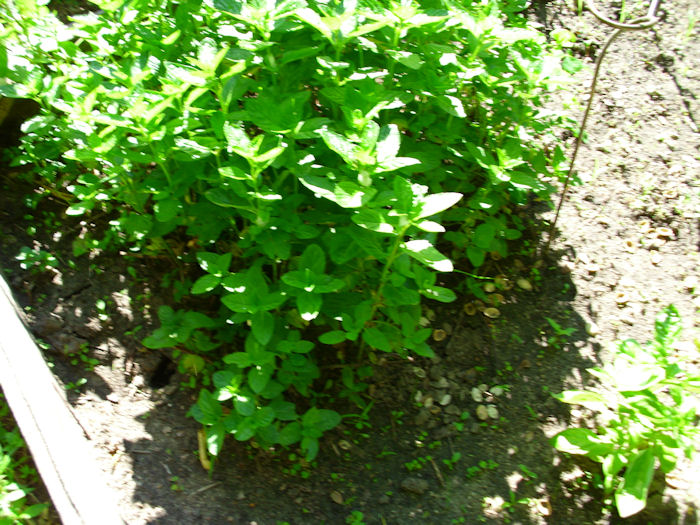
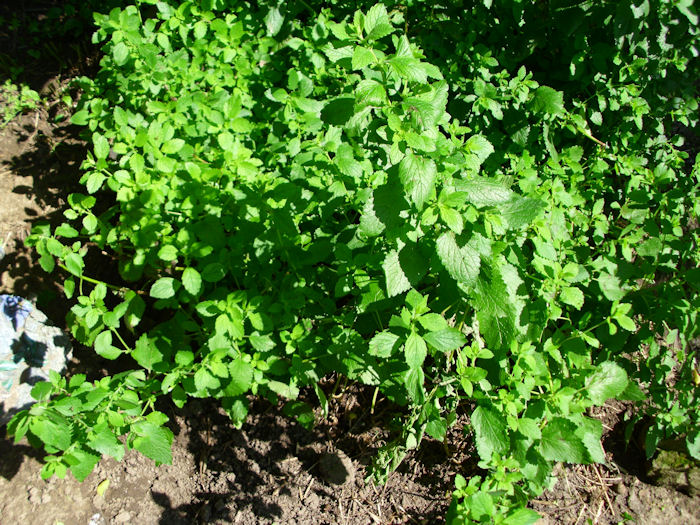
This year’s herb garden didn’t do well in some areas, but it did exceptionally well in others. The lime, orange, and chocolate mints were all quite potent this year. I tried a few cups of tea to see how they’d brew and I ended up using less than normal. My personal favorite is the lime mint. The chocolate mint is suitable for use in tea, cooking, and jellies—lime and orange mints are characteristically used for tea.

Herb potency varies from year-to-year based on environmental factors, so it’s essential to consider potency as part of using the herbs. I’m thinking about trying to come up with some sort of rating system that I can put right on the package before I store the herb so I have some idea of how much to use later. As a contrast to these three mints, the grapefruit mint hardly tasted like mint at all. Given that it has proven hard to grow, I’m thinking about using the space for another kind of herb.

Sage also had a wonderful year this year. The plants grew fairly large and are robust in flavor. I grew both golden pineapple and common sage. The golden pineapple sage has larger leaves and a stronger taste. It also takes a lot longer to dry than the common sage. In most years, it appears that the common sage actually produces more output, but this year the golden pineapple sage was the winner.

The thyme and rosemary were disappointing this year, but still usable. I actually have three kinds of thyme: lime, lemon, and common (also known as English thyme). Of the three kinds, the lime has the strongest taste when used fresh, but the common works best for cooking. I find that the lemon has a subtle flavor, but can be hard to grow. Unfortunately, I didn’t get any lemon thyme this year, but I did get enough of the other two to make up for it. The only kind of rosemary I can grow is common rosemary. I’m thinking about trying again with some other varieties next year, but the rosemary definitely doesn’t overwinter here in Wisconsin (as contrasted to thyme, which overwinters just fine).

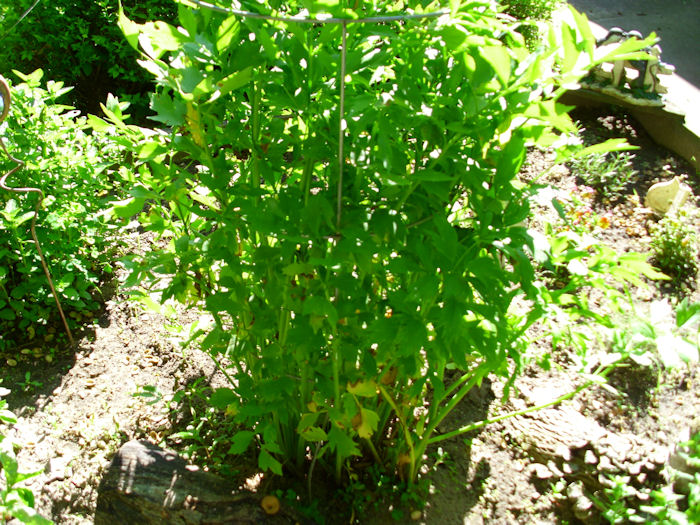
I’ve talked about lovage before (see the Loving that Lovage! post for details). This year I ended up with a whole pint of seeds that I’ll use for canning and for dishes like cole slaw. It was also a decent year for leaves that will end up in soups and other kinds of cooking where a strong celery flavor is desirable.

Weather, soil, and overall care of your herb garden all determine what kind of crop you get each year. Working with herbs can be quite fussy, but also quite rewarding. The quality of herb you get from your own garden will always exceed anything you buy in the store, so the effort is worth it when you want the best results from cooking. Let me know about your herb experiences at [email protected].


The Glorious Benefits of Growing Your Own Herbs

You go to the store and pick up a jar of sage or a box of mint tea. In both cases, you’re buying an herb. The only problem is that you have no idea of how fresh that herb is or whether it’s actually pure. For that matter, you have no idea of how that herb was handled or whether it has pesticides applied. In fact, except for what the label tells you, you can’t even be completely sure that you’re getting the right kind of herb. A lot of people will tell you that the main reason to grow your own herbs is to avoid all the problems. They’re correct, of course. Nothing beats fresh herbs for taste, potency, and purity. However, this is only a small part of the story and if you grown your own herbs for just these reasons, you’re missing out on a much bigger picture.

Packaging is part of the problem when you buy an herb at the store. Sage makes a wonderful addition to tea, but the form it takes at the store makes it impossible to use in that manner. Mint makes a wonderful spice for pork, but you won’t be able to easily use it that way unless you’re willing to break a teabag apart to do it. When you grow your own herbs, you know that you’re getting just the best parts and you can prepare them precisely as you need them for whatever purpose you have in mind. The post entitled Drying Herbs tells you everything you need to know to prepare the herbs for use in whatever way you want.

Another problem with herbs you get from the store is cost. Some herbs are horribly expensive, which makes people avoid something that could make them healthier. The herbs provide some health benefits, but the main health benefit is that you can use herbs in place of salt and sugar to make food taste significantly better with fewer side effects. When you grow your own herbs you obtain a product that has higher potency because it’s always going to be fresher and it costs you almost nothing to grow.

The best reason to grown your own herbs are the varieties you can’t get in the store. This year I’m growing common thyme (the product you get in the store), along with both lemon thyme and lime thyme. Neither alternative variety is available in stores, yet each has a unique characteristic taste. The difference is subtle, but noticeable. I personally prefer using lime thyme when baking chicken because it brings out the flavor of chicken better. Of course, unless you grow your own lime thyme, you’ll just have to take my word for it.

An herb with a huge number of varieties is mint. My herb garden currently has the common mints: peppermint and spearmint. In addition, it has chocolate, lime, orange, and even grapefruit mint. There are many other varieties, many of which I probably don’t even know about. Every kind of mint has a unique taste, yet when you go to the store you have to settle for one or two of them. Only when you grow your own mint can you experience the broad range of possibilities that this plan has to offer.

The best part about herbs is that they take little space to grow and many of them are quite forgiving of growing conditions. All you really need is a window and a pot. If your window doesn’t have a shelf, you can always grow the herb in a hanging basket. There are a lot of ways to grow herbs with in your own home, on a patio, or just about any other place you can think of. I actually knew one person who had a pot of herbs in her car. I’m not entirely sure how well that worked, but she always had the pot there and the plant always looked healthy. Let me know your thoughts about growing your own herbs at [email protected].
 

Loving that Lovage!

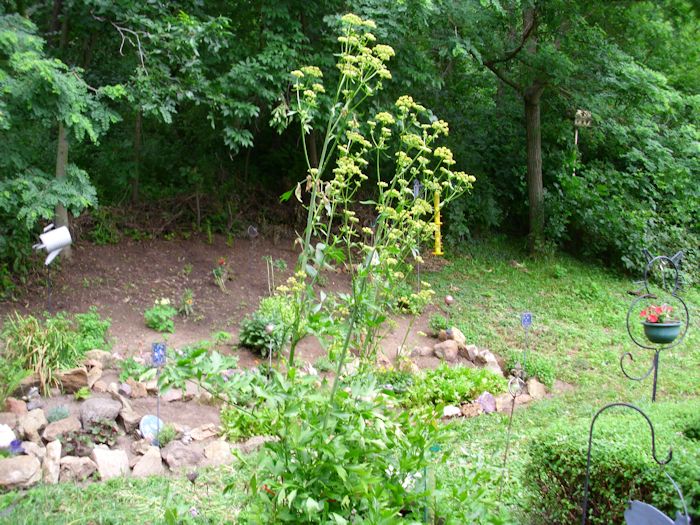
This is the time of year when our lovage plant soars and develops seed heads (ours is about 6 feet tall this year). We use the stems and leaves in place of celery. The celery taste is quite strong, so you use less lovage than you do celery in a soup or salad. Even though you can use every part of the plant, we only use the seeds, leaves, and stems. Because the celery taste is so strong and the lovage cell walls don’t lose the volatile oils that give it its taste easily, you can dry lovage and use it as an herb all winter long.

Lovage01

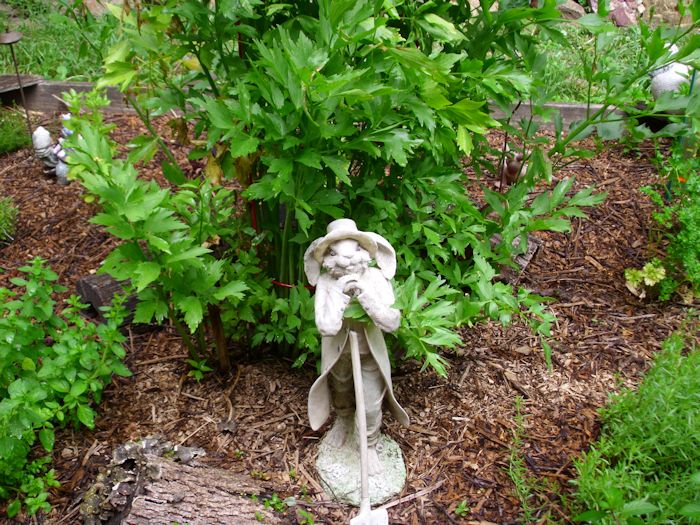
You don’t use all of the stems on the plant. The larger stems that form the stalks for the seeds are tough. What you want to dry are the tender stems and the leaves, especially those near the bottom of the plant (shown here with our rabbit gardener).

Lovage02

The plant gets so tall that the wind tends to knock it over before the seeds mature. To overcome this problem, we place the plant in a tomato cage. You can just barely see the tomato cage peaking out in this picture. Even with the tomato cage in place, a really strong wind can still knock the plant over, ruining the seeds.

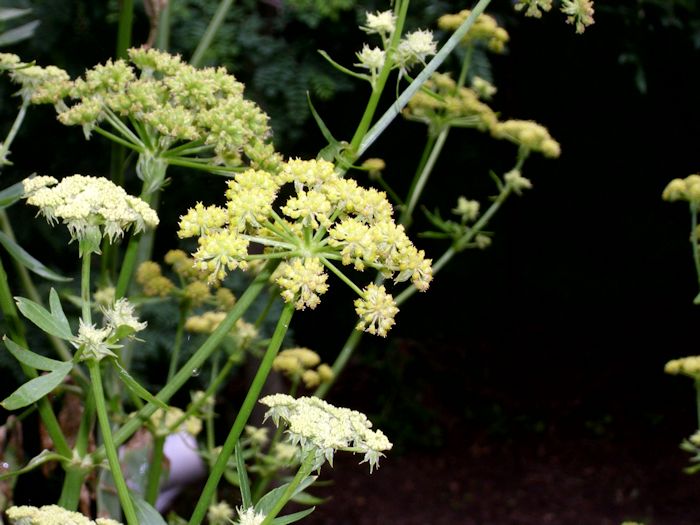
One of the things that most people don’t realize is that when you buy celery seed in the store, what you’re actually getting is lovage seed. The seeds have a strong celery taste and are used in a many of ways (none of which we’ve ever tried). One of the uses that we’ve thought about is creating dye from a tincture of the seeds. A number of sources say that you can create both permanent red and blue dyes using lovage seed, which would make it quite versatile indeed. The lovage flowers are quite pretty and the bees seem to love them.

Lovage03

Lovage is a perennial and it’s nearly impossible to kill. It even survives Wisconsin winters without a problem. Every spring the lovage plant comes back up. The plant will continue to grow in circumference year-by-year. Eventually, you can break the plant apart into sections and propagate it much as you would rhubarb.

Unlike mint, lovage won’t run amok in your garden. It stays put. So you don’t need to worry about growing it in a container or digging out invasive chunks of it each year. Lovage is extremely long lived. This particular plant is 15 years old and shows no sign of giving up yet (it gets stronger year-by-year, in fact). We planted it in a location that gets full sun from around early morning (but not at sunrise) to early evening.

Have you ever tried lovage? If so, how do you use it? If not, I highly recommend this herb for everyone who likes the taste of celery. Let me know your thoughts about lovage at [email protected].


Celebrating with Birthday Butter

Rebecca grows quite a few herbs. In fact, the majority of herbs used in our house come from Rebecca’s garden and not from the store. People have asked us in the past how to use these herbs. Of course, there are the mundane uses of savory herbs (such as sage) in meat dishes and sweet herbs (such as mint) in cakes and cookies. However, if you’re really interested in shaking things up, you mix the herbs in new and interesting combinations. That’s what I decided to do in making birthday butter.

Birthday butter was actually created for Rebecca’s birthday. I used it for her breakfast. I spread the birthday butter on a bagel, but it tastes just fine on toast, crumpets, English muffins, or any other sort of bread. In this case, I filled the holes in the center of the bagel halves with cherry tomatoes to dress it up a bit. The result is an interesting mix of savory and sweet that is a delight to the palette. Here’s the birthday butter recipe:

1/2 cup Butter, Smart Balance, or Margarine
2 tsp Sugar or Splenda
2 tsp Rubbed Sage
1 tsp Mint Leaves
1 tsp Lemon Juice

Cream the butter in a bowl. Place the remaining ingredients in the bowl. Mix together until blended. The lemon juice will have a tendency to separate from the rest of the mixture, so remixing is needed if you store the unused portion.

I found that butter works far better for this recipe than margarine does. We’ve actually tried something new, Smart Balance Buttery Sticks with Omega 3 Fatty Acids. This product is half butter and half margarine. It cooks extremely well and tastes much like butter does. However, it significantly reduces the amount of cholesterol you receive and the Omega 3 fatty acids are actually good for you.  I’m not sure how this recipe would work using other alternative sweeteners, but the results with Splenda are quite good.

The kind of mint you use has a big impact on the taste of birthday butter. Try various mint varieties out to see for yourself. The original version uses spearmint, but peppermint or even wintergreen would probably work just fine. For something unusual, try orange or lime mint.

The best way to get the ingredients to mix properly is to use a mixer. However, I’ve been able to get them to mix just fine using a fork. The point is, this butter blend has a wonderful taste and is a great way to start the day. How do you use your herbs? Let me know at [email protected].


Drying Herbs

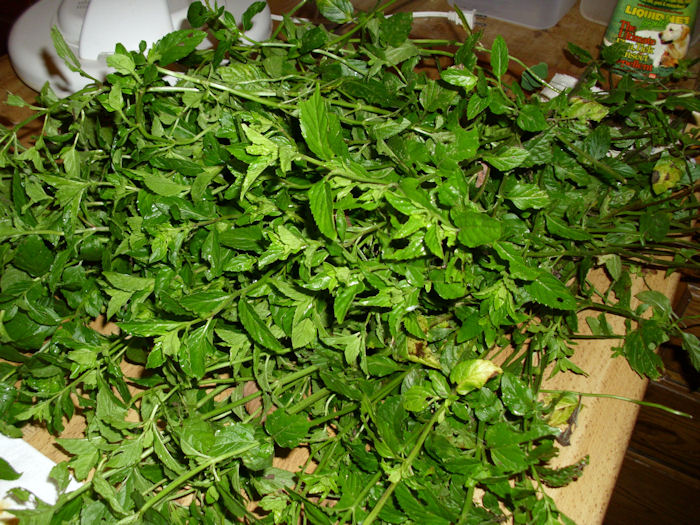
This is the time of year when Rebecca starts drying the herbs that have been growing since early spring. Most of them have gotten quite tall. I’ll discuss one of my favorites in this post, lime mint, but she’s working on a host of other herbs as well. Of course, the drying process starts by picking the herbs. She started with a relatively large bunch of lime mint like this:

DryHerbs01

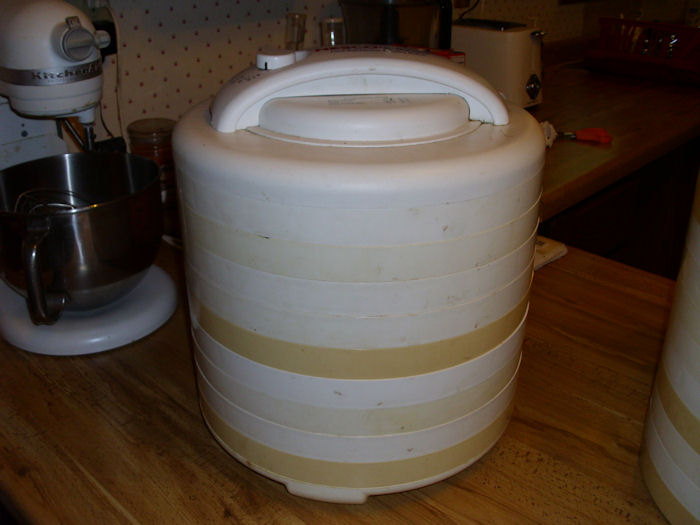
In order to dry herbs, you need some means of drying them. Some people use their ovens, which can sometimes damage the herbs. It’s possible to dry the herbs in the sun, assuming you have a nice place to do it and the temperatures are high enough. We use an American Harvest dehydrator like the one shown here.

DryHerbs02

It’s such a handy device that we own three of them and sometimes all three of them are in use drying various items. Rebecca makes vegetable chips and apple chips for me to use as snacks (among other items). She has also made venison jerky for me using one of these devices. Two of our dehydrators have the top mounted heater and fan, while the third is bottom mounted. When it comes to drying herbs, there really isn’t any advantage over using one or the other.

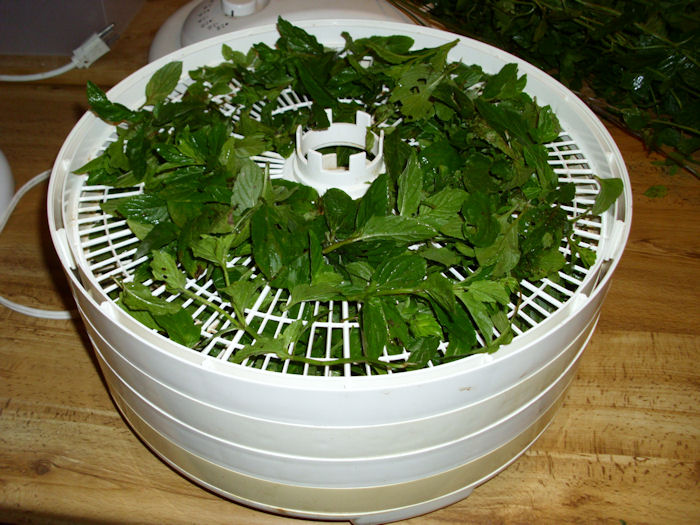
In order to dry the herbs, the leaves are stripped from the stem and then placed in a fairly shallow pile in the dehydrator trays. It’s perfectly acceptable to put the younger tops in whole, but you don’t want the really stiff stems in with the rest of the herbs. Here’s how a typical tray will look.

DryHerbs03

After you’ve finished filling trays with the herbs, you’ll need to set the dehydrator for 105 degrees. It takes about 6 hours to dry the herbs. During that time, you’re treated to the most exotic smells. The entire house was filled with the smell of fresh mint this morningit’s indescribable. The stack of herbs you saw earlier filled nine trays like this:

DryHerbs04

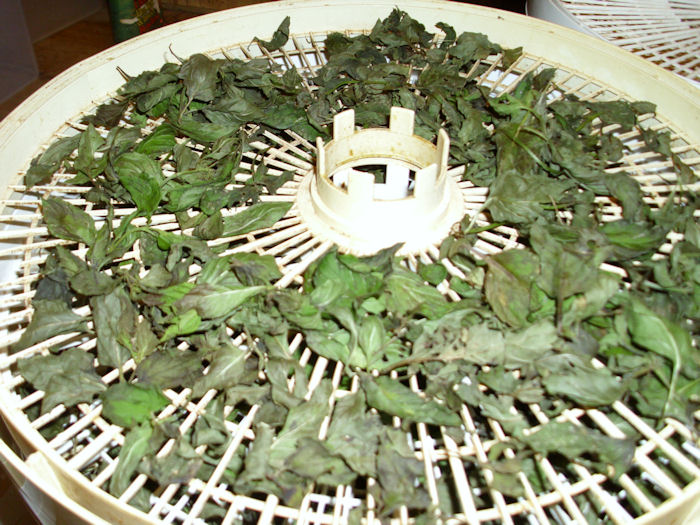
You’ll want to take the lid off from time-to-time to check the herbs (don’t do it any more than about once an hour). About halfway through the process, you’ll want to rearrange the trays, placing the bottom ones year the top (and vice versa) to ensure the herbs dry evenly. The herbs will look like this about halfway through the process.

DryHerbs05

When the herbs are completely dry, they’ll be a dark green. They’ll also crumble quite easily. Don’t be too shocked by the amount of herb you get for the initial investment. Here’s the completed lime mint from that entire bunch that you saw earlier (about 1/3 of a quart).

DryHerbs06

There is nothing quite so nice as home dried herbs. You’ll use quite a bit less of them than the herbs you get from the store. Rebecca places any extra herbs in a sealable bag, uses a Food Saver to vacuum seal the bag, and then places it in the freezer. This approach keeps the herbs extra fresh. Growing and preserving your own herbs makes for amazing meals and drinks (think herbal teas of your own design). Wouldn’t it be nice to be nice to be able to use your own herbs whenever you wanted? Let me know what you think at [email protected].


Growing Herbs (Part 1)

We have a number of gardens on our property and some of them are quite specialized. For example, Rebecca grows a wide variety of mint. She has the usual spearmint, of course, but she grows a huge number of other mints. My personal favorite is lime mint. It actually a lime flavor underlying the mint taste. I find it refreshing during the winter months. Lime mint shares most of the same characteristics of other mints. It looks like this:

LimeMint

Some of the mints she grows don’t even have mint in the name. Of course, there’s catnip, a form of mint enjoyed mainly by cats. However, there is also lemon balm, another favorite of mine because it has a perky flavor that’s good during the daylight hours (lime mint is more for the evening to relax). You can see by this picture that the two mints look similarthe best way to tell mints apart is to look at the leaf size and shape, and then rub a bit on your fingers and sniff.

LemonBalm

In addition to these mints, we also have orange mint, chocolate mint, and others. Rebecca will wait until these plants grow a bit taller and then take some (but not all) of the stalks inside for drying. She picks the individual leaves off and dries them in a food dehydrator. Another post will discuss this technique. We’re both strong advocates of dehydrating as a way of saving on storing costs and producing fat-free treats.

Lest you think our herb garden is entirely devoted to mint, we grow a wide variety of other plants as well. A favorite for soups is lovage, which has a strong celery taste. It grows as tall stalks with sparse leaves. Near the middle of the season the lovage plant will produce flowers. You can use the seeds as celery seed. Here’s what lovage looks like (we keep it in a tomato cage so it doesn’t blow over).

Lovage

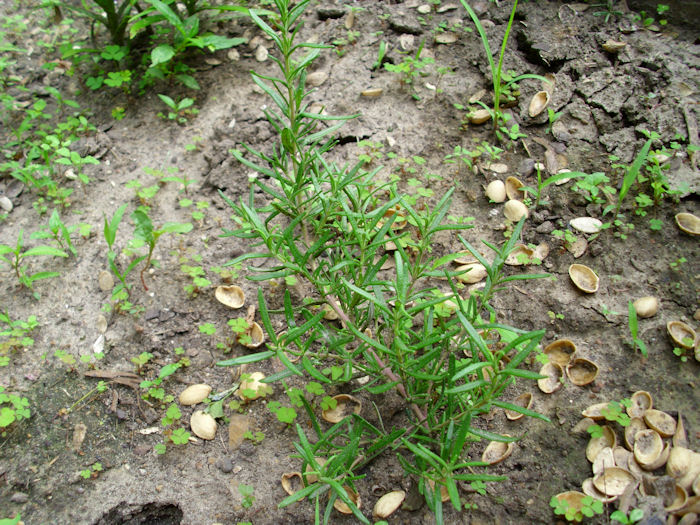
I use a lot of rosemary and thyme in my cooking, so Rebecca grows quite a bit each year. Rosemary has somewhat thick, almost cylindrical leaves and a strong aromatic odor. It does amazing things for chicken, lamb, and pork. Because we eat a lot of chicken, we use a lot of rosemary. Here’s what the young rosemary plant looks like:

Rosemary

By the way, just in case you’re wondering, yes those are nut shells. We don’t waste anything, not even nut shells. They actually make a fine addition to the herb garden soil and keep it loose. Eventually, the nut shells rot down and make nice compost for the herb garden.

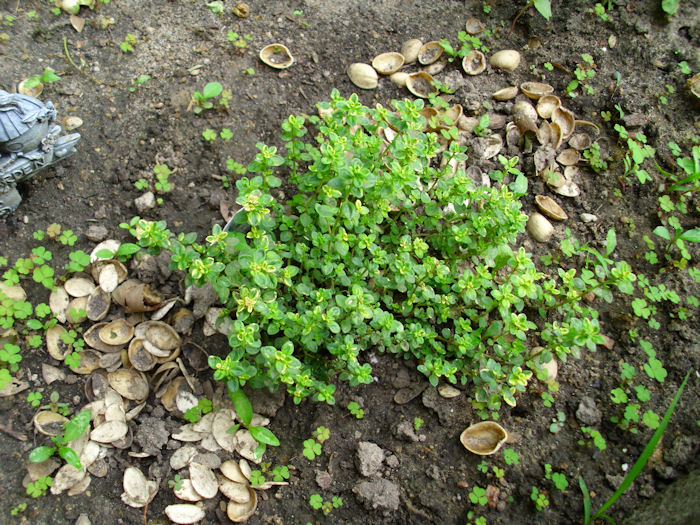
Most people don’t realize it, but there are several different kinds of thyme. This year we have lemon, lime, and orange thyme. All three have a thyme taste and small, but with subtle differences. The plants actually look quite different, so it’s somewhat easy to tell them apart. Here’s the lemon thyme:

LemonThyme

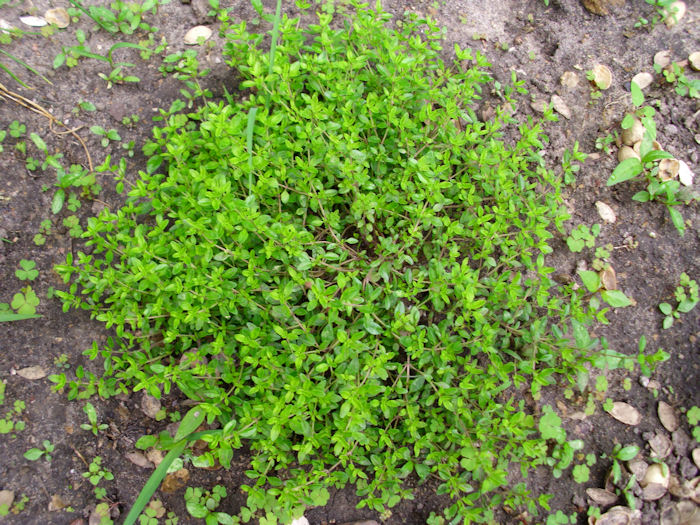
Notice that the lemon thyme has bits of yellow on its leaves. The leaves are also a bit rounder than other kinds of thyme. Compare the lemon thyme to the lime thyme shown here:

LimeThyme

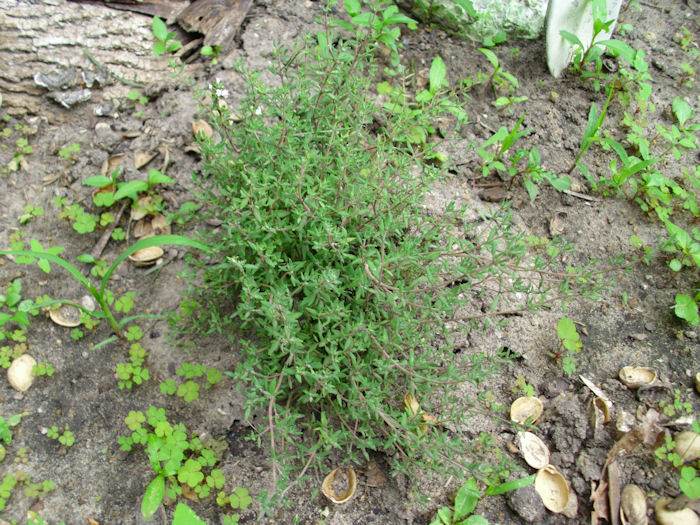
The lime thyme leaves are larger, brighter green, and a little elongated when compared to the lemon thyme. These leaves also last the yellow spots on them (making it a less pretty form of thyme in my opinion). Our newest kind of thyme is the orange thyme, which looks sort of like the lime thyme as shown here.

OrangeThyme

However, as you can see, the leaves of the orange thyme are much darker. In addition, the stems have a significant reddish cast to them. All three are thyme, but each has subtle differences that will make a big difference in cooking. We’ll use all three types with meat dishes, just like the rosemary.

I can’t do our herb garden justice in a single post, so expect to see more as the summer progresses. In the meantime, let me know if you have any questions at [email protected].