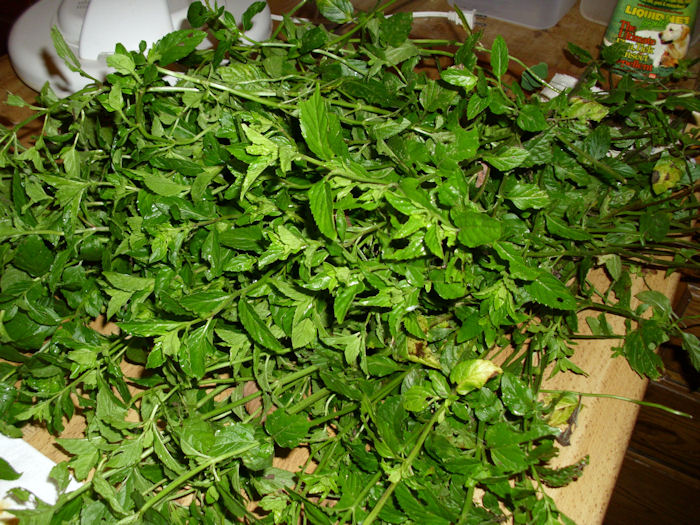
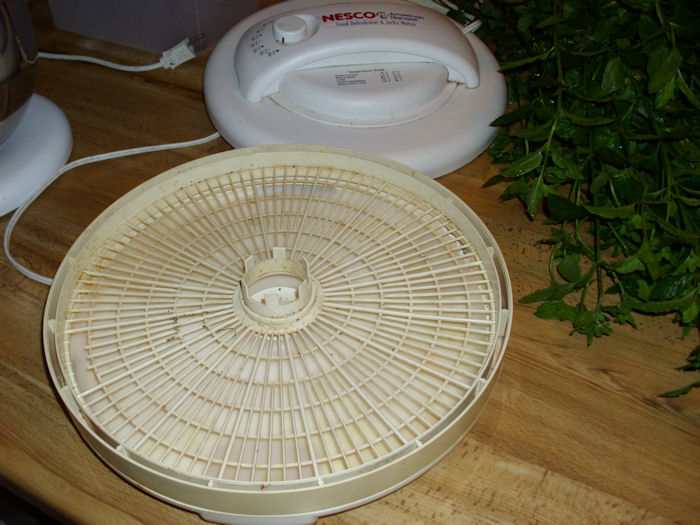
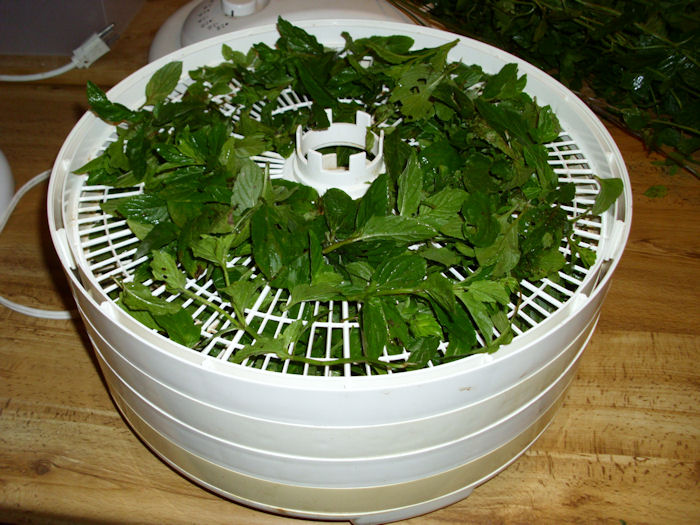
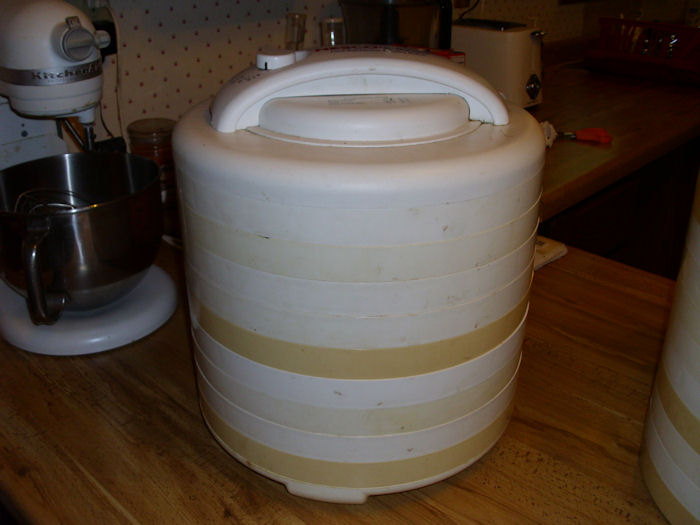
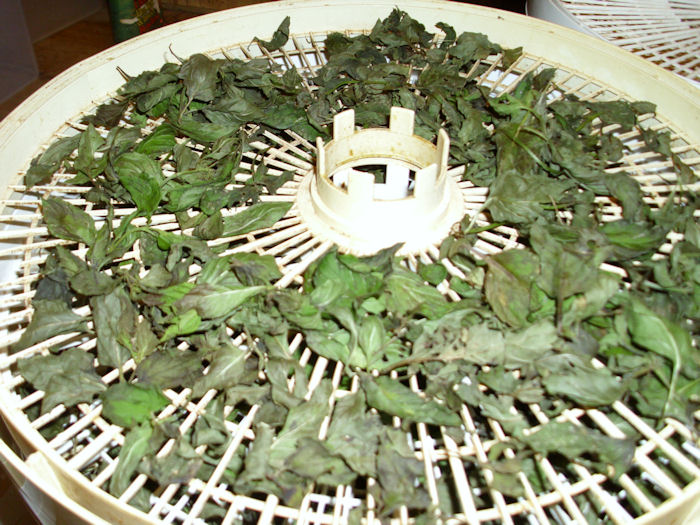
Every year I dry the herbs found in the herb garden for use during the winter months. You can see the technique used in the Drying Herbs post. I’m still using my American Harvest dehydrator to get the job done. However, since the time I wrote that original post, I’ve found a way to improve the potency of the resulting dried herbs. Each layer now has a solid sheet on the bottom. The solid sheet is supposedly designed for fruit leathers and for drying other liquids. The reduction in air flow means that the drying process takes longer, but it also means that fewer of the oils (and other useful elements) found in the herbs are wafted away by the air flow. As a compromise, you can always use the screens instead. The screens keep small particles from falling through, but they also reduce the air flow that robs your herbs of their flavor. The most important issue when drying herbs is to ensure you check their status often and keep the temperature at 95 degrees Fahrenheit (35 degrees C). A higher setting will cause the oils in the herbs to dry out and make your herbs less effective as a result.
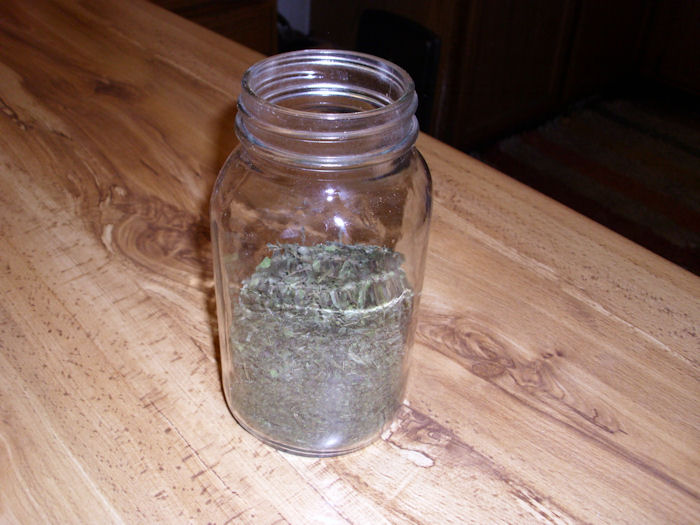
I’m also finding that keeping the herbs as whole as possible for storage prolongs their life. You can’t store the herbs very well without crumbling them a little, but keeping the leaves as large as possible appears to help retain the oils. Crumble the leaves or even grind the herb to powder immediately before you use it to maximize the flavor. The less you process the herb, the longer it’ll store.
This year’s herb garden didn’t do well in some areas, but it did exceptionally well in others. The lime, orange, and chocolate mints were all quite potent this year. I tried a few cups of tea to see how they’d brew and I ended up using less than normal. My personal favorite is the lime mint. The chocolate mint is suitable for use in tea, cooking, and jellies—lime and orange mints are characteristically used for tea.
Herb potency varies from year-to-year based on environmental factors, so it’s essential to consider potency as part of using the herbs. I’m thinking about trying to come up with some sort of rating system that I can put right on the package before I store the herb so I have some idea of how much to use later. As a contrast to these three mints, the grapefruit mint hardly tasted like mint at all. Given that it has proven hard to grow, I’m thinking about using the space for another kind of herb.
Sage also had a wonderful year this year. The plants grew fairly large and are robust in flavor. I grew both golden pineapple and common sage. The golden pineapple sage has larger leaves and a stronger taste. It also takes a lot longer to dry than the common sage. In most years, it appears that the common sage actually produces more output, but this year the golden pineapple sage was the winner.
The thyme and rosemary were disappointing this year, but still usable. I actually have three kinds of thyme: lime, lemon, and common (also known as English thyme). Of the three kinds, the lime has the strongest taste when used fresh, but the common works best for cooking. I find that the lemon has a subtle flavor, but can be hard to grow. Unfortunately, I didn’t get any lemon thyme this year, but I did get enough of the other two to make up for it. The only kind of rosemary I can grow is common rosemary. I’m thinking about trying again with some other varieties next year, but the rosemary definitely doesn’t overwinter here in Wisconsin (as contrasted to thyme, which overwinters just fine).
I’ve talked about lovage before (see the Loving that Lovage! post for details). This year I ended up with a whole pint of seeds that I’ll use for canning and for dishes like cole slaw. It was also a decent year for leaves that will end up in soups and other kinds of cooking where a strong celery flavor is desirable.
Weather, soil, and overall care of your herb garden all determine what kind of crop you get each year. Working with herbs can be quite fussy, but also quite rewarding. The quality of herb you get from your own garden will always exceed anything you buy in the store, so the effort is worth it when you want the best results from cooking. Let me know about your herb experiences at [email protected].