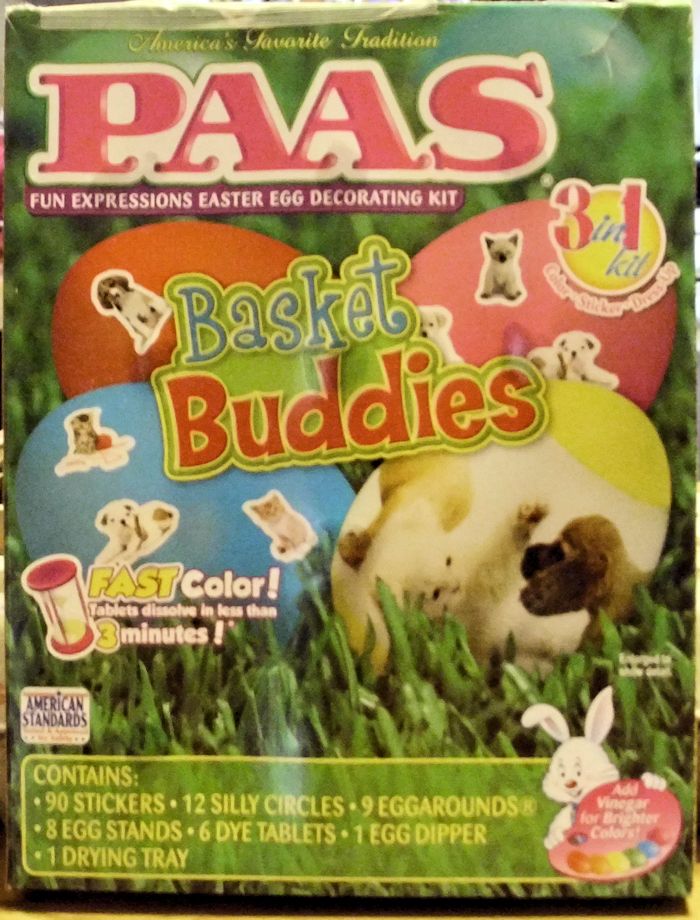
Last year about this time, I posted the original Fun is Where You Find It! where I discussed the egg decorating kit we purchased for Easter. Of course, it’s a fun activity, so we did it again this year with Paas Basket Buddies egg decorating kit. Imagine seeing the cutest kittens and puppies on your Easter eggs and you’ll have an inkling of the results of using this kit. The online price of $4.99 is a little more than the $3.99 price we paid at our local store. The kit is on par with last year’s price. Eggs are a lot more expensive though at $1.59 for large eggs.
The dyes used in this kit are a bit better than last year’s kit—I’m not sure why. It could be that the tie dye kit instructions were designed to produce better mixed results. We did use the vinegar method described on the box and soaked the eggs for around thee minutes each to obtain the results shown here.

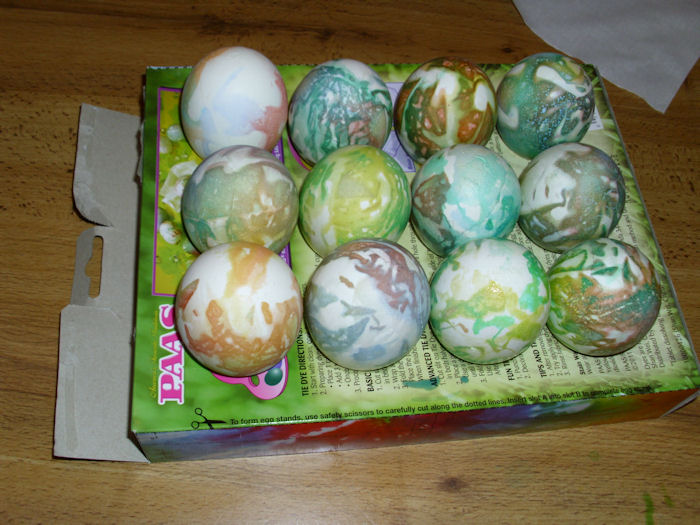
For once, our results actually matched those on the package for the most part. The six colors are: red, blue, green, yellow, orange, and pink. No matter what we tried, we couldn’t get the pink to turn out right. You can see the single pink egg in this dozen is speckled. It’s a pretty egg, but not the results we anticipated.
This is the kit to use if you have young children and don’t want any kind of a mess. Except for dipping the eggs, there really isn’t much risk of creating any sort of damage to clothing or furniture and an adult could perform the dipping part. The kit does come with 9 Eggarounds, which are wraps you put around your eggs, and then shrink into place. The Eggarounds look like this initially.
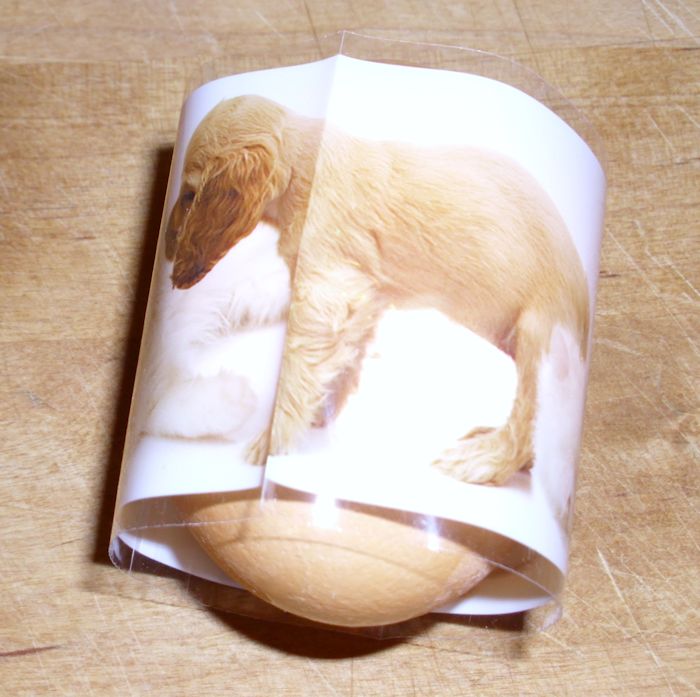
Notice the somewhat tight fit. You have to use large eggs with the Eggarounds because they won’t shrink enough for medium eggs. On the other hand, some large eggs proved a little too large. Still, in the two dozen eggs we made up, there were plenty of eggs the right size. The box talks about two methods of working with the Eggarounds—the water shrinking method is messy and proved unsatisfactory. Using a blow dryer works as advertised. Here are the results we obtained from our eggs:
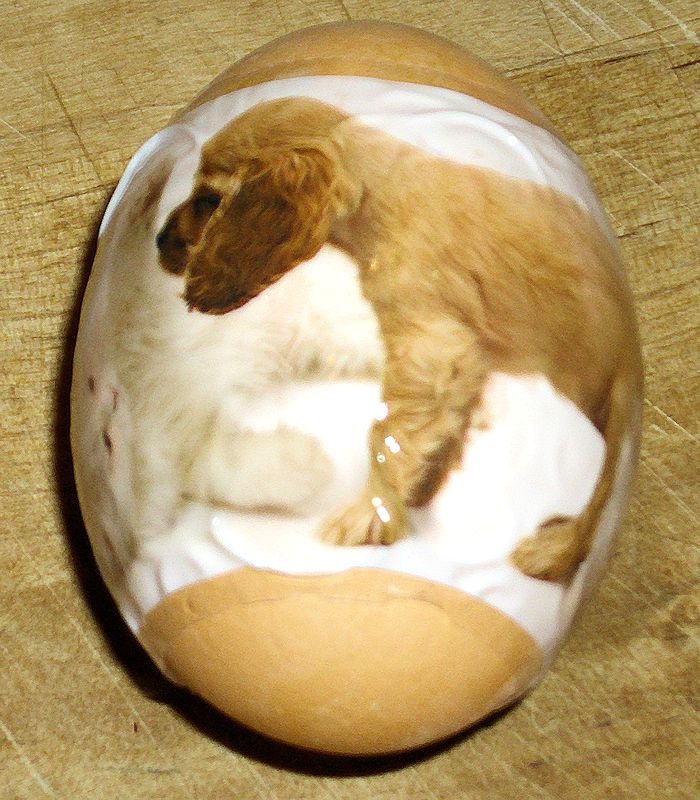
You can see that our first egg has a few ripples in the surface. Playing some with the technique produced smoother results as we went along. I don’t think it’s possible to get a completely smooth surface without a lot of practice. However, the results are eye pleasing and fun to work with.
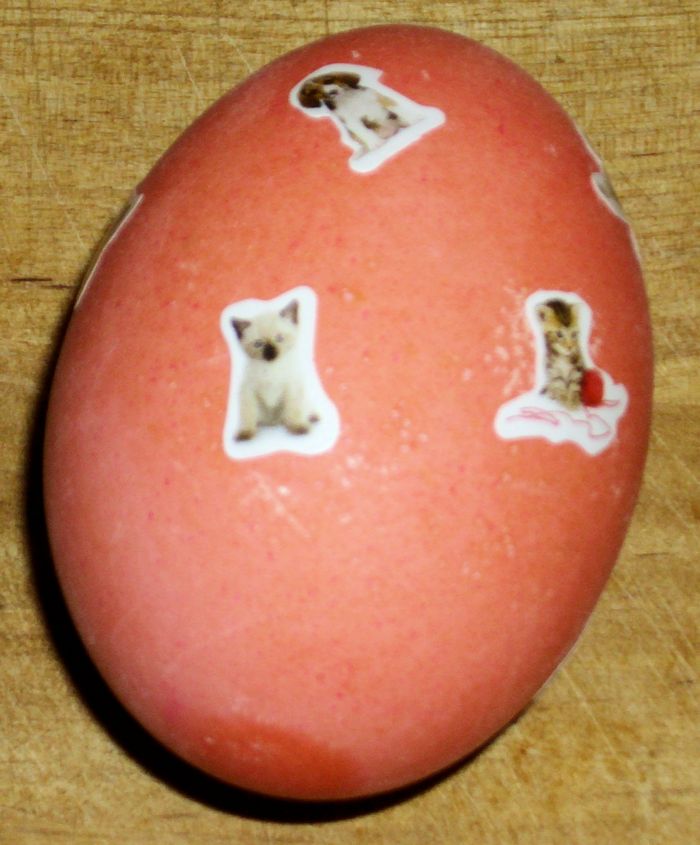
The kit also comes with 90 stickers. The Eggarounds took care of the decorating needs for 9 of the 24 eggs we cooked up. That left 15 eggs or six stickers per egg, which really isn’t enough to do the job. We decided to leave the pink eggs as they were, speckled, because they really are eye pleasing that way. Using eight to ten stickers per egg produces a nice result. Here is a typical result using eight stickers:
Overall, we found this kit extremely easy to use. It required about 2 hours worth of effort for us to complete the 24 hard boiled eggs—making for some extremely cheap fun that we can benefit from later. The kit won’t support more than 24 eggs unless you don’t mind having some undecorated eggs at the end (colored, but without stickers). What sort of results do you get out of the egg decorating kits that you’ve tried? Let me know at [email protected].