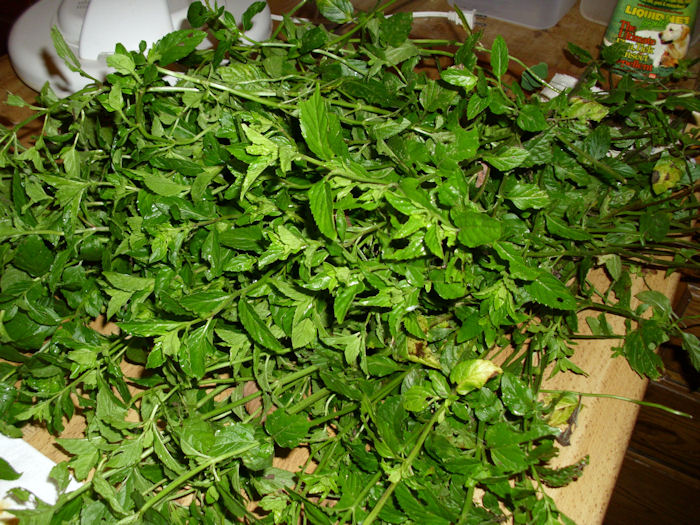
This is the time of year when Rebecca starts drying the herbs that have been growing since early spring. Most of them have gotten quite tall. I’ll discuss one of my favorites in this post, lime mint, but she’s working on a host of other herbs as well. Of course, the drying process starts by picking the herbs. She started with a relatively large bunch of lime mint like this:
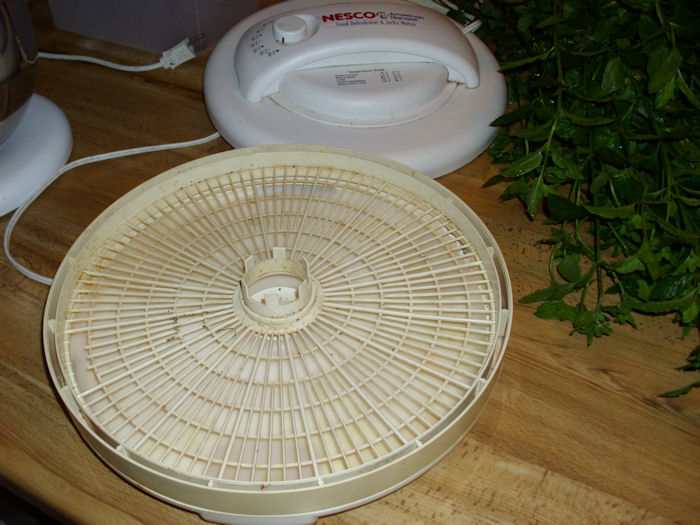
In order to dry herbs, you need some means of drying them. Some people use their ovens, which can sometimes damage the herbs. It’s possible to dry the herbs in the sun, assuming you have a nice place to do it and the temperatures are high enough. We use an American Harvest dehydrator like the one shown here.
It’s such a handy device that we own three of them and sometimes all three of them are in use drying various items. Rebecca makes vegetable chips and apple chips for me to use as snacks (among other items). She has also made venison jerky for me using one of these devices. Two of our dehydrators have the top mounted heater and fan, while the third is bottom mounted. When it comes to drying herbs, there really isn’t any advantage over using one or the other.
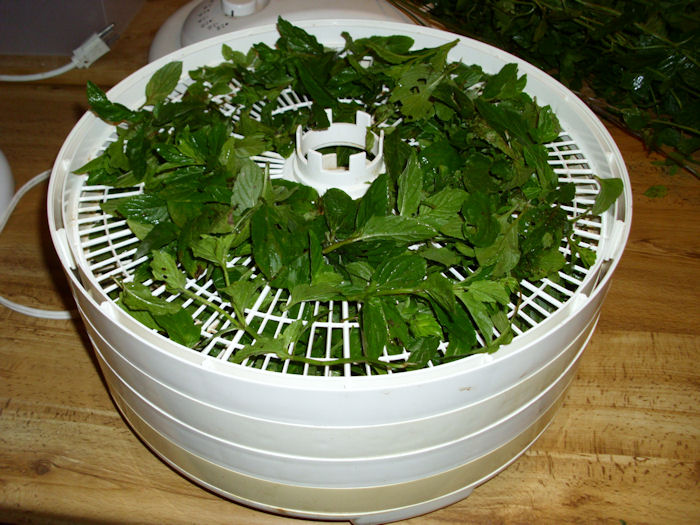
In order to dry the herbs, the leaves are stripped from the stem and then placed in a fairly shallow pile in the dehydrator trays. It’s perfectly acceptable to put the younger tops in whole, but you don’t want the really stiff stems in with the rest of the herbs. Here’s how a typical tray will look.
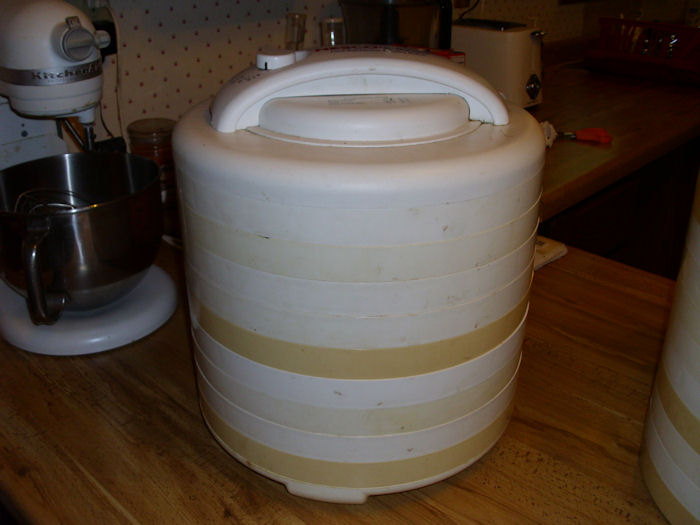
After you’ve finished filling trays with the herbs, you’ll need to set the dehydrator for 105 degrees. It takes about 6 hours to dry the herbs. During that time, you’re treated to the most exotic smells. The entire house was filled with the smell of fresh mint this morning—it’s indescribable. The stack of herbs you saw earlier filled nine trays like this:
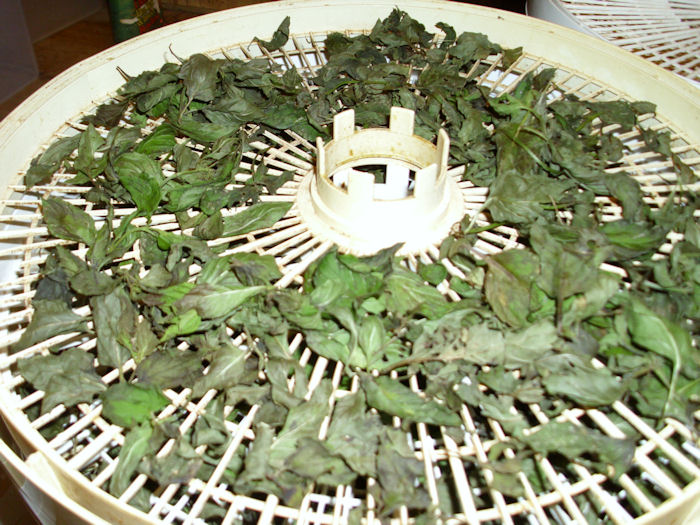
You’ll want to take the lid off from time-to-time to check the herbs (don’t do it any more than about once an hour). About halfway through the process, you’ll want to rearrange the trays, placing the bottom ones year the top (and vice versa) to ensure the herbs dry evenly. The herbs will look like this about halfway through the process.
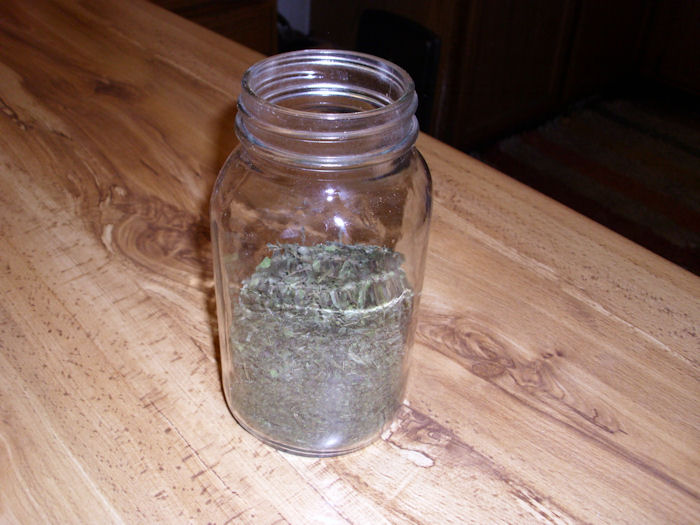
When the herbs are completely dry, they’ll be a dark green. They’ll also crumble quite easily. Don’t be too shocked by the amount of herb you get for the initial investment. Here’s the completed lime mint from that entire bunch that you saw earlier (about 1/3 of a quart).
There is nothing quite so nice as home dried herbs. You’ll use quite a bit less of them than the herbs you get from the store. Rebecca places any extra herbs in a sealable bag, uses a Food Saver to vacuum seal the bag, and then places it in the freezer. This approach keeps the herbs extra fresh. Growing and preserving your own herbs makes for amazing meals and drinks (think herbal teas of your own design). Wouldn’t it be nice to be nice to be able to use your own herbs whenever you wanted? Let me know what you think at [email protected].

