When you raise your own chickens, you eventually end up with a lot of whole chickens in your freezer and will need to cut at least a few of them up for use. Most people are used to seeing chickens already cut up for use in the store. If you do get a whole chicken, it’s usually with the idea that you’re going to roast it whole. In many cases, people don’t know where to begin cutting a chicken up for use because the butcher has done it for them for so many years. Following the chickens you find in the store as an example won’t work very well either because they’re cut up using a meat saw (think of a band saw specifically designed for cutting meat). Unless you also have a meat saw, you probably won’t be able to follow the butcher’s example. This post describes how to cut up a chicken using nothing more than a standard utility knife.
I recommend using a 6-inch knife with a fairly stiff blade. A boning knife will be too flexible and something small, such as a pairing knife, won’t give you enough leverage. Don’t use a knife with a serrated edge—the serrations will make for a poor cut and you won’t be able to split the breastbone with such a knife. The knife you use should be sharp—the sharper the better. A dull knife is dangerous to use.
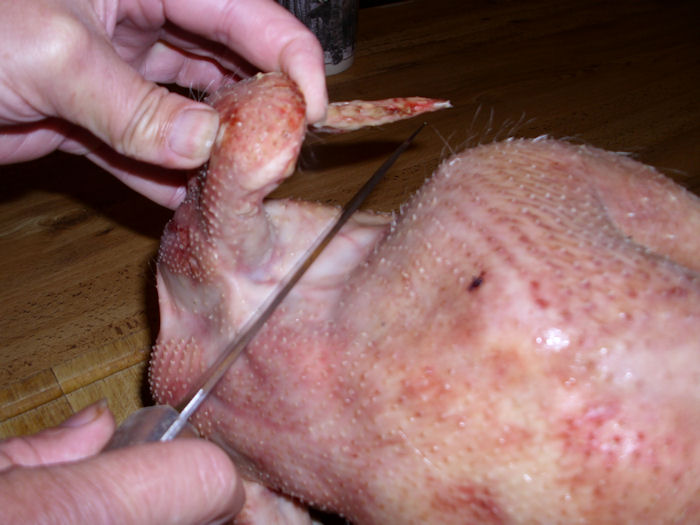
Start with the wings. Your cut should begin behind the joint area. When you lift the wing up, you’ll actually see a bit of the flesh come up with it. Start your cut immediately behind this fleshy area and angle toward the joint as shown here.
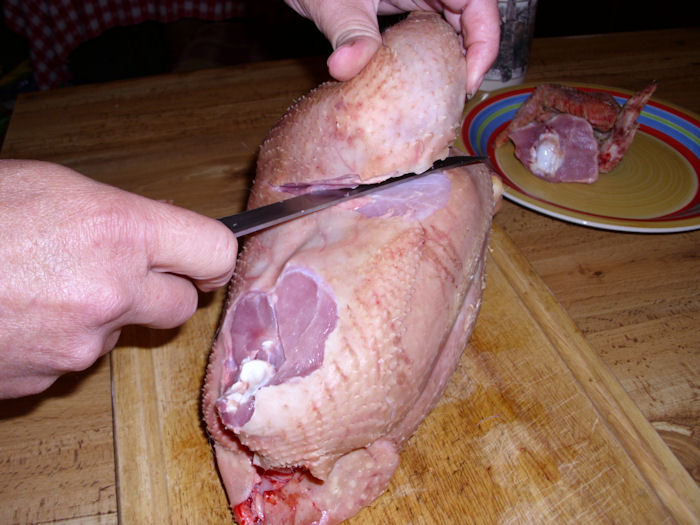
Cutting the wings in this way has the advantage of making them a bit meatier. After you cut off both wings, it’s time to cut off the combination of the leg and thigh. Start by lifting the thigh and cutting toward the joint from the front of the chicken as shown here.
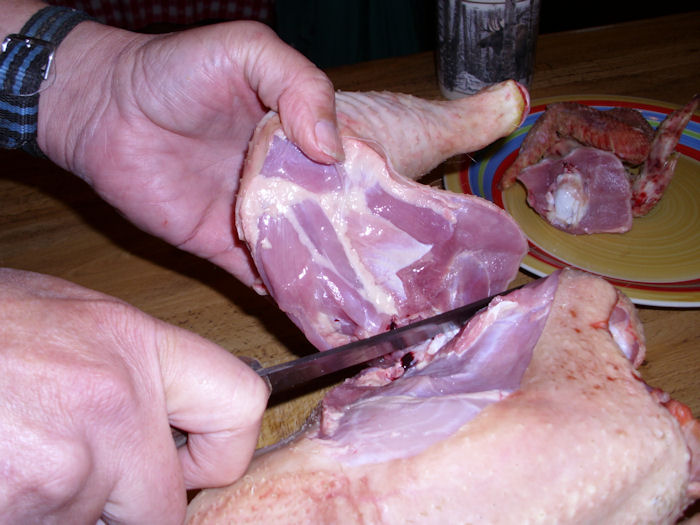
Once you get to the joint from the front, you’ll need to cut to the joint from the back as well. When this cut is finished, you’ll be able to rotate the leg/thigh combination downward and see the joint pop from the socket as shown here.
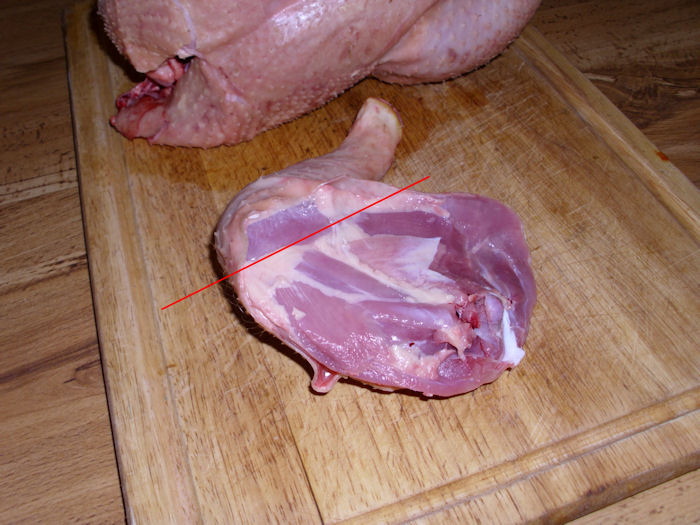
You can finish the cut at this point. Remove both leg/thigh combinations using the same approach. Now you can separate the leg from the thigh. There is a natural division between the leg and the thigh. If you look carefully, you can actually see where the two separate because the meat goes in two directions. Look carefully at the following picture and you’ll see that the line shows this separation.
Cut straight down through this point and you’ll find, with practice, that the knife will neatly separate the meat at the joint. At this point, you’ve cut off the wings, legs, and thighs. It’s time to remove the lower back (the part with the tail).
Look inside your chicken. You’ll see that there is a fleshy part between the rib cage and the lower back. The fleshy part extends on both sides of the chicken. You’ll cut through this fleshy part to separate the lower back starting midway at the opening as shown here.
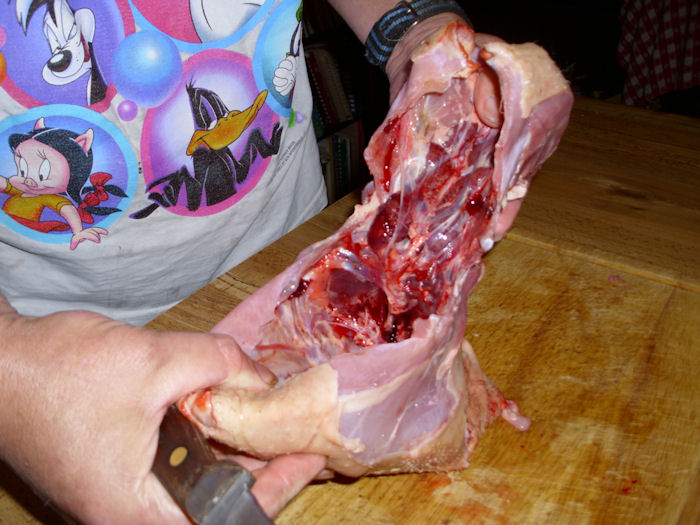
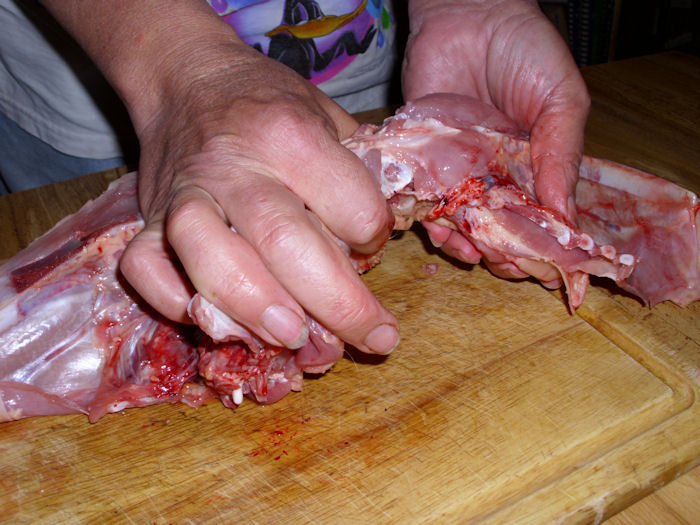
Cut through the fleshy part. You should then be able to flex the lower back and see the backbone separate from the rib cage as shown here.
You can then cut through the spinal cord to separate the lower back from the rib cage. Cut straight down.
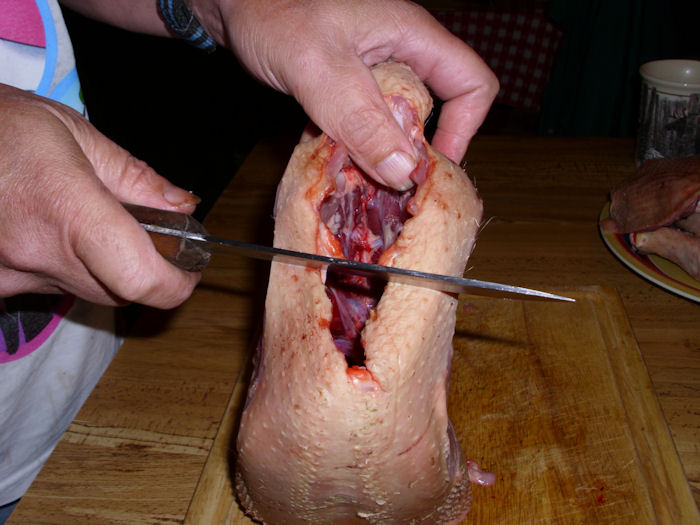
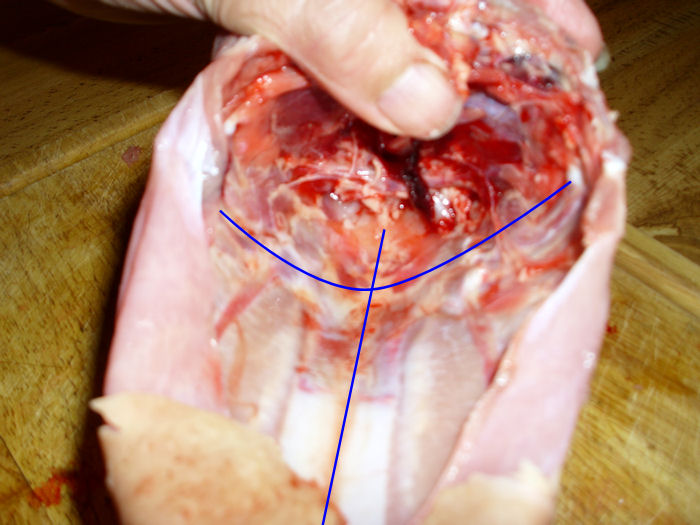
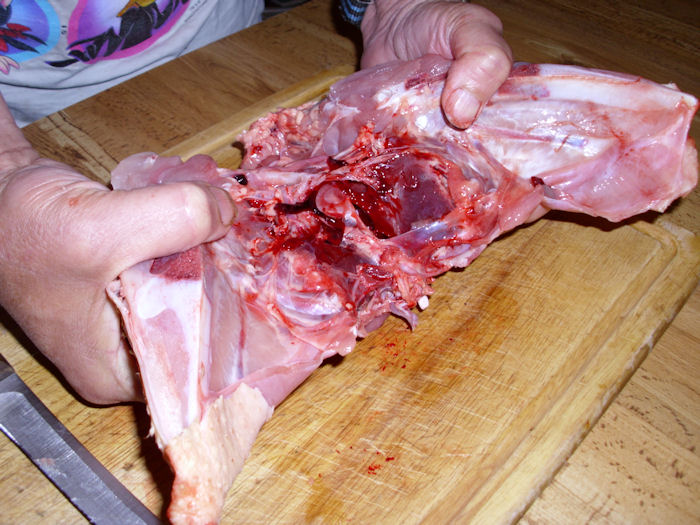
The hardest cut to make is to separate the two breast halves. However, like many things in life, there is a trick to it. Look at the center of the breastbone and you’ll see a line runs through it. Now, look at the first complete rib and trace it around to where it meets with the breastbone. You’ll see a second line of a sort that forms a cross as shown here.
Put the tip of the knife through this point and you’ll find that the breastbone cracks easily. Now, draw the knife down much as you would with a paper cutter. You’ll find that the knife easily slices through the majority of the breastbone and the cartridge as shown here.
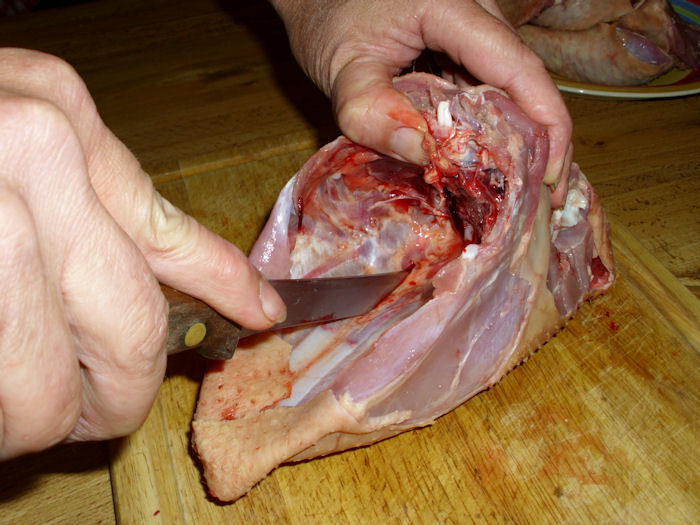
After you make this cut, move your knife higher up. Don’t put it through the hole where the neck is, but do place it higher into the cavity. Use the point to finish breaking the breastbone apart. At this point, you should also be able to break the wishbone in half. Now you can separate the two halves of the breast like this because there is cartilage separating the breast from the upper back.
Cut the cartilage holding the upper back to the breast halves. You’ll reach another joint after you cut the ribs. Separate the joint and the cut through it as shown here.
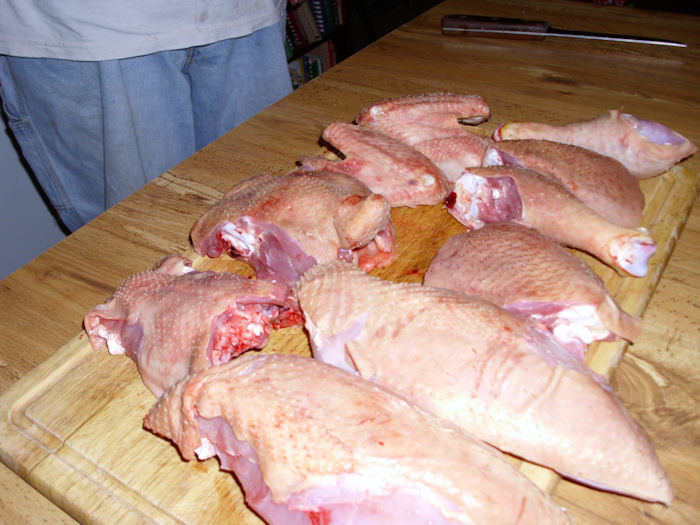
You should now have ten pieces of chicken as shown here:
These pieces are: left and right wing, left and right leg, left and right thigh, lower back, upper back, and left and right breast. Although this combination doesn’t look quite like the chicken you get in the store, it’s the most effective means of cutting a chicken up using just a utility knife. In addition, using this approach makes more of the pieces a usable size. Let me know if you have any questions at [email protected].

