
When I was growing up, it was my uncles’ job to wield a big knife and peel the raw pumpkin so that my mom could bake pumpkin pie and make filling for canning. Watching one of “the boys” handle the knives while trying to carve away the skin of a raw pumpkin was usually a little scary and sometimes hilarious. It all depended on who was careful and who was just cutting up! When I moved into a home of my own, I had to learn a different way to separate skin from the flesh of a pumpkin because I am married to a man who loves pie, made from scratch, and he likes his pumpkin made that way as well.
Besides, it’s very cheap and easy to do. So here’s how to butcher a pumpkin in seven steps:
- Be sure that your pumpkin will fit inside the shallow baking sheet that you are going to be using. It doesn’t matter if both halves fit but you want to have the edges of the pumpkin completely inside the baking pan. Choosing the right sized pumpkin for this process is very important.

- Be sure that the edges of the pumpkin are inside the pan.
- Cut your pumpkin in half.
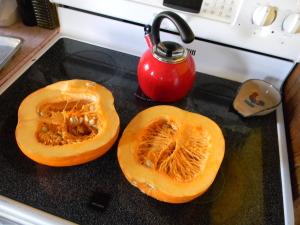
- Raw Pumpkin Halves
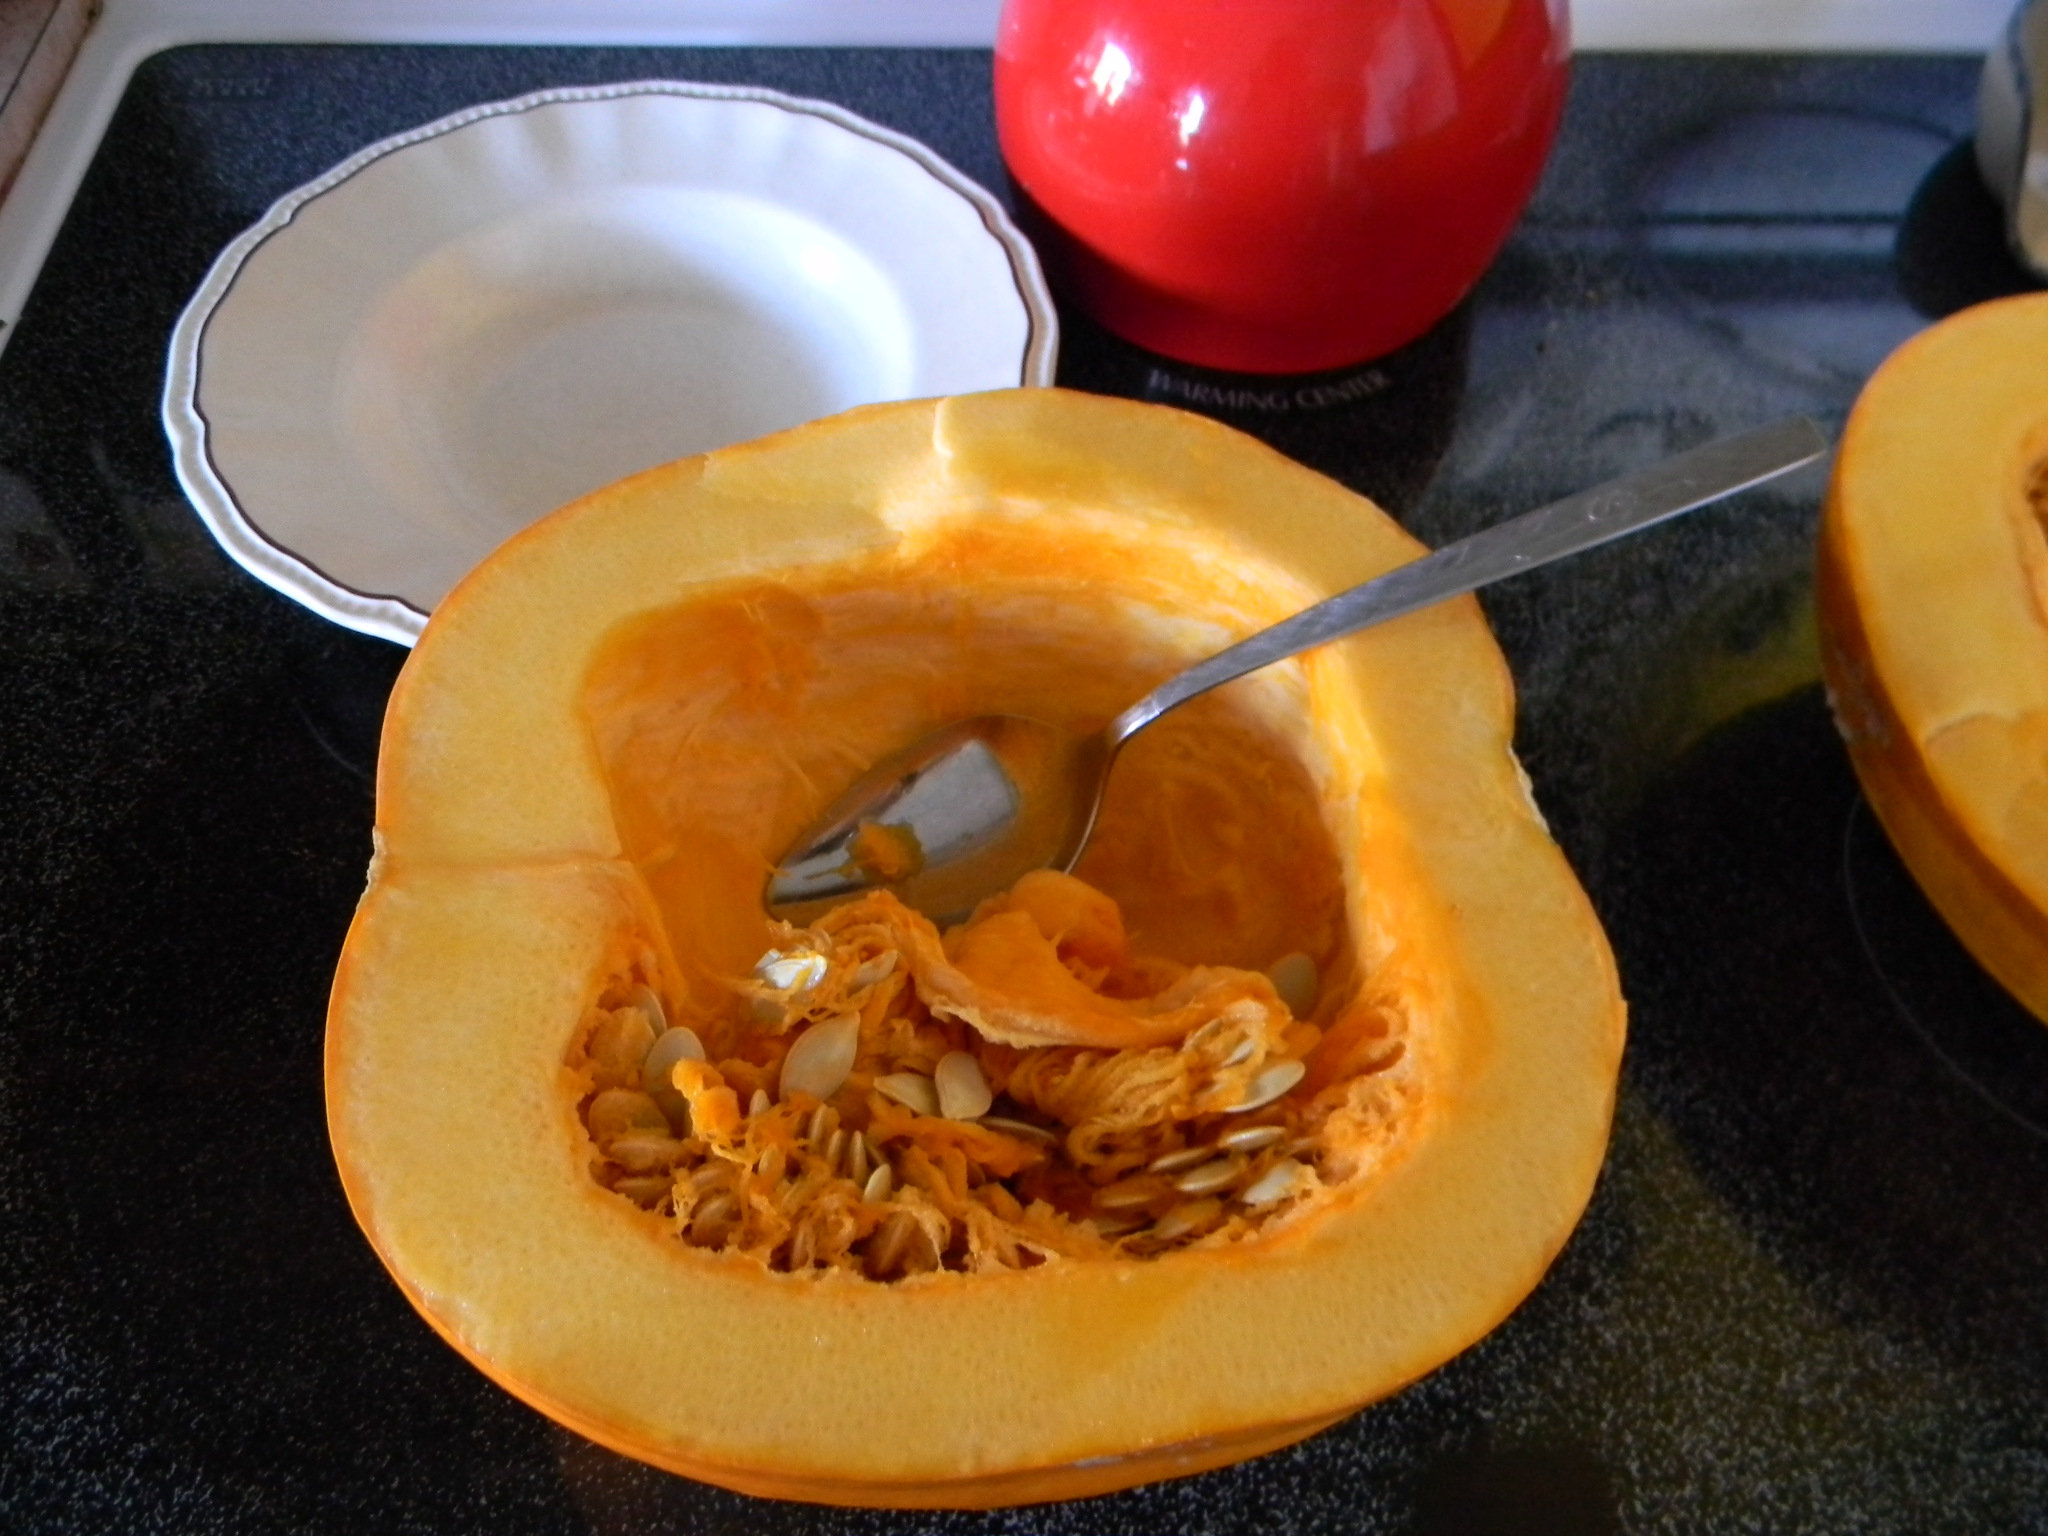
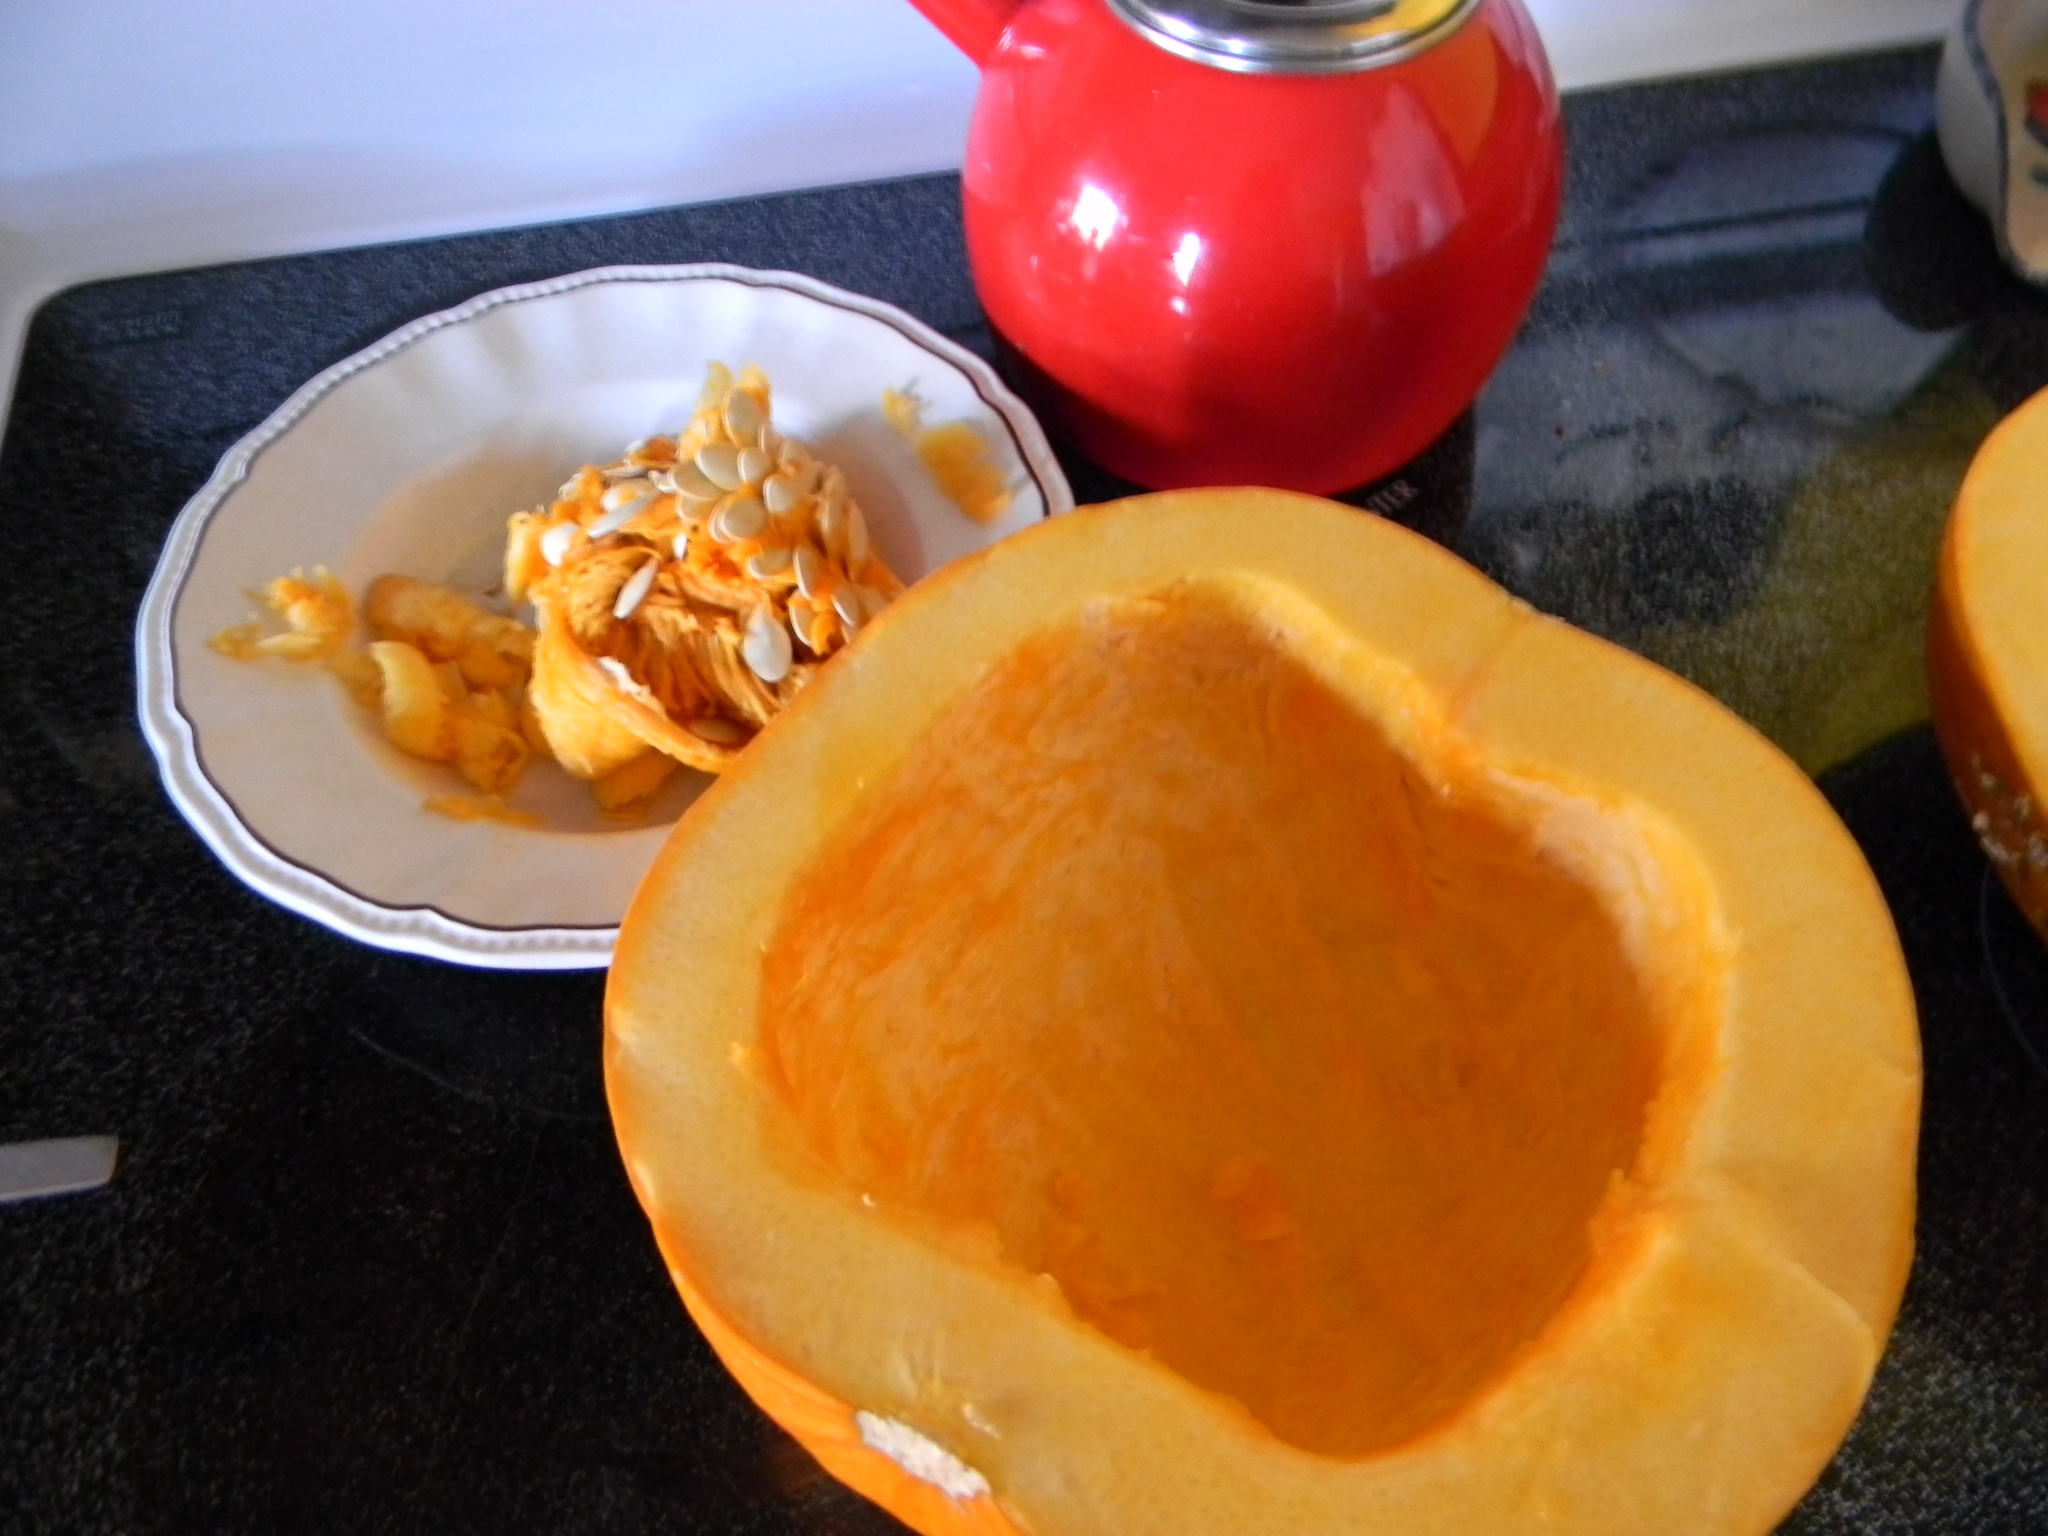
- Carefully scoop out the seeds with a spoon. If you have kids that want to help, this is a great chance to include them—handling the guts and seeds is really fun (and gross)! The seeds can be washed and baked with seasoning for an added treat.

- Scoop out the seeds with a spoon

- Save the seeds for roasting later!
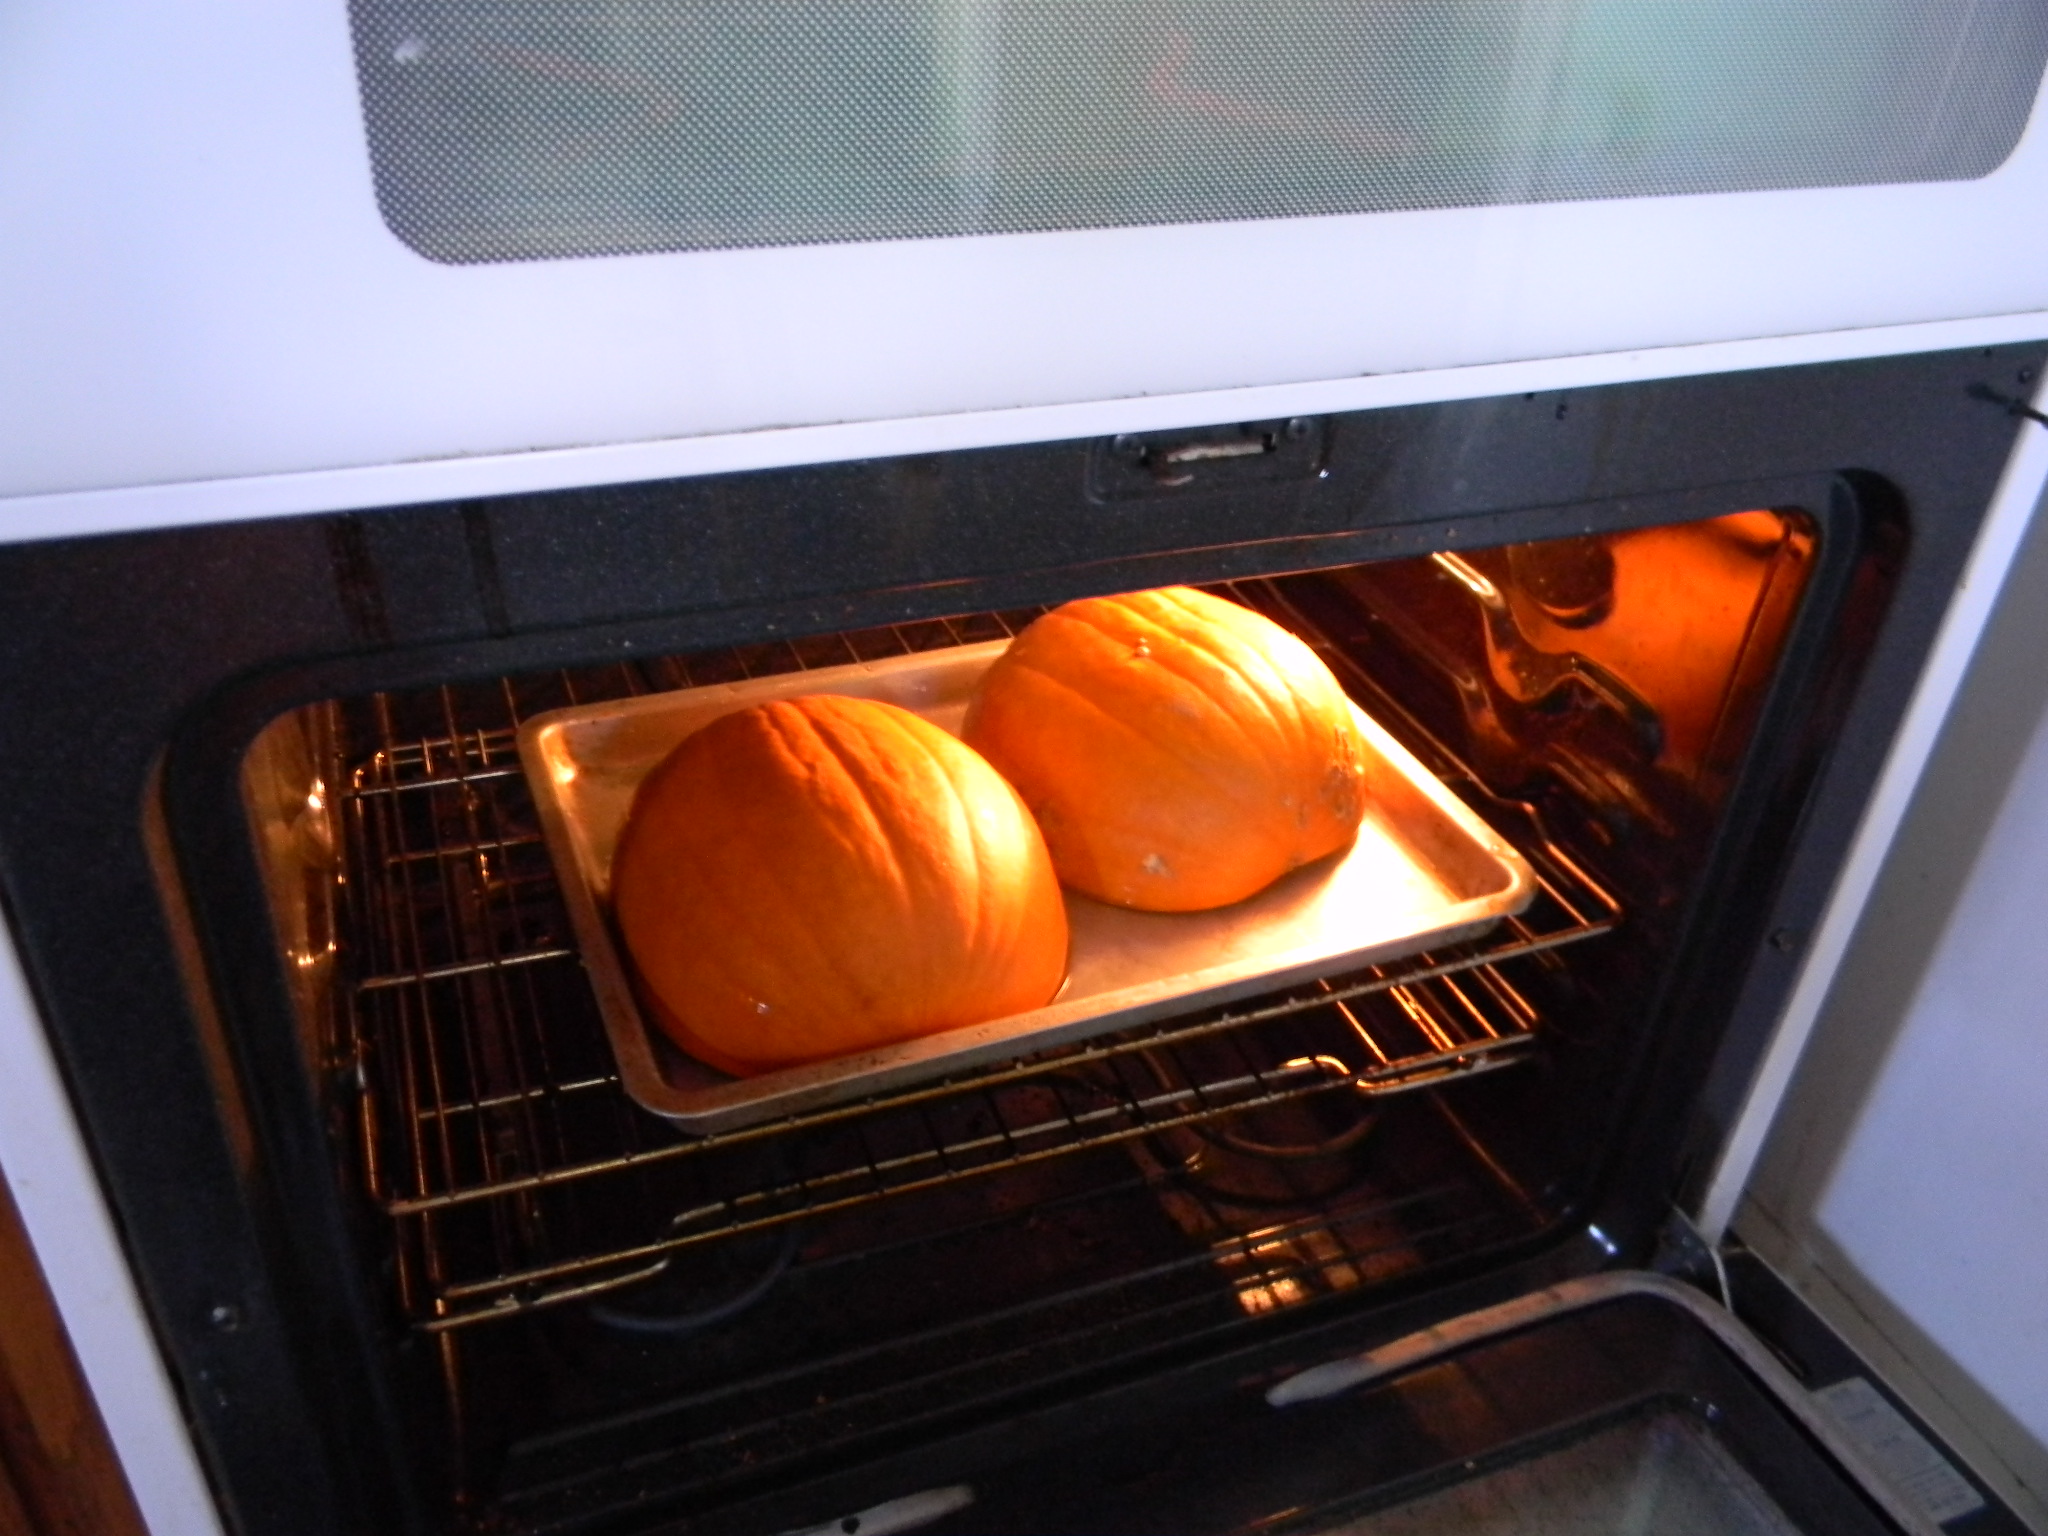
- Flip the pumpkins cut side down and place them onto a shallow baking sheet with a lip all the way around the pan. I used an Air-bake pan because it is double layered and gives improved stability while loading and unloading the heavy pumpkin from the hot oven.
Place Pumpkins Cut Side Down - Add a small amount of water to the baking sheet. Just enough to cover the surface of the pan about 1/4 inch deep. The water will boil and steam the pumpkin inside while the oven is baking it from the outside.
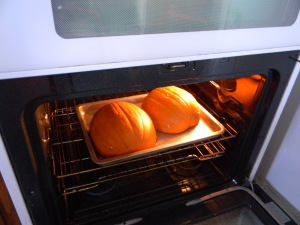
- Pumpkins in 350 F oven
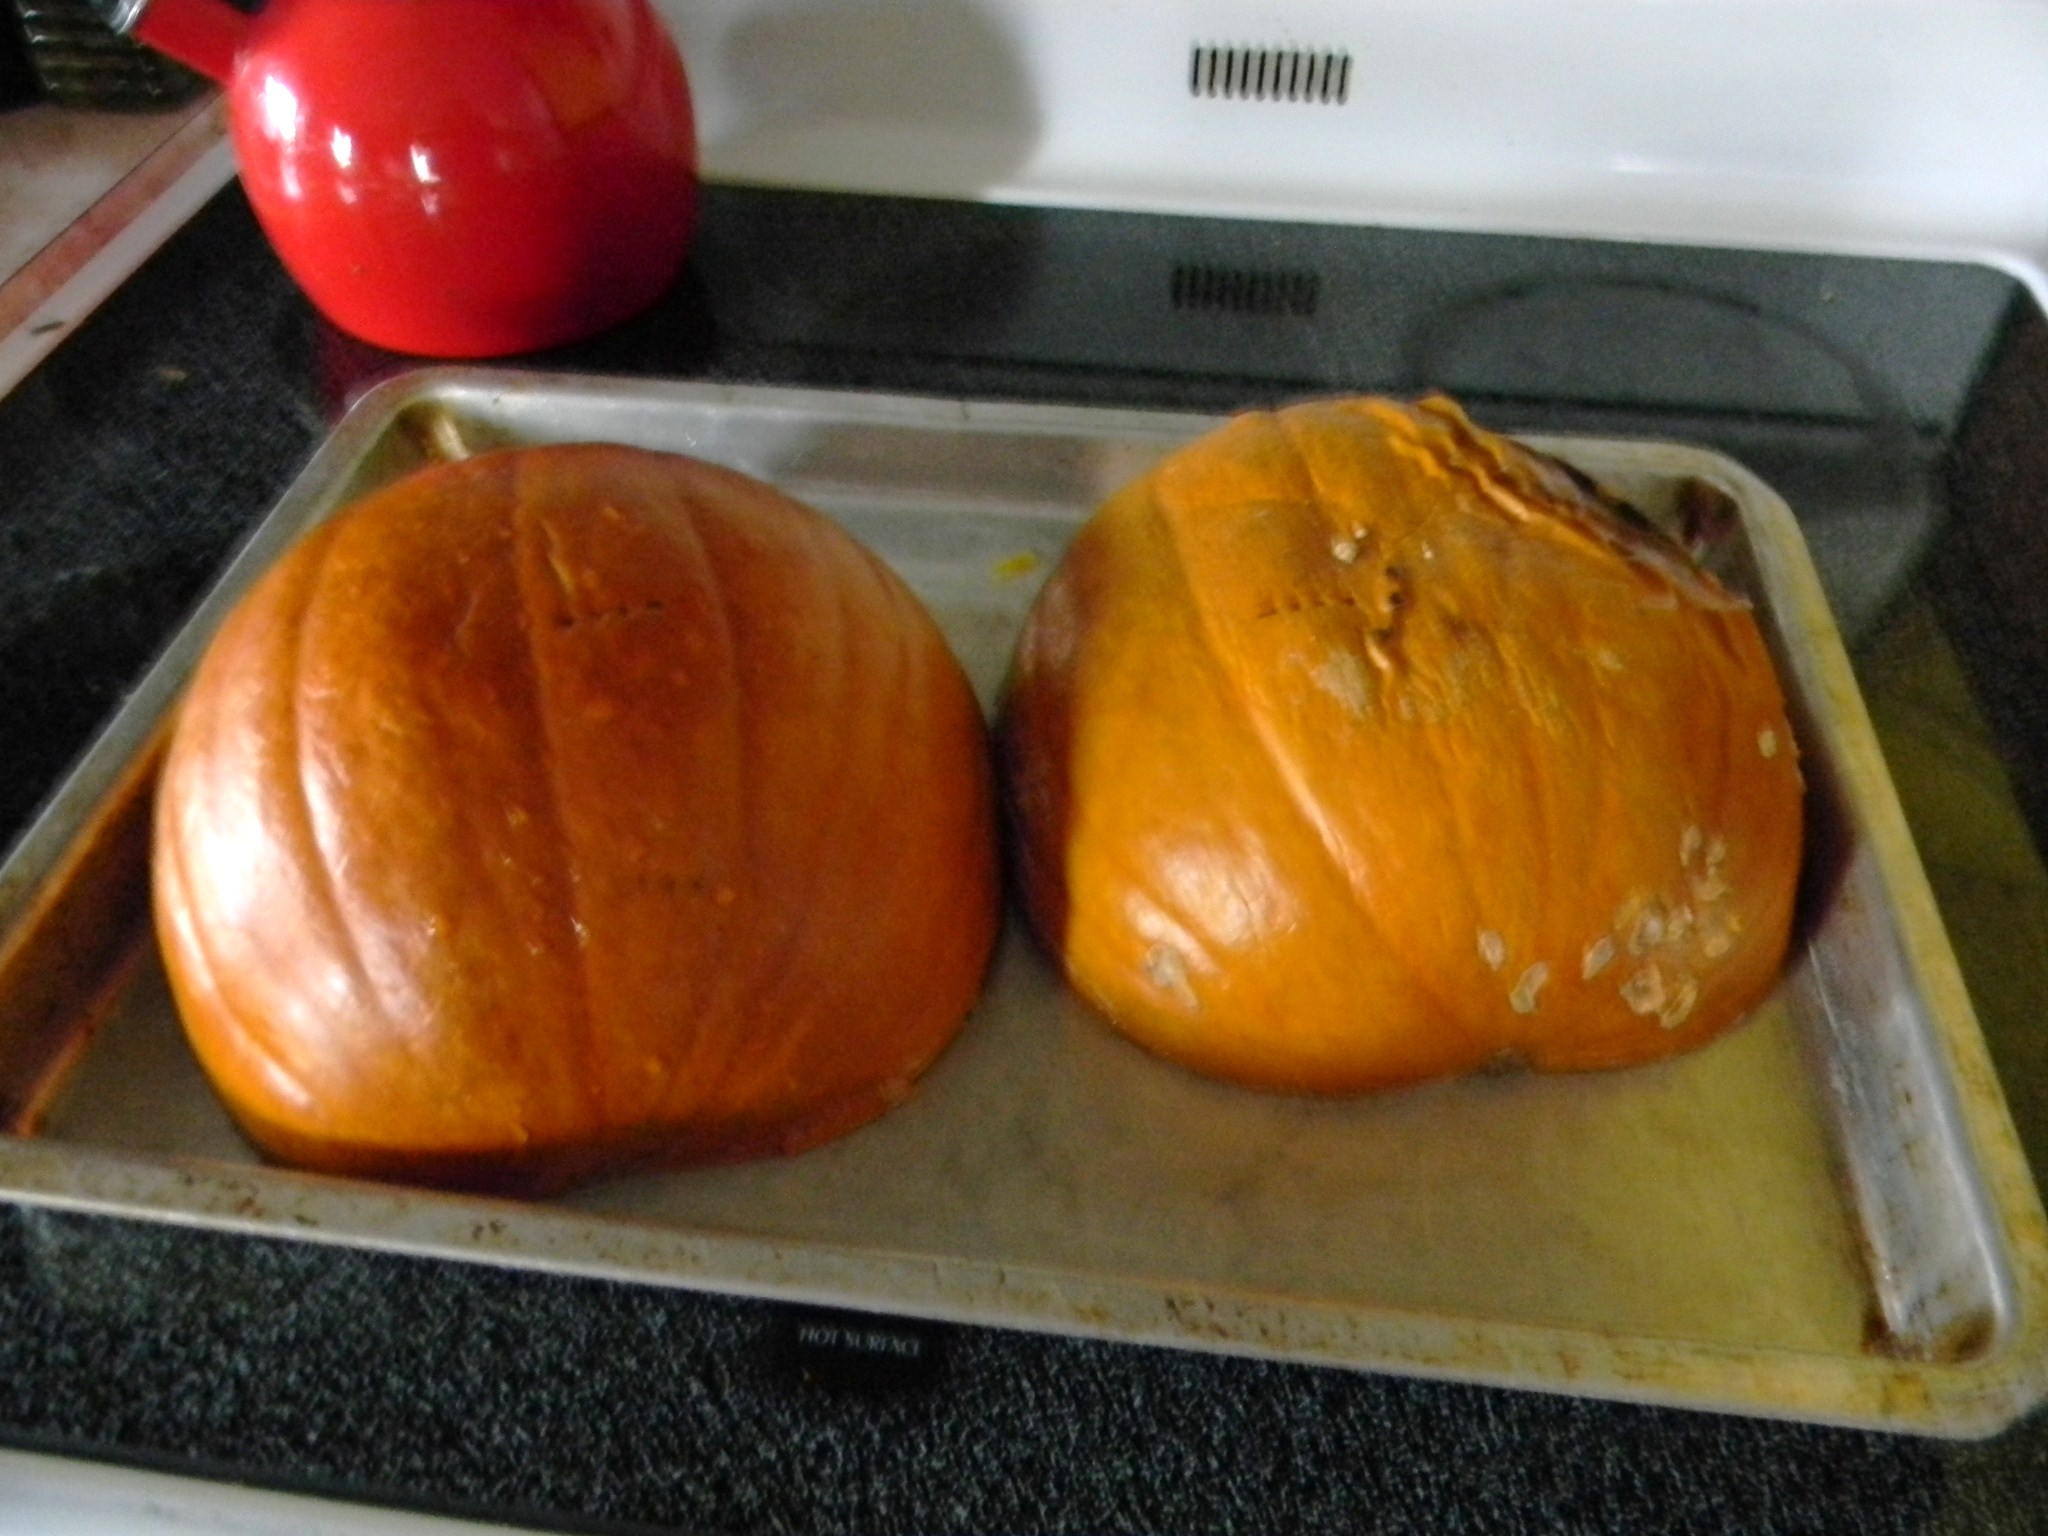
- Bake in a 350F oven until you can pierce the skin of the pumpkin with a fork. If you want the pumpkin to be more puree-like bake it longer. You may need to carefully add water while the pan is in the oven, but bake the pumpkin until it is as soft as you want it to be. The halves may collapse just a little bit as the insides get soft.

- Fork Tender is done enough for chunky pumpkin
- Finally, let the whole thing cool down. When it is cool enough to handle, peel the skin from the flesh and discard the skin. Then you can use it however you like. My last experiment was a simple blend of fresh apple chunks, some pumpkin chunks and curry powder to taste. No sugar and no recipe. I just mixed up what I had and popped it back into the oven to soften the apples. It was delicious!

This method of processing pumpkin is economical, healthy and easy. There are absolutely no additives or preservatives so the only thing that you will taste is pumpkin. It also works for winter squashes of all kinds.
So, if you decided NOT to carve your pumpkin for Halloween, consider Butchering and Eating It! You’ll be glad you did!
If you have any pumpkin tips or stories, I would love to hear from you! Please respond to this blog or email John at [email protected].