Raising the Chicken Coop Roof

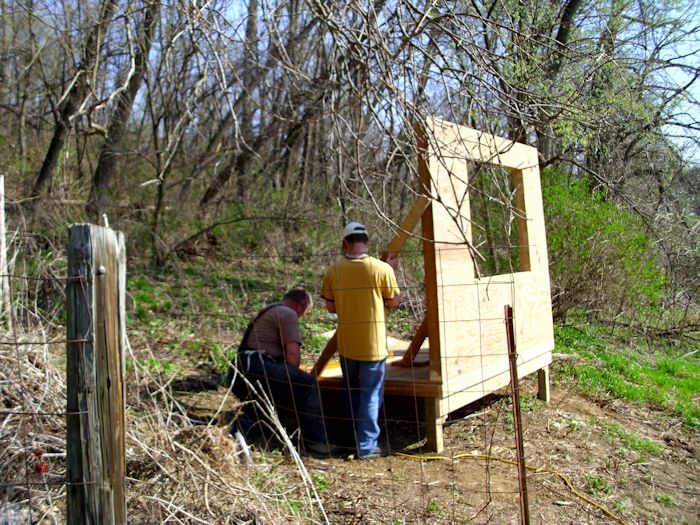
If you’ve been following along with this series of posts, you saw the walls go up in last week’s post, “Adding Walls to the Chicken Coop.” This week, you’ll see how we put a roof on the chicken coop.

Getting a roof put on was a bit of a challenge because we had no heavy equipment with which to work. We couldn’t exactly bring in the likes of Pennsylvania roofers because, well, they work on homes, not coops. In addition, the chicken coop isn’t on flat ground-in fact, the slope in the front of the coop is significant. So, with a lack of flat ground and no heavy equipment, trying to get the roof in place was an experiment in leverage and ingenuity.

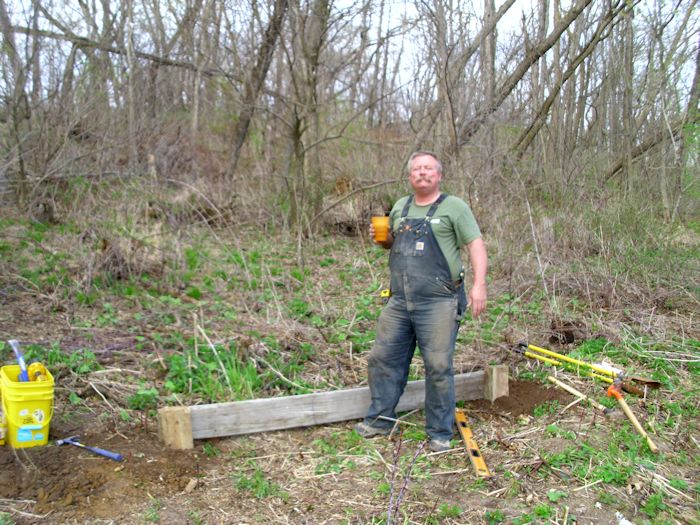
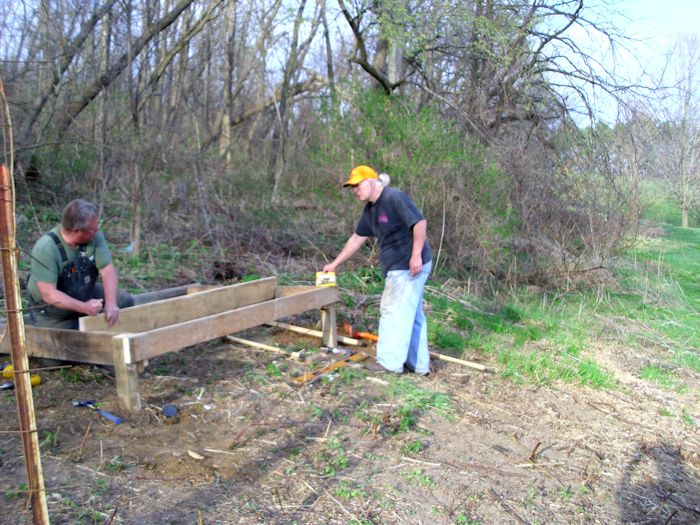
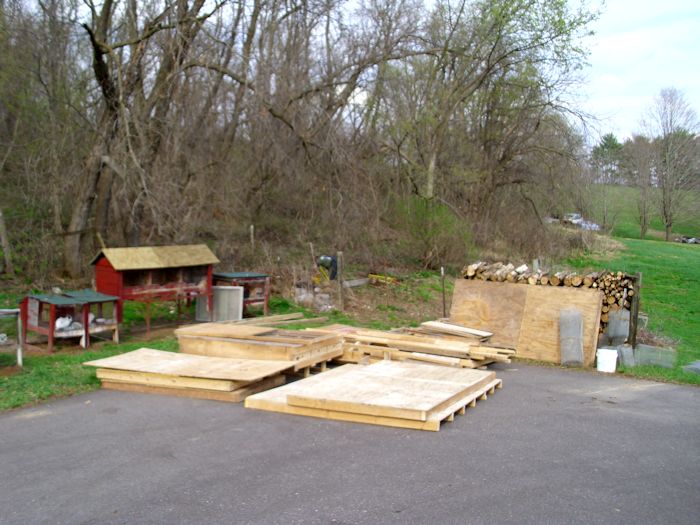
To begin with, we built the roof section on the ground. One end, the end that will rest directly on the ceiling joists, is closed off. The other end, the one that will eventually rest on an extension, has been cut at an angle and is open.

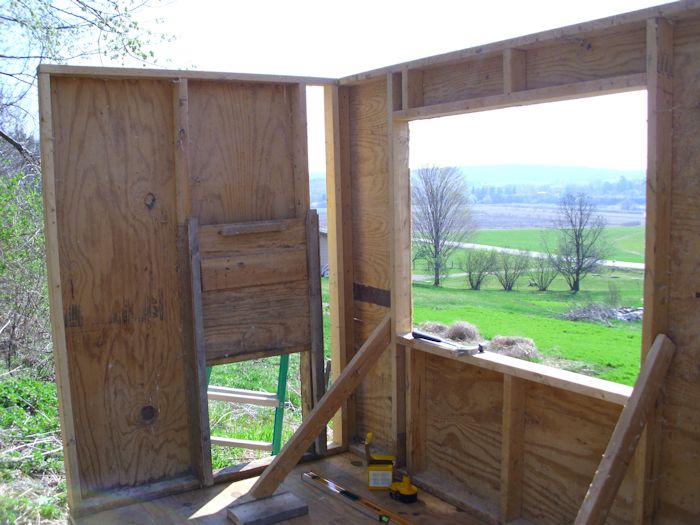
The roof section is two feet wider than the floor to account for the roof slope. In addition, the roof is sloped toward the south so that the sun will hit it full force during the winter months and keep the snow off. In addition, sloping the roof toward the south, the same direction as the slope of the hill on which the chicken coop is built, keeps the water from any rains from flowing under the chicken coop and possibly washing out the supports.

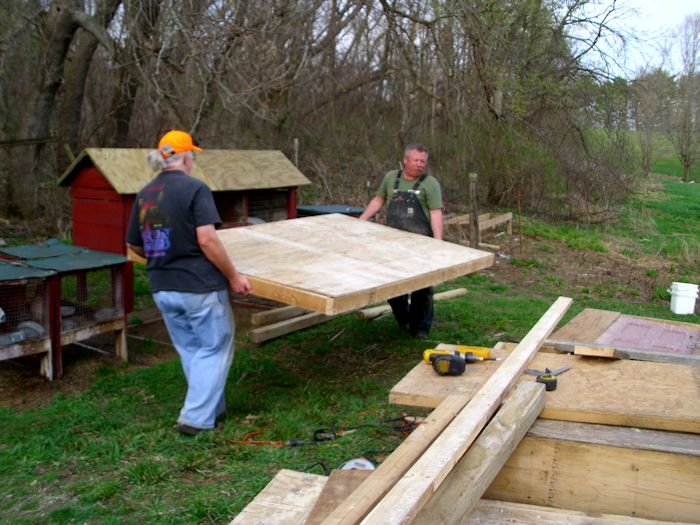
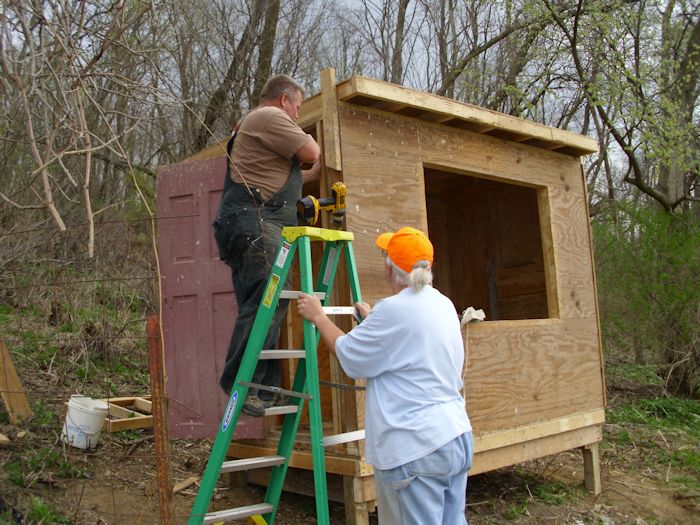
To begin the process of raising the roof, we tilted it against the back of the building. Three of us raised the back end at that point.

ChickenCoop0501

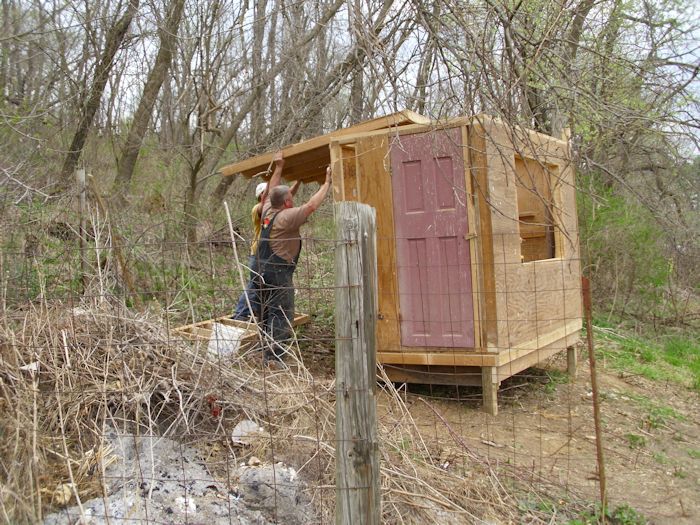
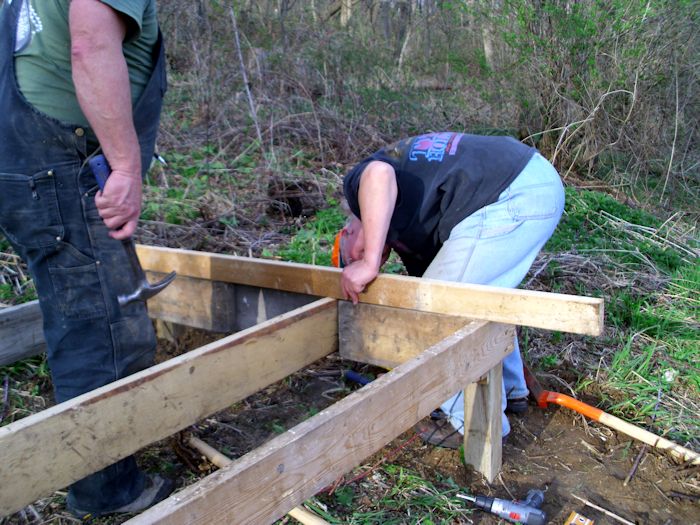
After the roof was in place, the three of us worked at squaring the front of the roof with the front of the chicken coop. Notice the 2 X 4 sticking out of the top of the right side of the front of the roof.

ChickenCoop0502

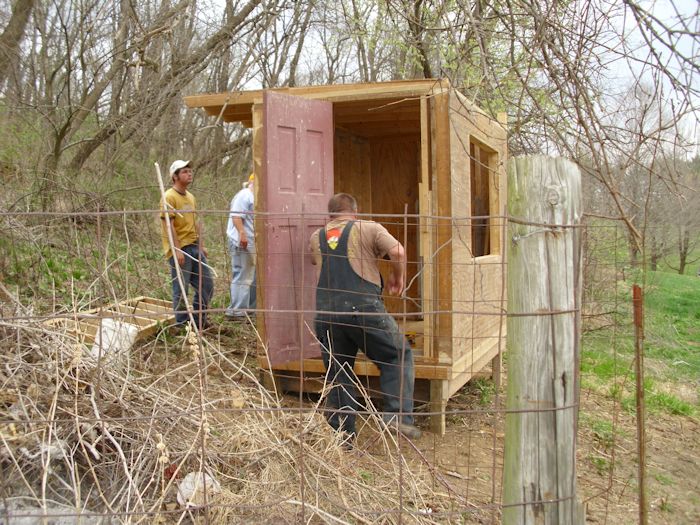
When the roof was squared, we added another 2 X 4 to the other end of the front of the coop and then moved the roof out the amount of space required for the overhang. The two 2 X 4 pieces are then attached to the roof using a single screw so that the entire assembly acts as a hinge we can use to keep the roof in place while creating the slope at the back of the roof.

ChickenCoop0503

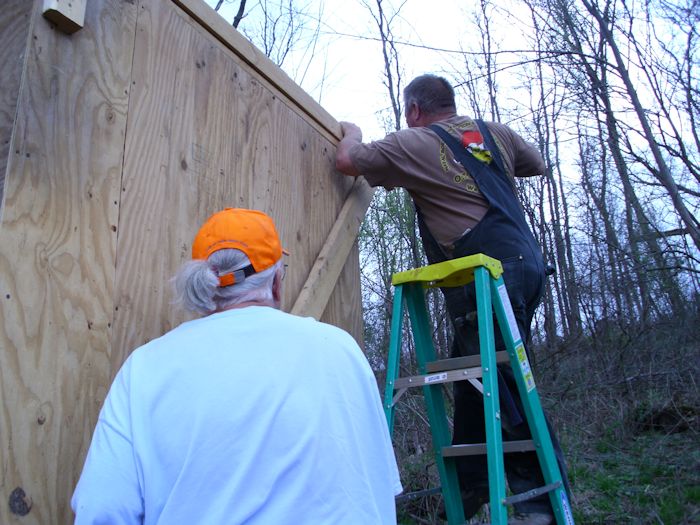
At this point, we attached two long 2 X 4s to each end of the back of the roof. The 2 X 4s are precisely the same length. We used them to raise the back of the roof up and then hold it in place.

ChickenCoop0504

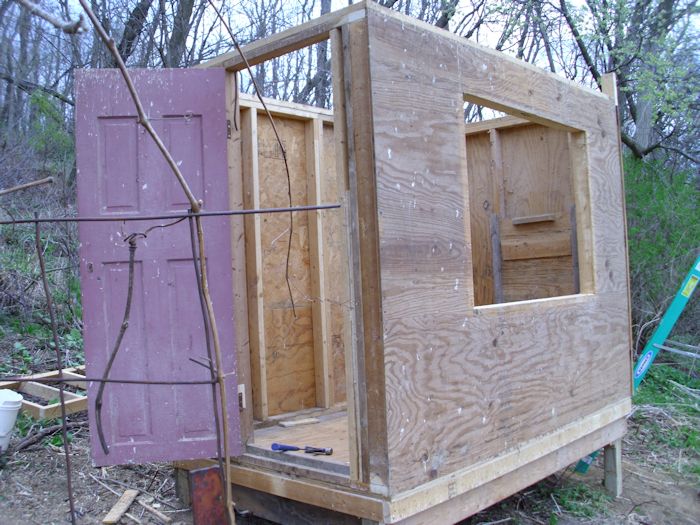
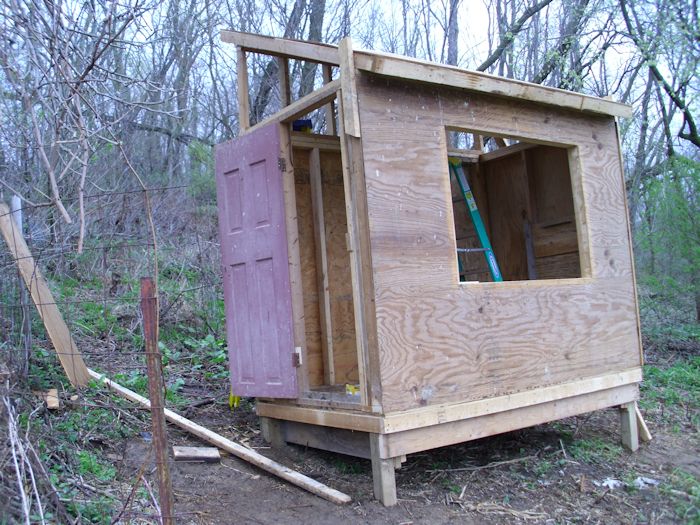
With the roof raised, Kevin added an extension to the back wall of the chicken coop. We secured the extension to the ceiling joist of the back wall and then lowered the roof onto it. The back of the roof was then secured to the extension and then we secured the front of the roof to the ceiling joist of the front of the chicken coop. The result looks like this:

ChickenCoop0505

At this point, the roof is in place. Next week I’ll talk about a number of items required to finish the basic coop structure. In the meantime, please let me know if you have any questions at [email protected].


Adding Walls to the Chicken Coop

Last week saw the completion of the chicken coop foundation (see Building the Chicken Coop Foundation). Of course, the logical next stop is to add some walls to the foundation. As with the foundation, we built the walls in place for the most part and then carried them to the chicken coop. Kevin decided to build the only wall with a window first, the front wall. Adding a window to the front wall, the one that faces south, will help heat the chicken coop in the winter because the sun will be able to shine on the inside almost all day long. During the summer months, the window will allow the breeze that comes up from our valley to move air around on the inside of the chicken coop.

ChickenCoop0401

In this picture, Kevin and Cody are just finishing up on the braces to support the wall during the building process. I’m off the shot doing some work on the next wall to go up.

The second wall faces toward the east and it contains the door the chickens will use to access their run outside of the coop. We did this wall next to provide a square corner on which to build the rest of the coop structure.

ChickenCoop0402

We’ll use a piece of plywood to close in the right side of the second wall later. The most important part now is to get the structure in place. The door you see simply slides up to let the chickens out. At night we’ll close the door to keep predators out. You can’t see it easily in the picture, but there is a little latch that holds the door up. We can swing the latch to keep the door closed as well.

The third wall to go up is on the north side. It will eventually have a window in it near the top to provide ventilation in summer. This wind will blow straight through the coop to keep things cool. The trees from the woods will provide shade during the summer months as well.

ChickenCoop0403

The fourth wall, the one facing west, contains the coop door. After this wall is added, we’ll take out the bracing from inside of the coop since all of the walls are now supporting each other.

ChickenCoop0404

The door is simply an old door from a house. Eventually, the door will be double hung. The screen door will go on the inside of the coop to keep the chickens from simply running out through it during the summer months when the main door will be kept open during the day to provide ventilation.

The walls are bolted into the floor and into each other at this point, so we have a solid framework for the roof. That’s what I’ll talk about next week. In the meantime, let me know if you have any questions at [email protected].


Building the Chicken Coop Foundation

At the end of my post about the chicken coop last week (see Moving the Chicken Coop Parts), we had moved all of the required components to our house from wherever they were stored at the time. After we found a few discount chicken coops, it was time to start putting the chicken coop together, which meant clearing a spot for it and building a foundation.

The place where Rebecca and I live is absolutely gorgeous, but also completely devoid of anything approach flat. So, finding a place to put the chicken coop was less a matter of space and more a matter of finding something flat enough to use. In addition, the place had to be close enough to the house to feed the chickens in winter (putting it out in the middle of the orchard would have been a bad idea) and also close enough to the compost heap to make clearing the chicken coop of waste matter easy. With all of these factors in mind, I cleared as much brush as possible from the location next to the compost heap. The chicken coop is now on the right of the compost heap, while the rabbit cages are to the left.

To keep the chicken coop from sliding off into oblivion, we started by digging two post holes and adding a board between them.

ChickenCoop0301

After making sure this starting point was completely level (despite the fact that things looked quite uneven due to the unevenness of the terrain), we added two more posts, one at a time. All four posts were tied together with boards and made level. After that, we started adding two additional boards in the center to reinforce everything as shown here.

ChickenCoop0302

Make sure everything is even and well-secured is important. We took the time to check and double check everything at this point.

ChickenCoop0303

The posts we’re using are pressure treated 4 X 4 stock. The joists and other framing members are 2 X 6 stock. All of this lumber was recovered from the old chicken coop. In a few cases, we not only had to remove old screws or other hardware, but also clean the stock before we could use it.

We had actually built the floor from a piece of existing wall used in the old chicken coop. Keven made a few changes to the wall design and strengthened it, but the floor was moved intact from the existing site to its new home. Floor space is important for good chicken health. The chicken coop will eventually hold ten chickens and we allowed 4 square feet per chicken inside the coop. (The chicken run allocates an additional 20 square feet per chicken.) Because the floor will take a lot of abuse, we used a double layer of 1/2 inch exterior grade plywood for the floor. The second layer was screwed on at 90 degrees to the first layer right before we moved it to the foundation.

ChickenCoop0304

The floor framing is 2 X 4 stock, but it’s heavily reinforced. Once the floor was ready, we moved it to the platform we had built earlier.

ChickenCoop0305

With the floor in place, we secured it to the platform. Of course, the final check was to make sure everything was still level.

ChickenCoop0306

The next step is to start putting up walls. We’re going to build them in place and move them in whole sections as well. You’ll learn the details in next week’s post. In the meantime, let me know if you have any questions about this phase of building the chicken coop at [email protected].


Moving the Chicken Coop Parts

In my previous post about the chicken coop, Starting a Chicken Coop, I talked about some of the requirements I had looked at when getting the parts for the chicken coop I wanted to build. Three of us worked together to start taking the chicken coop at my friend’s house apart. We worked carefully because some of the parts really didn’t require any deconstruction. Here we are sitting in front of the car used to transport one of the walls intact:

ChickenCoop0201

Cody, our intern, is standing on the left. Kevin, an ex-Seabee and also the brains of this operation, is standing in the middle. I’m on the right. The car was most definitely overloaded with that piece of wall on its back:

ChickenCoop0202

You can’t see it very well in the picture, but the car is definitely riding low. We also loaded up my Explorer and eventually we used my uncle’s truck. It took us a day and a half to break down the chicken coop and move it over to the house. We also obtained some corrugated roofing material from another friend. He had removed it from his house and saved the better looking pieces. By the time we were finished, we ended up with three distinct piles of parts:

ChickenCoop0203

This pile contains some walls we thought we could use intact, the nesting box, some sheet goods, and a bit of fencing. There are also some other bits and pieces that we probably won’t use. For example, the feeding trough it way too long. I’ll deconstruct it and use the wood for another project-absolutely nothing goes to waste around here.

ChickenCoop0204

This pile contains an additional wall that we thought we might need, but weren’t sure about. It also contains some bricks (we probably won’t need them) and the 2 X 4 stock used to put everything together. In addition to 2 X 4 stock, we were able to salvage some 4 X 4s, 2 x 2s, 2 X 6s, and a number of other sizes of lumber.

ChickenCoop0205

This pile contains some fencing parts and the corrugated metal roofing. Actually, we’ll use that metal to surround the entire chicken coop, making it quite durable. The only new materials that the chicken coop will have are some screws (we’re reusing as many as possible) and some tar paper. Otherwise, this chicken coop is made up of pieces salvaged from everywhere, including my own basement (pieces from other projects). This is how recycling should work. Nothing will end up in a landfill anywhere-every component you see in these pictures will be used for something (even if it isn’t in this particular project).

Now that the pieces are assembled, we can start building the new chicken coop. I’ll fill you in on the details in a future post. In the meantime, let me know if you have any questions about the process we’re using at [email protected].


Starting a Chicken Coop

Sometimes life throws an opportunity your way and taking it is the only logical choice. Normally, we could never afford to buy all of the parts for a chicken coop at a price that would actually provide a payoff. Normally I try to get a five year payoff plan for anything we add to our property and a chicken coop simply requires too many parts to provide such a payoff when used in a self-sufficient manner.

A friend of ours is selling her house, which actually sits on a small farm. In her pole shed is a chicken coop that she’s willing to sell for a reasonable price—a price that should provide us with that five year payoff plan we need. It’s not meant for outside use, but it does have many of the items that an outside chicken coop would require. Of course, that begins with a double door with the screen on the inside, rather than the outside, so that the chickens can get some fresh air during the summer months.

ChickenCoop0101

Inside the existing chicken coop, there is a roost and nest boxes. The roost provides a place for the chickens to sleep above floor level. The nest boxes provide a place to lay eggs.

ChickenCoop0102

At one end of the existing chicken coop is a chicken-sized door. It leads outside to a ramp where the chicken can go into a fenced area for exercise and fresh air. We plan to make the fenced area large enough to ensure the chickens can get plenty of safe exercise (we’ve seen a few chickens get hit by passing cars when they’re not fenced in, not to mention foxes, weasels, racoons, hawks, and other predators).

ChickenCoop0103

The existing chicken coop even includes a window so the birds get sunshine during the winter months. Given that we’re on a south facing slope, the window will allow not only sunshine, but a certain amount of heat during the winter months. Of course, we’ll need to include a heat lamp for really cold winter nights.

ChickenCoop0104

Of course, the first task is to take the chicken coop down and move it from its current location to our house. We’ll have to use the components we obtain to rebuild the chicken coop in a form that will work better outside (including the addition of a roof). I’ll keep you updated on our progress. In the meantime, let me know if you have any questions about our project at [email protected].