Harvest Festival 2012

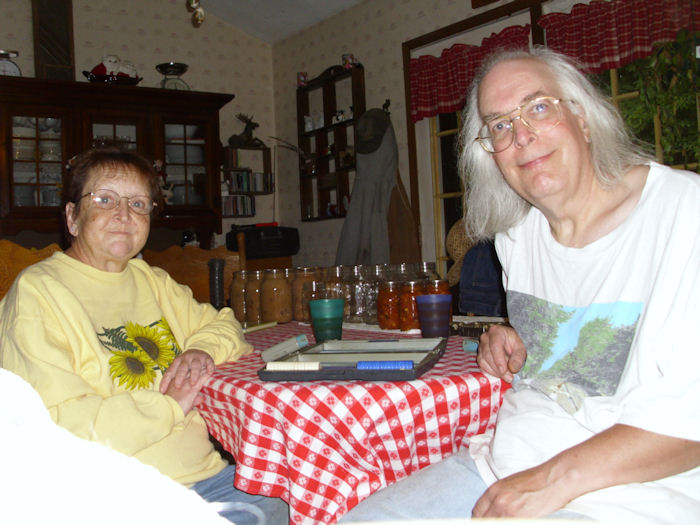
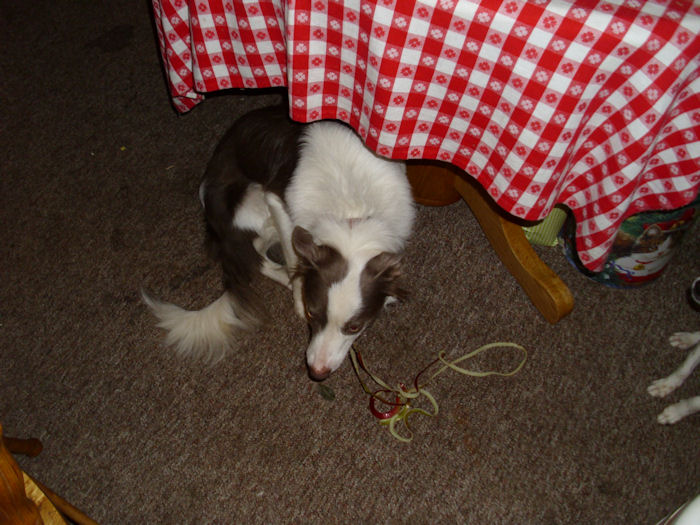
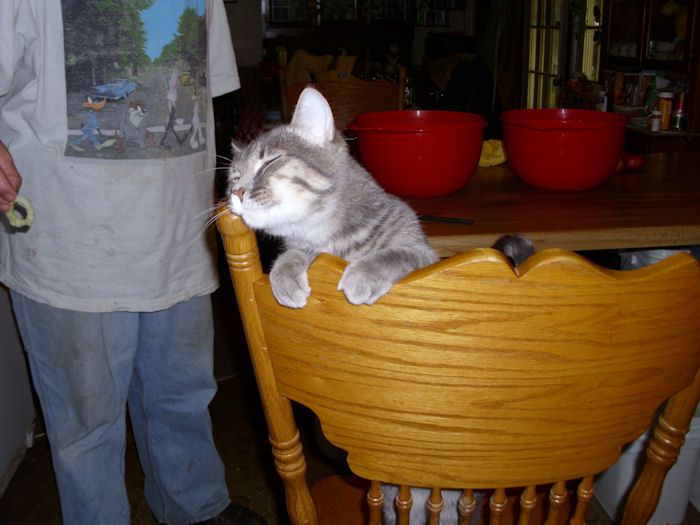
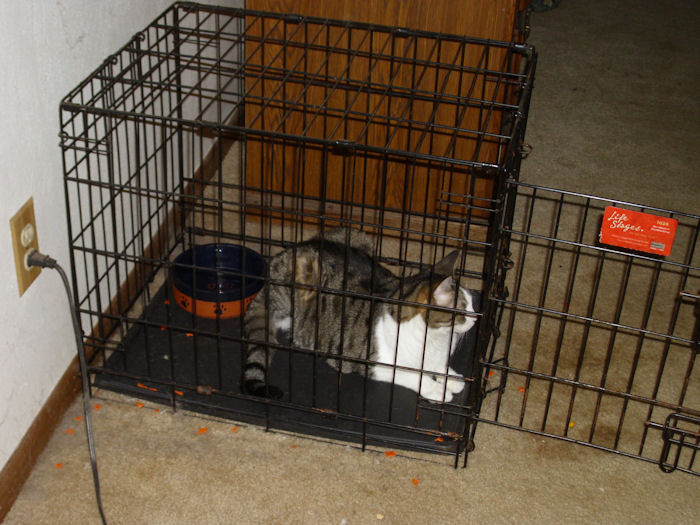
Last year I told you about some of the things we do for Harvest Festival in Fun is Where You Find It! (Part 3) post. Of course, every year has some similarities. There is the special music and it wouldn’t be Harvest Festival without a few games. Apple cider is always part of our celebration, along with plenty of samples from the garden. Our “kids” (the animals we keep as pets) always play a big role in Harvest Festival too.

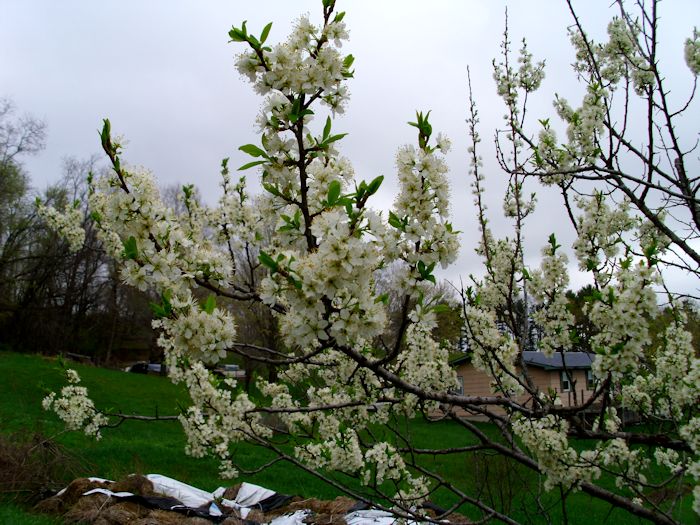
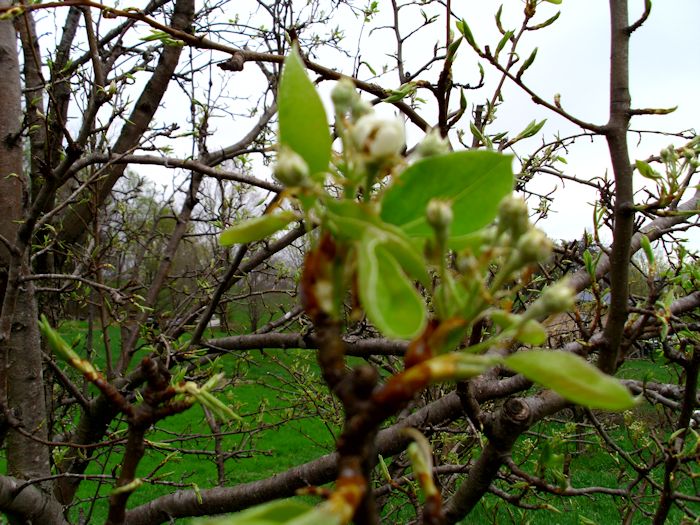
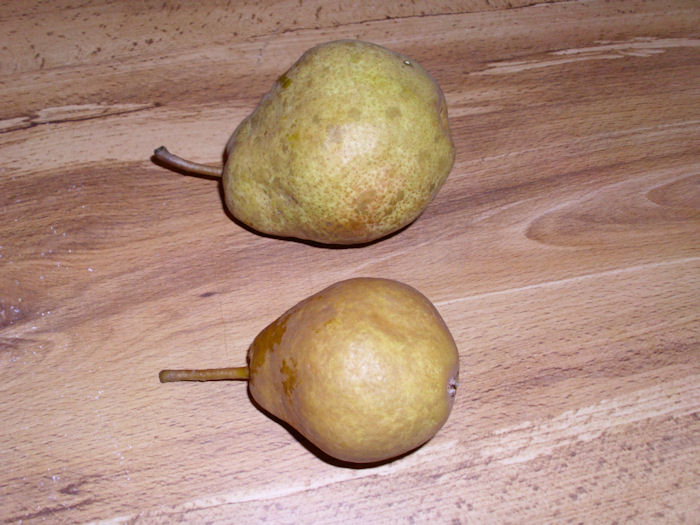
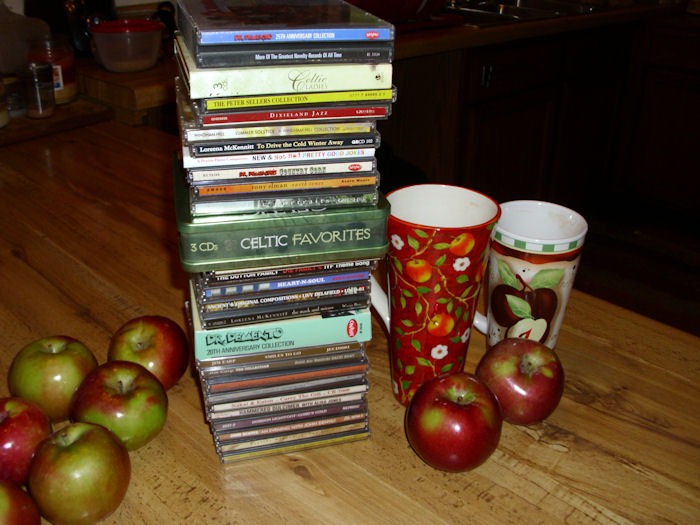
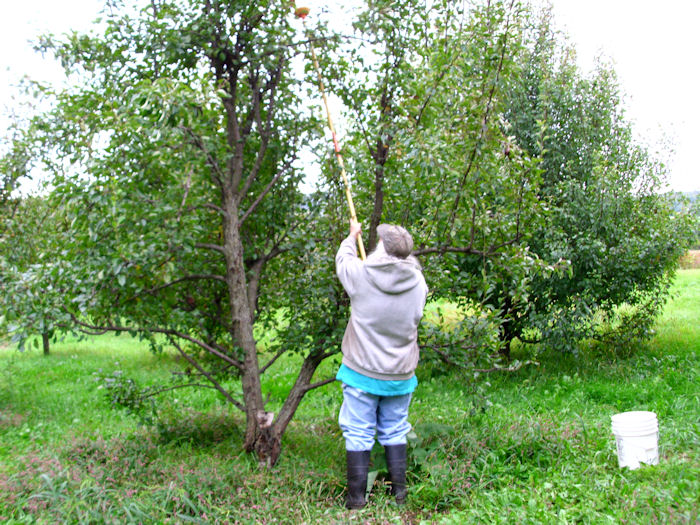
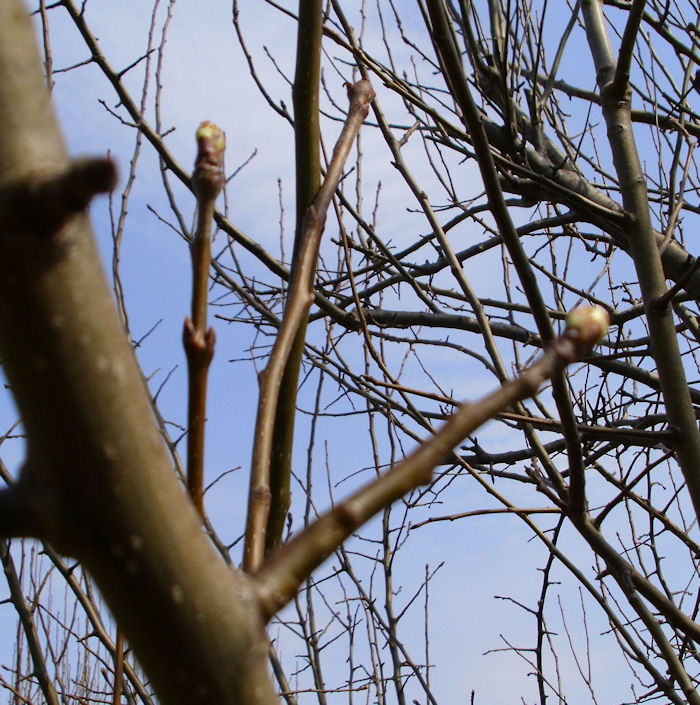
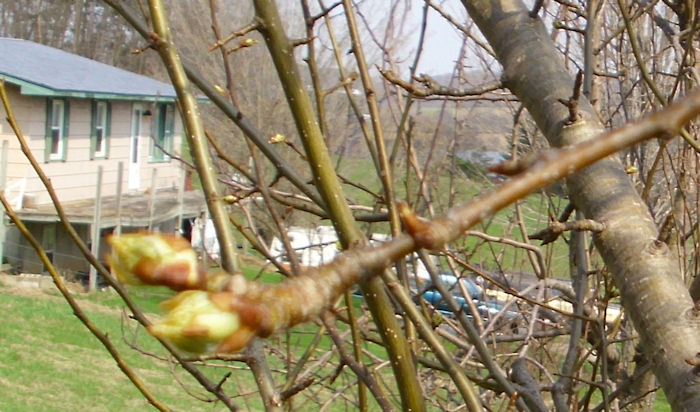
As with everything else, this year’s Harvest Festival is a bit different. For one thing, our fruit trees didn’t produce anything. Things started off badly with an early spring that saw the trees bloom well before they should have. A late frost killed off a lot of the blossoms before the pollinators were even out to pollinate them. After that, some heavy winds knocked off a few more blooms. The fruit that did manage to set was killed off during this summer’s drought (we couldn’t even attempt to water all our trees). The result is that we ended up buying two bushels of apples so that Rebecca could make me some apple chips. I know that buying the apples by the bushel was a lot less expensive than buying them in the store, but even so, I wish we hadn’t had to do so.

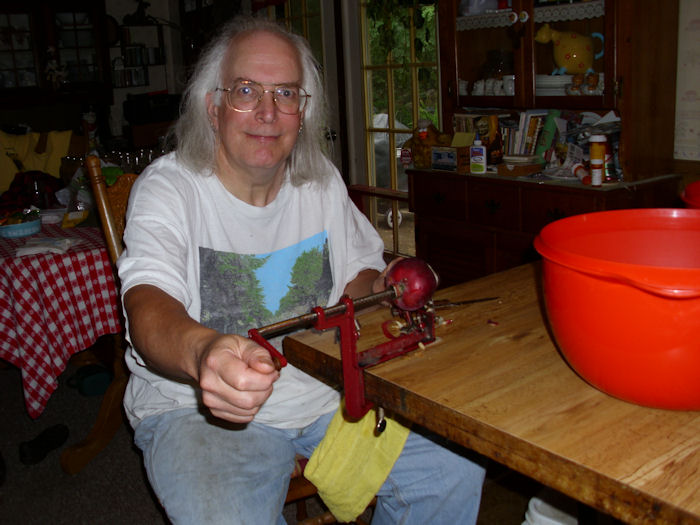
Nothing goes to waste when we work with items from the garden. Of course, I use one of the apple peelers that produce the really long strands of apple peels. This year is the first time that we’ve had laying hens, so I was curious to see what they would make of the apple peels. They didn’t disappoint. One hen would grab an end of a peel and fly up to the nest box, while another would grab the other end to try and get the peel from the first hen. The two would then play this silly looking game of tug of war, even though there were lots of peels in the dishes. Both chickens just insisted that they really must have that single peel. By the time the chickens had played with the peels for a while, we had apples strung between the windows, rafters, nest box, and the dishes. It looked like some sort of crazy spider web created by a demented spider. By morning, all of the apple peels were gone, which also surprised me considering I had peeled 30 apples to get them. The chickens certainly like fresh fruit.

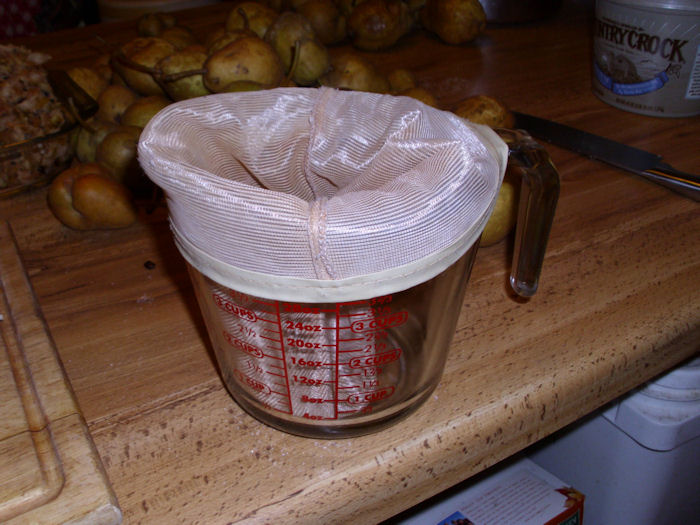
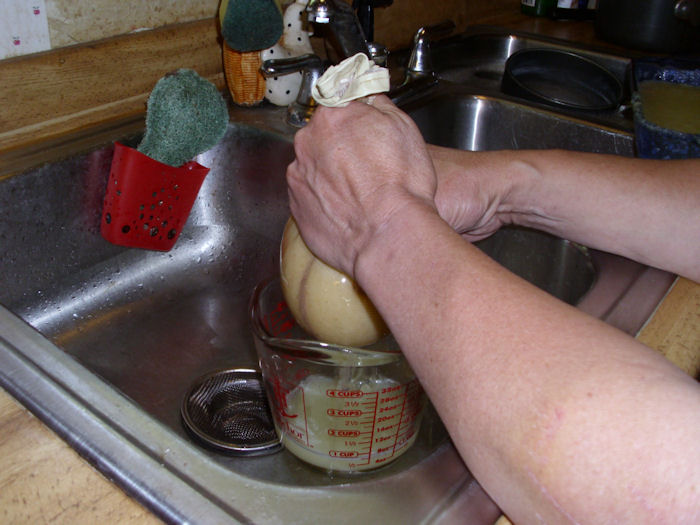
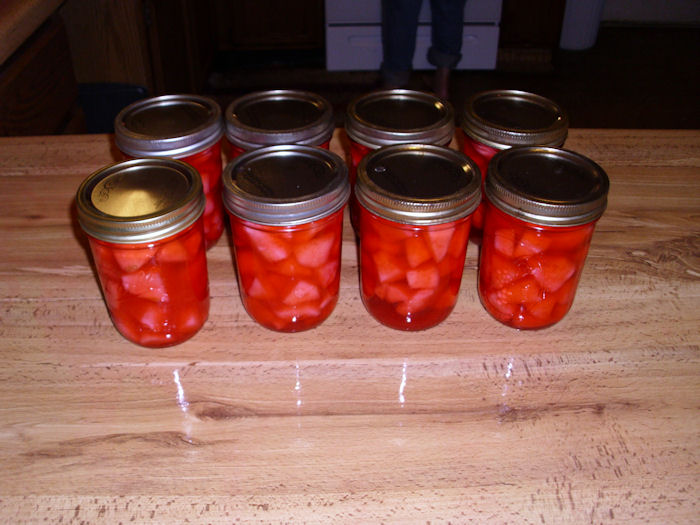
We don’t just process fruit during Harvest Festival. Our friends offered us some tomatoes and we gratefully accepted them considering our own tomatoes have had an anemic output this year. Rebecca turned the first bushel into salsa, catchup, and a canned salad. We hope to get two additional bushels for juice, whole canned tomatoes, and a bit for wine making. A lot of people enjoy my tomato wine.

It looks like this is going to be a stellar squash year. We have squash vines growing everywhere. Normally, the vines stay within the 40′ × 60′ area as long as we redirect them a bit. This year we have vines trying to grow into the grass and along the rows. There is a squash plant vying for space in one of the tomato cages and slowly edging the tomato out. I saw one trying to grow up the side of an eggplant and another is heading toward our okra. A vine that might normally produce three really nice squash has produced five, six, or possibly more (it’s such a mess out there that I’m having a hard time counting them all). Rebecca has also made all of the zucchini chips we need for the year. (See the Making Use of Those Oversized Zucchinis post for details.)

As I’ve always said, there is something interesting going on with each year. We never get bored here. One of the rewards of being self-sufficient is that you do see the changes wrought by the weather. What do you find exciting about the fall months of the year? Let me know at [email protected].


Enjoying the Spring Flowers

Spring has come incredibly early to Wisconsin this year. I’m amazed at just how fast everything has budded and flowered. We’ll actually make it to Easter this year after my spring flowers have blossomed and reached their peak. Given that we’re hustling to fit everything in, I haven’t taken a lot of spring flower pictures, but here are a few showing my tulips, daffodils, and grape hyacinth (amongst others).

SpringFlowers01

The flowers that appeal the most this spring are the grape hyacinth, which are especially fragrant for some reason. The odor is downright overpowering at times. It must be the unusually high temperatures that we’ve been experiencing. Interestingly enough, our crocus came up, bloomed, and are already gone for the season.

We have a number of different varieties of daffodils. A favorite of mine this year have white petals with yellow insides:

SpringFlowers02

They look incredibly happy. Of course, the plum trees are blooming as well. This year they’re just loaded with blooms.

SpringFlowers03

I’m just hoping at this point that we actually get to keep some of the fruit. Wouldn’t you know it, the trees just start blooming well and the weatherman has to ruin everything with a prediction of frost. Our weather hasn’t been quite as nice the last few days as it was earlier in the month. That’s part of the problem with an early spring-the trees start blooming early, which exposes them to a greater risk of frost. If you want some tips and more information when it comes to blooming trees then take a look on tree service blooms as they’ve got good information on a lot of different types of trees flowering.

Fortunately, the pear trees are just starting to get ready to bloom. The buds have started to burst open a little, but they’re still closed enough that a light frost won’t hurt them.

SpringFlowers04

The apples aren’t even as far along as the pears, so there aren’t any worries with them. I really do hope my plums survive the night. A frost would probably ruin our harvest at this point. It doesn’t pay to worry. The weather will do what the weather will do whether I worry or not, so it’s best just to let things go the way they will. Every year brings it’s own special set of challenges.

So, are you experiencing an early spring this year? If so, what sorts of challenges are you facing? How do you plan to use the early spring to your advantage? Let me know at [email protected].


Trimming the Trees (Part 3)

In Trimming the Trees (Part 2) I discussed some of the specifics of pruning trees. At this point, my trees are all pruned. However, there is still work to be done. For one thing, this is the time of year when I examine the trees for egg masses of the Eastern Tent Caterpillar. Despite what you may have heard, repeated infestations will definitely kill a fruit tree, especially if the infestation is severe enough. It only makes sense. If you remove all of the leaves from a tree that only gets one set of leaves per season, the tree can’t store energy for the winter months.

Our experience has been that they’re a nuisance with apple trees. Yes, the tent caterpillars will cause a problem, but if you get in there and squish all of the caterpillars in the tent (or better yet, get rid of those egg masses in the spring), the apple hardly notices. However, plum trees seem to attract tent caterpillars like magnets. All four of our plum trees were in danger from dying at one point because we simply couldn’t keep the caterpillars under control. I told my friend about my problem with the plum trees and he said I should work with someone like The Local Tree Experts or at the very least get their perspective on how to manage this problem so we could enjoy our plum trees again. They had some useful advice from what I hear. Trying a few sprays was the first suggestion.

We did try a number of sprays-all of which proved ineffective. Spaying the trees with a dormant oil spray in the spring helps only a little. By far the best strategy is to hunt down the egg clusters and destroy them. The secondary strategy is to look for the tents absolutely every day in the spring and summer after the trees have leafed out and destroy them by individually squishing the caterpillars by hand. We actually had two of our plum trees stripped of leaves in a single day by these pests.

While we’re looking for tent caterpillar egg clusters, we also look for other problems in the trees, such as disease, insect infestations, and so on. It’s easier to find problems after you’ve pruned the trees and there are fewer branches to check. Taking time now to check the trees will save you a lot of effort later.

Of course, now we have a pile of branches to deal with. This year we pruned our pear trees heavily because they’ve become a little overgrown. If pear trees get too overgrown, they’ll tend to prune themselves in heavy winds-usually not in a way you would have chosen. The pile of branches from all of our trees is quite high this year.

TreeTrimming0301

We’ll put all of these branches through the chipper and then use them for mulch. A lot of people would probably burn the branches up, but using them for mulch does save at least some money. I’ve been trying to figure out the environmental balance in this case. On the one hand, burning the branches would produce a lot of particulate smoke that would pollute the air for at least a while. However, using the chipper also produces pollutants, and some of those pollutants are harsher on the environment than the smoke from burning would cause.

If we had burned the branches, I would have placed the pile in the middle of the garden. That way we could have plowed the ashes into the ground where they would have provided fertilizer on top of the winter rye you can see growing in the background of the picture. So, either way, the branches wouldn’t have gone to waste. However, we really need the mulch more than the ashes, so we’re creating the mulch.

Our orchard is ready for spring at this point. Let me know about your tree pruning and bug eradication experiences at [email protected].


Trimming the Trees (Part 2)

I would like to start this by saying that I’ve had lots of experience and training when it comes to using the tools needed for trimming and cutting trees. I know what I’m doing so I know how to do it safely. I would never encourage any of you to cut your trees if you don’t have experience as this could lead to serious injury. Take a look on stamfordtreeservices.com if you’re wanting your trees serviced professionally.

Anyway, I’m starting to get down to the last few trees in the orchard (and I may not be able to get them because the sap is starting to run). When the pruning is light, I can get through all 33 of my trees in a couple of days-assuming I can work all day at it and the weather isn’t too cold (or hot). This year it’s taking a bit longer because I’ve had a number of personal issues that have kept me from working full days outside. Even so, I normally don’t get the trees finished until the end of March or beginning of April, so I’m getting done early this year. As mentioned in Trimming the Trees (Part 1), when to prune is a matter of much debate. Some people prune their trees in the fall, some in mid-winter, and some a bit earlier in the spring than I do.

Part of pruning your trees is knowing how to prune that particular tree. For example, I visualize an umbrella shape when trimming apples. In fact, a lot of home growers use this particular shape. An umbrella shape is quite strong and tends to ensure a good harvest. In addition, the umbrella shape is easier to pick. Commercial orchards use a variety of other shapes, some of which work best when the pickers are working from the back of flatbed trucks. Some people tie down water sprouts to obtain the umbrella shape, which tends to stress the tree. I prefer to look for branches that are already heading in the right direction and trim off everything else. Water sprouts are branches that grow straight up from joints in the tree. You need to trim these off as they’ll never produce any fruit.

Our pears and cherries are dwarf trees with a strong central leader. When pruning these trees, I visualize a flame shape. The tree should be topped to keep it from growing too high. Yes, you’ll get fruit all the way up, but the problem is figuring out a way to pick it without damaging the tree. Keeping the tree down to between 14 feet and 16 feet high ensures that you can reach all of the fruit in fall. Water sprouts aren’t a problem with the central leader trimming technique. What you want to do is ensure that none of the branches are crossing and that the limbs aren’t overextended. Cherry trees require a significantly lighter hand than pears do. In fact, pear trees are quite forgiving when you over-prune them. Cherry trees are also stronger than pear trees. If you don’t trim your pear trees heavily enough, the limbs have a habit of breaking off at the crotch, especially in high winds.

Plum trees are just plain messy looking. I don’t think I’ve ever seen one that I would consider a beautifully shaped tree (at least, not one that produces fruit). Plum trees are normally trimmed using the open center approach. This technique relies on three or four branches attached to a main trunk. You don’t trim the tree heavily. In fact, unless there is some sort of problem with crossing branches or water sprouts, you don’t trim at all. Of all the trees, prunes are the least forgiving when it comes to over-pruning. They grow slowly, so taking off too much this year means paying for several years. Two of my prunes actually look more like a bushes than trees and I trim them quite carefully to keep them that way.

Some trees produce well every other year. My apples are this way. They’ll produce quite heavily one year and then take a vacation the next. With this in mind, I establish a pattern of trimming heavier on off years and lighter on production years. This way, I maximize the amount of fruit I get from the tree and still maintain it properly.

I haven’t personally tried my hand at growing anything more than apples, pears, plums, and cherries. However, the basic techniques I use likely apply to most fruit tree types. My next project is to try my hand at growing some nut trees. Hickory nuts and butternuts grow well in this area, so I’ll try them first. Unfortunately, we can’t grow English walnuts or you can be sure I’d be planting them. We can grow black walnuts, which work well in baked goods. The only technique I haven’t tried so far is the trellis technique of pruning for fruit trees. I’d love to hear from anyone who has tried it at [email protected]. In my last post (for now) on this topic, I plan to discuss some of the things you should look at on the tree while pruning.


Trimming the Trees (Part 1)

There are many different theories about trimming fruit trees. Talk to five orchards and you’ll likely hear five completely different tales of the precise technique that someone should use for trimming fruit trees. My own personal theory is to trim the trees later in the winter or early spring, before the sap begins to run, but after the majority of the hard winter weather is gone. The idea is to have fresh cuts to encourage growth, but also to let the cuts heal before the sap runs so that the tree won’t “bleed” from the trimming. Other people get Greenleaf tree pruning in Austin to trim in the fall or at other times during the fall to winter season. One thing you never want to do is to trim your fruit trees after the sap begins to run because the tree will lose too many nutrients that way.

Rebecca normally does the majority of the lower cutting. It’s time consuming work because you have to decide just which twigs to cut. Every twig has the potential to bear fruit, so what you’re really doing is cutting off fruit before the tree even has a chance to produce flowers. We trim a little bit away from joints to help prevent disease as shown here:

TreeTrimming01

Rebecca prefers a ratcheted hand pruner. It helps amplify her hand strength so that trimming the tree isn’t quite so hard. In addition, you can generally prune larger branches using a ratcheted pruner than you can other hand pruner types. There are many different types of trimmers and you should choose the type that works best for you. I generally use an anvil-style hand pruner. It requires significantly greater hand strength to use, but in exchange, I get cleaner cuts, I can trim the tree faster, and the pruner itself wears longer. I strongly recommend against using bypass hand pruners on trees because the blades tend to bend and not produce a clean cut. A bypass pruner works much like a scissor and the tree branch can become wedged between the two blades.

In addition to hand pruners, your tree trimming kit should include a lopper, which is used to cut thicker branches. I highly recommend a long handled geared lopper because it will last longer, produce smoother cuts, and require less muscle to use. A good lopper will enable you to cut branches up to 2-1/2 inches in diameter in most cases. The idea is to use the lopper whenever possible because it produces a smooth cut that won’t bleed as much.

At some point, you’ll encounter branches that you can’t cut using a pruner or a lopper. In this case, you must resort to using a pruning saw. As with pruners and loppers, pruning saws come in all sorts of shapes and sizes. When working with fruit trees, you want to get a curved razor tooth saw so that the cuts are as smooth as possible and you have the fullest possible range of motion. Remember that when you cut with a saw, you start by making a counter cut on the opposite side of your final cut. Then you make the final cut. If you don’t provide a counter cut, the branch could break or the bark could end up peeled from the tree, inviting disease.

All of the tools mentioned so far will cut up to around five feet of the tree’s height, but even a short fruit tree is six or seven feet (most are more). In order to trim the rest of the tree, you need a tree pruner of the sort shown here:

TreeTrimming02

This particular tree pruner is 14 feet long. The pole telescopes so I can make it shorter or longer as needed. Believe me, the ability to adjust the length is essential. The longer the pole, the more strength required to hold it up. After a few hours of using this tool, your shoulders are guaranteed to ache. Unlike most tree pruners, this tree pruner relies on a chain for the clipper head, which means that it’s a lot less likely to become tangled in the branches or get twisted. The chain also reduces friction so you don’t use as much muscle to cut the branches.

The tree pruner also has a razor saw for cutting larger branches. You have to develop a technique for cutting the branches because when you get up this high, they tend to sway back and forth with the saw, rather than being cut by it. I find that moving my whole body in the correct rhythm (counter to the tree sway) does the trick.

If possible, get a fiberglass pole. Wooden poles tend to get heavy and can sometimes start getting weathered (making them splinter). This pole also includes a foam pad, which feels a lot more comfortable on the underarm when I’m cutting up higher than shown in the picture.

That’s the equipment needed for tree trimming: hand pruner, pruning saw, lopper, and tree pruner. If you want to be 100% safe to avoid any unwanted tree accidents, I would recommend hiring a tree service to remove/trim the trees for you, rather than attempting it yourself. Safety has to be a priority and hiring a tree service to cut your trees is a great way to prevent common tree accidents. If you want to have a go yourself, to keep from spreading disease between trees, make sure you wipe your equipment down with alcohol after cutting a diseased tree. However, the alcohol rub will cause your equipment to rust. To keep that from happening, make sure you apply oil after the alcohol rub. Let me know if you have any questions or thoughts about equipment at [email protected]. I’ll continue this post next week with some insights into pruning techniques and things you should look for as you prune.

Creating Raw Juice for Wine Making

Earlier this year I created a series of posts about making wine using the cubicontainer technique that relies on a single container, rather than using two containers for primary and secondary fermentation. This approach requires that you use juice, and not raw fruit/vegetables, as the source for the wine. Most people think that you can make juice only from a raw source, such as crushing grapes. However, wine makers know that you can use both raw and cooked juice. This post shows how to work with raw juice—pears in this case. If you haven’t read the wine making series of posts, you can find them at:


When working with any fruit for raw juice, you need to pick the fruit at the peak of ripeness. In the case of pears, this means smelling the fruit for the distinctive pear odor. The fruit should still be firm, but crush easily in the hand. Taste the fruit and you should smell a strong pear odor, along with a high sugar content. Check the inside for an off white appearance. If the fruit seems starchy, the inside has yellowed or browned a bit, or seems mushy to the touch, it’s overripe and won’t make good wine. Likewise, if the fruit is still greenish in color, seems a bit too firm, or lacks the strong pear odor, it  isn’t ripe enough. Every fruit has its peak time for picking that typically last one or two days. That’s rightyou must check the fruit absolutely every day or you’ll miss the perfect time to pick it.

In order to create the juice, you begin by running the raw pears through a Victorio Strainer. You need to be absolutely certain that the pears are ready for use in wine. Pears that aren’t ripe could damage your strainer. Normally, the juice turns a bit brown as you strain it due to oxidation and the presence of bacteria. In this case, you’ll prevent that from occurring by adding a campden tablet to the output of the Victorio Strainer and stirring the juice from time-to-time as you strain the juice. The result should be a slightly greenish yellow juice as shown here.

RawJuice01

However, this juice isn’t ready for wine making yet. It still contains a substantial amount of pulp. You need to make at least 2 quarts of strained pear juice to obtain 1 quart of juice ready for wine making. The next step is to place a jelly bag over a 1 quart measuring cup like this:

RawJuice02

Pour as much of the strained juice into the jelly bag as possible. Now you’ll squeeze the bag to separate the pulp from the juice like this:

RawJuice03

Once you have a quart of juice, you can use it immediately to make wine or freeze it for later use. A quart of pear juice will make one gallon of wine using the wine making techniques I discussed earlier. If you decide to freeze the juice, make absolutely certain that you mark it for wine use only because the juice already has the campden tablet in it.

This same technique works fine for any fruit that gets soft enough when ripe to put through the Victorio Strainer. For example, it works great with berries. However, I haven’t ever gotten this technique to work properly with applesmost apples are still too crisp when picked to get through the Victorio Strainer successfully. Apple wine requires the use of a cider press or the cooked juice method. Other fruits, such as rhubarb, require the cooked juice method. You can use this technique for some vegetables as well. This is the technique I use to make tomato wine. If you want to work with a harder vegetable, such as beets, then you need to use the cooked juice method. (I’ll describe the cooked juice method in a future post.) Let me know if you have any questions about this technique at [email protected].


Considering the Unexpected Harvest

A number of my posts deal with the unexpected or a way of viewing the garden in a way that puts things in perspective. For example, a recent post, Every Year is a Good and a Bad Year, discusses how each year can produce unexpected results in the garden. Planting a wide range of vegetables is your only way to deal with the potential yield differences from year-to-year. Of course, diversity is good for your health and the soil as well. This post looks at the same issue from the perspective of the orchard.

The orchard is different from the garden in that you plant an orchard for a long term yield. Our first pear trees were planted 11 years ago. When you make such a long term investment, you need to place an even stronger emphasis on biodiversity. For example, this year started extremely wet. A frost occurred while the trees were in bloom—killing many of the blossoms. To make things worse, we had golf ball-sized hail after the fruit had set. The hail actually knocked some of the fruit off of the trees. After spring, however, things got incredibly dry, making it even less likely that the fruit trees would do well. So, I had expected a very small harvest this year (and I wasn’t disappointed). The largest pear harvest we’ve had was 975 pounds. This year the trees produced 300 pounds of standard sized fruit, or so I thought.

Our Luscious pears are generally quite small. However, they’re so incredibly sweet and juicy that they’ve become a favorite of ours. Normally, we leave these pears on the trees for later use. In order to can a pear, you must pick it just a tiny bit green, when the pear is still hard enough to survive the canning process. Pears used for juice, as our Luscious pears are, generally need to wait until they’re almost overripeat the absolute peak of sugar and taste. Consequently, I didn’t pay as much attention to the Luscious pears as I should have. The interesting outcome is that we now have standard sized pears on a tree that isn’t supposed to have them. The pears are between two and four times larger than normal.

PearSizeDifference

The upper pear is representative of what the Luscious pear as produced this year. The lower pear is what we get on most years. Not only is the top pear larger, it weighs three times as much as the lower pear. The difference is enough that we’ll be able to can the Luscious pears that are still green enough. In addition, the Luscious pear trees normally produce around 80 pounds of fruit. This year they produced 120 pounds of fruit, so we have a lot more fruit than I had originally thoughta total of 420 pounds.

In addition to the Luscious pear anomaly, the Parker pears produced well this year. Normally, we have fire blight problems with the Parker pears, but there was almost no fire blight at all this year because it was so dry. Trees that normally produce well, such as the Moonglow and Clapps, didn’t do well this year because of the dryness. The point is that you need a variety of trees if you want a good harvest every year. The trees also have to be compatible. If you check the links I’ve provided in this article, you’ll see that all of these trees require a pollinator tree other than itself. The Luscious pear is a male tree, while the other pears in the orchard are all female. All of them produce fruit, but to get an optimal yield, you need to have pollinators of the right type.

The lesson I keep relearning is that it’s essential to check everything before making a judgement. If I had picked the Luscious pears earlier this year, we would have had more fruit for use in pear chunks (minted, plain, or spiced). As things stand now, we’ll probably end up with juice for wine and drinking, some pear jam, and some additional pear sauce because the fruit is too ripe to use for pear chunks (something that our larder was lacking). Let me know if you have any questions at [email protected].


Fun is Where You Find It! (Part 3)

Anyone can create work, but it takes some effort to create fun at times. It wasn’t very long after we started becoming self-sufficient that I discovered there would be a time each year where I’d need to work full time at helping Rebecca preserve the food from our orchard and garden. Of course, most people turn such events into work. After all, you’re working relatively long hours lifting heavy things in high temperatures and humidity. This is coupled with the repetitive motions needed to peel fruit and mixed with a bit of boredom waiting for things to happen—at least, that’s what happens if you’re most people. We’ve turned the event into Harvest Festivala party of sorts that we have every year. It has turned into my second favorite week of the year, right behind Christmas week, which will always remain my favorite.

So, what makes this week so special? Well, it starts out with some special mugs and music. We use festive mugs during Harvest Festival that we don’t really use any other time of the year, except when we’re performing other food preservation tasks. In short, these mugs are special. The music is similarly special. Yes, we do listen to some of it at other times, but the collection as a whole is reserved for Harvest Festival. Rebecca also sets the mood with scented candles that give the house a warm feeling.

HarvestFestival01

There are also times where we’re waiting for something to happen. We could probably get other work done, but we’re already working pretty hard, so some fun is in order. Rebecca and I play an interesting sort of Backgammon called Acey-Ducey that I learned while in the Navy. It’s easy to learn and a lot of fun to play. The games are short, so you can play a number of them quickly. Because the game is a mix of skill and chance, no one has the corner on winning. Of course, we have to drink some apple cider while we’re playing.

HarvestFestival02

The festival begins by picking the fruit from our trees. In fact, the entire first day is spent outside at the fruit trees. Some of the fruit is quite high, so I have to use a fruit picker to get it.

HarvestFestival03

After the fruits and vegetables are in the house (or at least enough to get started), we’ll start processing it. Just how we accomplish that task depends on what we’re making at the time. Rebecca started this year with pear-sauce (think applesauce made with pears). We also made pear chunks, applesauce, apple chips, apple rings, apple jam, and a host of other fruit-related confections for the larder.

HarvestFestival04

Our “kids” get involved with Harvest Festival too. The dogs are especially fond of apple spaghetti, which is the long streamer of peel that comes off of the apple. Here’s Shelby enjoying some apple spaghetti.

HarvestFestival05

The kids are known to do all sorts of cute things during Harvest Festival. Sometimes they’ll sit with us; other times they’ll make strange noises or grab attention in some other way. Smucker decided that he was going to be extra cute to get snack from us.

HarvestFestival06

Bubba has decided that he really likes Reese’s kennel, which has Reese confused, but us laughing. We found Bubba in the kennel quite a few times during Harvest Festival.

HarvestFestival07

Because the stove is being used to process food, we don’t have any place to cook—at least, not in the house. I try to barbecue each day during Harvest Festival so we have special food as well. Normally, we don’t get any beef, but I decided to make some really thick and juicy burgers for us one day. There is also plenty of nibbling going on with all of the available fruit. Although we keep some fruit for fresh eating, I think we eat the most fresh fruit during Harvest Festival, which makes the week quite special for that reason alone.

The result of all our work is jar upon jar of food for the larder. One of my favorites this year is the pear chunks. Rebecca makes regular, minted, and spiced. They’re all different colors to make them easy to find on the shelves.

HarvestFestival08

This year we processed 500 pounds of fruit, 480 pounds of tomatoes, 72 pounds of chicken, too many zucchinis to count, and a variety of other items all in one week. The result is that our larder is looking pretty nice (this is just half of the shelveswe also have two freezers and dry storage areas).

HarvestFestival09

There is still more to process in the garden. The beans are drying at this point. We’ll also be digging potatoes soon. I’m sure the zucchinis will produce a little more and the winter squash needs to be picked. However, Harvest Festival is our big push for the season and we have a lot of fun getting the food from our gardens and orchards to the larder. If you’re planning on a self-sufficient lifestyle, you’ll probably find a similar need for a “big push” week at some point during the season, depending on what you grow. Let me know if you have any question at [email protected].


Early Spring – The Orchard and Bud Swell

A lot of books, magazine articles, and gardening aids talk about bud swell, but then don’t show you what it looks like. I imagine the authors think that its obvious as to when bud swell occurs, but most people really aren’t sure. Our orchard finally had bud swell this past week. Here is an example of the early beginnings of bud swell.

BudSwell01

Notice that the outer brown wrapping of the bud has broken, showing the green underneath, but that the bud is still tight. In other words, the bud has swollen. Now these buds are starting to get just a tiny bit past bud swell.

BudSwell02

These buds have completely broken out and they aren’t quite as tight as those seen in the other picture. Both pictures were taken on the same day, but they’re of different tree types. The first picture is of a Luscious pear, which blooms slightly later (about two weeks) than the Ure pear shown in the second picture. We use the Luscious tree fruit to make pear nectar (a kind of juice with lots of the fruit included), pear sauce, and wine. The Ure works better for pear chunks and pear butter. Most important of all, the Luscious and Ure pollinate each otherpear trees aren’t self fertilizing for the most part.

Many of the activities in the orchard hinge on bud swell. For one thing, you should stop any pruning at bud swell (at least, I always do to keep the trees from bleeding to death from larger cuts). This is also the time of year that I spray the trees with a lime/sulfur spray to control various diseases, including woolly mildew, a constant pest in our area. The lime/sulfur mix smells absolutely awful, stains clothing terribly, but it does do the job. It’s also not that terrible from an environmental perspective. We try to use green methods wherever we can to control problems with the trees. This spray probably isn’t the organic solution, but it’s also not something that’s going to poison the environment (at least, as far as I know). More on the trees later! Let me know about your early spring orchard activities at [email protected].