Dealing with Thin Shells

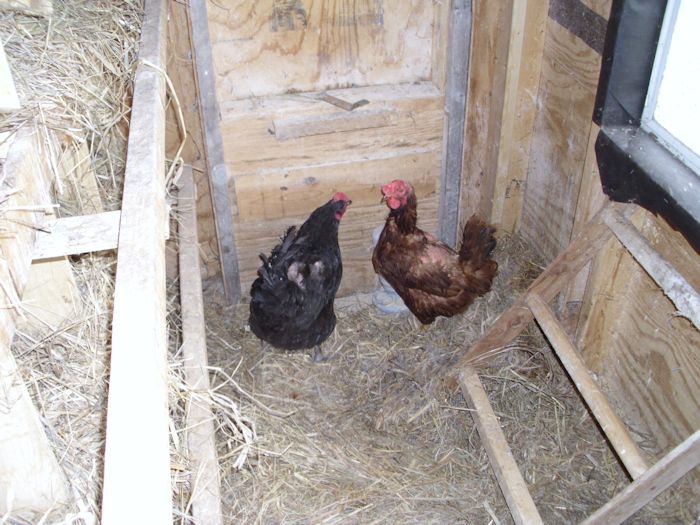
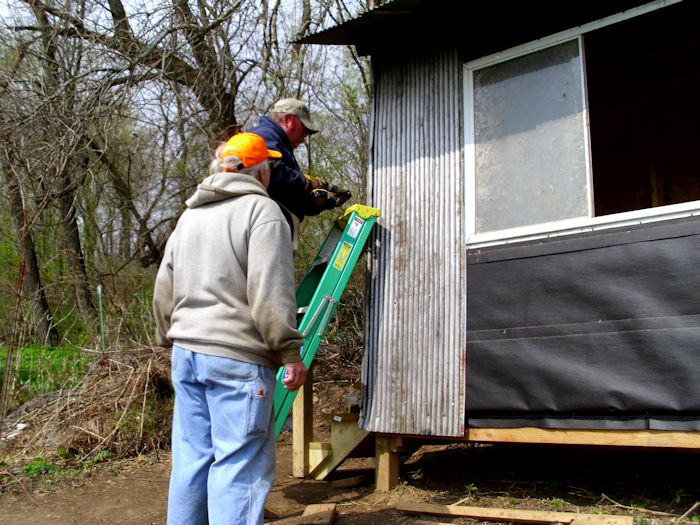
A while back I provided a post entitled Feeding for Healthy Chickens that described conditions where chickens could eat their own eggs. This post provides you with some good ideas on just what to do to prevent the problem in most cases. However, it seems that the post doesn’t go quite far enough. There are situations where the weather is cool, the chickens are perfectly healthy, and they aren’t eating their eggs when you’ll still see broken eggs in the coop. In this case, you see the whole egg and need to clean it up immediately. However, the defining characteristic of this condition is that the shell will be paper thin.

Chickens need sunlight, just like everyone else, to produce Vitamin D. In addition, chickens need quite a bit of calcium in their diet and it isn’t always easy to get them to eat enough. When you see that the chickens are healthy and that the weather isn’t too hot, but the shells are still thin, it’s a sign that the chickens likely have a Vitamin D or calcium deficiency. In this case, the thin shells came right after winter, so the problem was Vitamin D.

In order to combat this problem, you may need to resort to unusual measures. In order to fix this particular problem, I started feeding the chickens expired yogurt. No, the yogurt hadn’t gone bad yet, but it was far enough past the expiration date that it had started separating quite badly. The chickens won’t care. It turns out that chickens absolutely love yogurt and can’t get enough of it. Just make sure the yogurt you feed them is made with Vitamin D enriched milk or has the vitamin added to it.

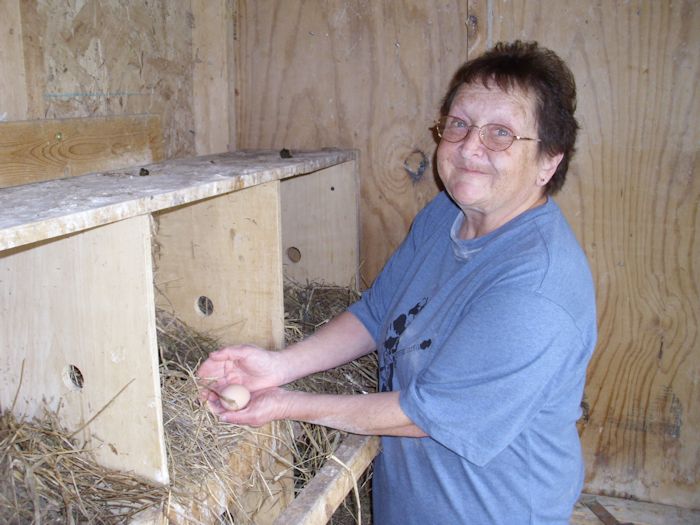
After some experimentation, I found that I could get the shells to harden up by feeding our ten chickens 1 cup of yogurt each day for about a week. Given that I have a cheap source for expired yogurt, I’ll keep feeding them yogurt on a regular basis, but not continuously. Part of the problem here is to ensure you get high quality eggs without cutting your profits too much. An egg shell should be relatively thick and smooth. When you start to see the egg shell getting thin and rough, it’s time for more yogurt.

There is a problem that can occur when you feed the chickens too much calcium. I’ve actually managed to get the shells thicker than they should be and that makes the eggs hard to use. If you like your eggs over easy or sunny side up, it’s important to maintain the correct egg shell thickness. Let me know about your egg production problems at [email protected].


Feeding for Healthy Chickens

It’s essential that you maintain close contact with your animals to ensure they remain healthy. Even if you do all of the right things, It isn’t always easy to maintain good animal health. This seems to be especially true with chickens.

We decided to start raising laying hens this year after building a new chicken coop from recycled materials (see the series of coop-related articles). At first the chickens were quite happy and produced eggs regularly. However, with the excessive summer heat, we noticed that their egg shells (not the inside of the egg) seemed to suffer. The eggs weren’t quite as smooth as normal and the shells were thinner.

We had given the chickens oyster shells to eat and they have access to a wide variety of plants and insects, so we thought we were covered. However, it turns out that the chickens weren’t eating the oyster shells and that the summer heat was severely draining their calcium levels—yet another effect of global warming. Because we were inexperienced, we missed some warning signs and the chickens actually began eating their own eggs.

After a lot of thought, we finally found some solutions to fix the problems with our chickens that may be helpful to anyone else who is encountering this problem. Here are the things we changed in our coop and our chickens seem a lot healthier now than before.


  • Place the water feeder where it won’t get dirty (after all, chickens are birds and will fly to the water).
  • Mix the oyster shells into the feed at a ratio of 9:1 to ensure the chickens get enough calcium in their diet.
  • Collect the eggs several times a day.
  • Remove any broken eggs from the coop.
  • Add a vitamin D supplement to the chicken’s water during high heat times when the birds are less likely to get the full amount of sun they require (if you don’t want to use the supplement, then give the chickens vitamin D enhanced milk).
  • Provide fake eggs in each of the nest boxes (the chickens will peck the fake eggs, find that they won’t break, and be less likely to peck the real eggs as result).


Things could have easily been worse. We didn’t lose any chickens this summer and they do all seem to weigh about as much as they should. All of the chickens have remained active. We also didn’t make a few of the mistakes that novices can make, such as feeding the chickens raw eggs or eggshells (which will encourage the chickens to eat their own eggs). Even so, as with everything else we’ve done so far, this summer has been a learning experience and I expect that we have more to learn as we move forward.

Making sure your chickens have access to a variety of greens and insects is an essential part of raising healthy birds. However, there is more to it than that and unfortunately, chickens don’t come with a manual. You may find that you need to work with individual birds to get the most out of them. Let me know your thoughts about raising chickens at [email protected].


Adding Chickens to the Coop

The coop is essentially finished. You saw the finishing touches in the Covering and Completing the Chicken Coop post. However, there are still some things to do. For one thing, I need to level out the ground on the side of the coop to make it easier to get inside on winter days. The inside still needs to be wired and I have to paint the outside. Still, the coop is ready for occupancy.

I also need to provide some sort of shelter for the chicken food, so that it doesn’t get wet. The food is currently in a 32 gallon trash can (which performs remarkably well). We’ve found that we need to use the brute strength trash cans to keep animals at bay. The domed lid works best in this case because it sheds the water really well. It’s a mistake to get a trash can with wheels because dumping the 100 pound bags of feed into them is nearly impossible without dumping at least some of it on the ground. (Even though our chickens will feast on grass, bugs, and other sources of food outside, we still need to provide a certain amount of feed consisting of oyster shell, grains, and grass hay.)

As I previously mentioned, we’ll get chicks for the coop on June 25th. Until then, it would still be nice to get something for our efforts, so we bought two laying hens from a friend of ours. Both produce nice brown eggs. The first is a Rhode Island Red (Rose) and the second is a Black Australorp (Violet). A rooster had picked at the two birds a bit before we got them, but except for missing a few feathers, they’re really nice birds.

ChickenCoop0901

Our chickens started laying eggs almost immediately. In fact, we received our first egg from Violet the first evening we had her.

ChickenCoop0902

Both of our ladies have been raised in the free-range manner, so we’re already receiving the benefits of free-range eggs. There is some discussion on precisely what these benefits are, but most of the places I’ve researched agree that you get these benefits over eggs raised using production methods (chickens in a cage):


  • 1/3 less cholesterol
  • 1/4 less saturated fat
  • 2/3 more vitamin A
  • Two times more omega-3 fatty acids
  • Three times more vitamin E
  • Seven times more beta carotene


Some sites also say there is a potential calcium and vitamin D benefit. Whether all of these benefits are real or not remains to be seen. However, the egg yolks are significantly more orange than the eggs we’ve purchased from the store and the eggs taste better, so there is some difference.

In addition to these two chickens, we’ll get a mix of chickens that we’ll raise from chicks. Our brood will include:


  • Four Buff Orpington (great meat birds, cold hearty, and produce copious large eggs)
  • Four Delaware (even better meat birds, cold hearty, lay well during the winter, and produce jumbo eggs)
  • Two Americana (smaller food requirement, extremely cold hearty, produce copious colorful medium size eggs)

We used a number of sources to make our decision on which chicken breeds to get, including Henderson’s Chicken Breed Chart. We also asked people who are actually raising these breeds of chickens whenever possible about how they fared.

You might wonder why we didn’t get any Leghorns. After all, the production places use this sort of chicken. The problem with the Leghorn is that its comb will freeze during the winter months and the small weight size makes it necessary to heat the coop. We were warned away from this particular breed by more than a few people who raise chickens in the same way that we intend to raise chickens. Sometimes too much help from technology isn’t a good thing.

You may also wonder why we didn’t get just one breed. There are several reasons. First, having multiple breeds makes the chickens more fun. We want a colorful coop. Second, each of the chicken breeds has different qualities to recommend it. For example, we don’t want all jumbo eggs, but we do want a few for eating purposes. In addition, we don’t like a mono-culture of anything, including animals. Mono-culture environments invite disease and other problems. So, we have a colorful coop that should serve us well. I’ll post updates as time permits to tell you how our new coop is doing. Please let me know if you have any questions at [email protected].


Covering and Completing the Chicken Coop

In the previous post, Bending Corrugated Roofing, you saw how to bend the corrugated roofing material. We’re actually using this material to cover every part of the chicken coop because its strong and, in this case, free. The material will eventually require painting, but for the moment, it provides a durable covering that should withstand just about anything. The covering process begins with the roof as shown here.

ChickenCoop0801

The roof sections overlap by one ridge and valley pair to provide continuous protection. You use special corrugated roofing screws to secure the corrugated roofing in place. Each screw is self-tapping. In addition, there is a rubber washer to seal the hole made by the screw. It’s important to put the screws into the ridges, not the valleys, of the corrugated roofing to allow unimpeded water flow. Notice that the roof part overhangs. This addition provides some protection for the window, just in case it’s left open during a storm.

The back section pieces are all bent to provide coverage for the fascia. They provide a slight overhang as well because they need to cover the soffit pieces that are installed later. Here’s how the back looks. Notice the window that I mentioned earlier. It’s near the top of the coop to provide good ventilation during the summer months. The window seals tightly to keep the heat in during the winter months.

ChickenCoop0802

We worked on the sides next. When it came time to complete a corner, we made the piece a bit long and bent it around the corner. That way, the two pieces of corrugated roofing overlap and provide good protection as shown here.

ChickenCoop0803

We worked around the building, overlapping the roofing material on the sides and then we realized that all sides were also in need of corrugated roof sheets to prevent the water from getting inside the building. Besides general hardware stores, these roof sheets can also be purchased online from Foregale or other related e-shops. .

The bottom pieces came first, and then those above, so that water flowing down the sides won’t get under the roofing. The soffit pieces came last. Working around the windows was time consuming, but we eventually got the task done.

ChickenCoop0804

The next step was to install the nest box assembly. It’s the same nest box assembly used in the original coop. There are 15 nest boxes. Outside each nest box is a roost for the chickens to get in and out of the nest box easily.

ChickenCoop0805

On the other side of the coop are places to put the feeder, waterer, and oyster shell feeder, along with a small roost. Your chickens will need the oyster shells or some other source of calcium carbonate, especially if you plan to let them forage outside, as we will. Chickens don’t naturally eat layer mash; they naturally eat bugs, grass, and other odd assorted natural items that don’t contain the calcium carbonate they need. Because we want to let the chickens eat as many natural items as they’d like, we provided space for both layer mash and calcium carbonate, which gives the chickens choice of what they want to eat. The result should be better quality eggs (with dark orange yolks) with strong shells.

ChickenCoop0806

Notice the door at the side of the coop. This door leads to the chicken run outside. The last part of the building process is to fence in the chicken run. The chicken run has a ramp to make it easy for the chickens to get out of and into the coop as needed. There is also a large roost outside so that the chickens can rest off of the ground and still enjoy the sunshine. The ramp has little bars on it to provide a foothold for the chickens.

ChickenCoop0807

In order to make the chickens comfortable and ensure they have plenty of interesting things to eat, we allocated 20 square feet per chicken in the run. That may not prove large enough. I’ll track how the ground cover does after a month or two and may increase that to 30 square feet per chicken. The point is that the chickens will have plenty of space in which to run around. We’ll keep the run shoveled in the winter so that the chickens can come out unless the weather truly is horrible.

The coop is finally finished and ready for occupancy. We were originally going to raise all of our layers from chicks. However, I decided to surprise my wife with a couple of hens so we can start enjoying the fruits of our labors now. Next week we’ll talk about the inhabitants and the chicks that will arrive on June 25th to complete our coop. In the meantime, let me know if you have any questions at [email protected].