
At the end of my post about the chicken coop last week (see Moving the Chicken Coop Parts), we had moved all of the required components to our house from wherever they were stored at the time. After we found a few discount chicken coops, it was time to start putting the chicken coop together, which meant clearing a spot for it and building a foundation.
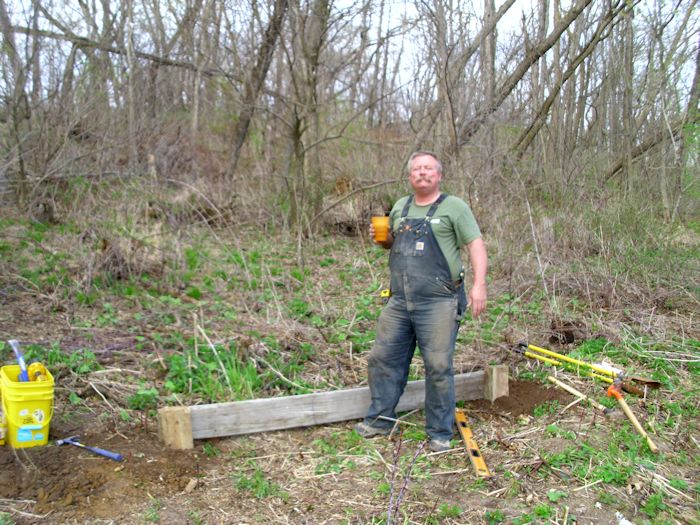
The place where Rebecca and I live is absolutely gorgeous, but also completely devoid of anything approach flat. So, finding a place to put the chicken coop was less a matter of space and more a matter of finding something flat enough to use. In addition, the place had to be close enough to the house to feed the chickens in winter (putting it out in the middle of the orchard would have been a bad idea) and also close enough to the compost heap to make clearing the chicken coop of waste matter easy. With all of these factors in mind, I cleared as much brush as possible from the location next to the compost heap. The chicken coop is now on the right of the compost heap, while the rabbit cages are to the left.
To keep the chicken coop from sliding off into oblivion, we started by digging two post holes and adding a board between them.
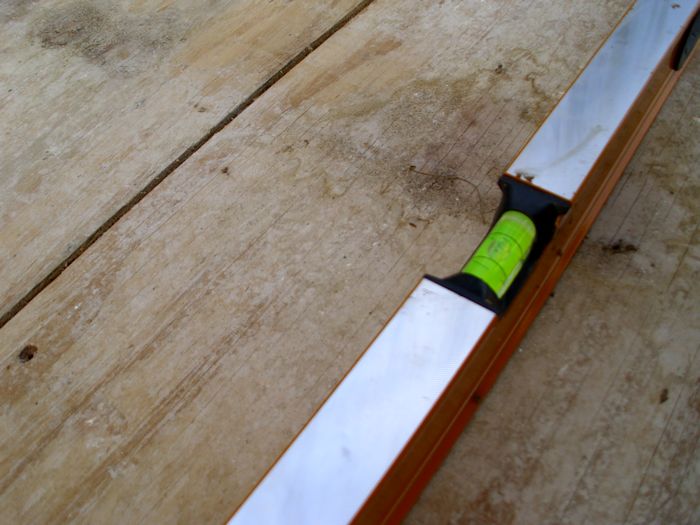
After making sure this starting point was completely level (despite the fact that things looked quite uneven due to the unevenness of the terrain), we added two more posts, one at a time. All four posts were tied together with boards and made level. After that, we started adding two additional boards in the center to reinforce everything as shown here.
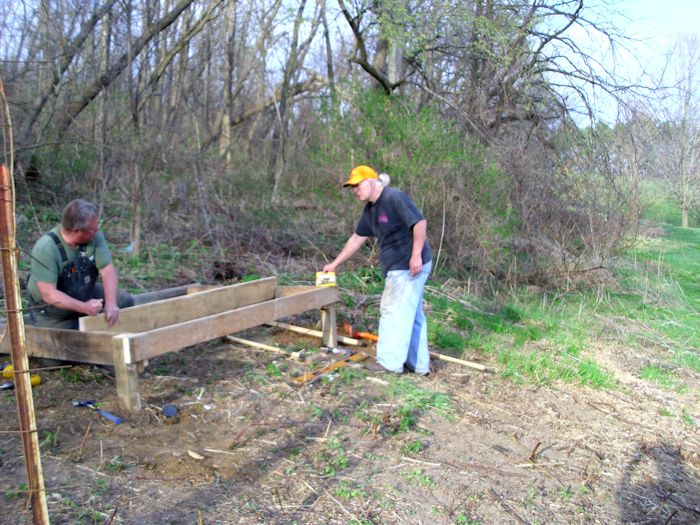
Make sure everything is even and well-secured is important. We took the time to check and double check everything at this point.
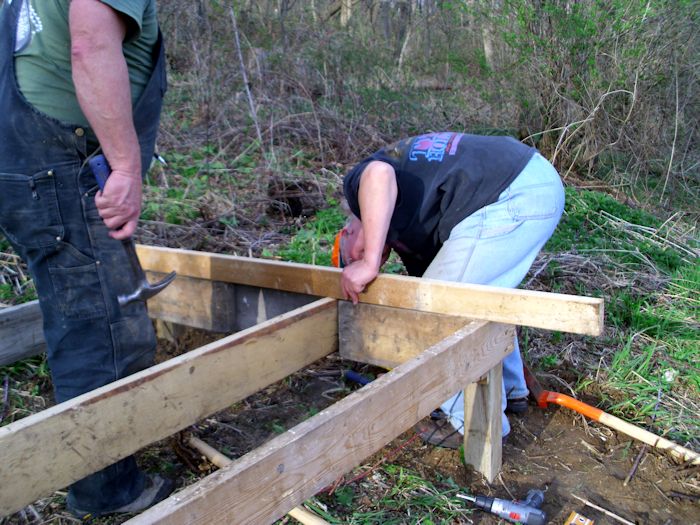
The posts we’re using are pressure treated 4 X 4 stock. The joists and other framing members are 2 X 6 stock. All of this lumber was recovered from the old chicken coop. In a few cases, we not only had to remove old screws or other hardware, but also clean the stock before we could use it.
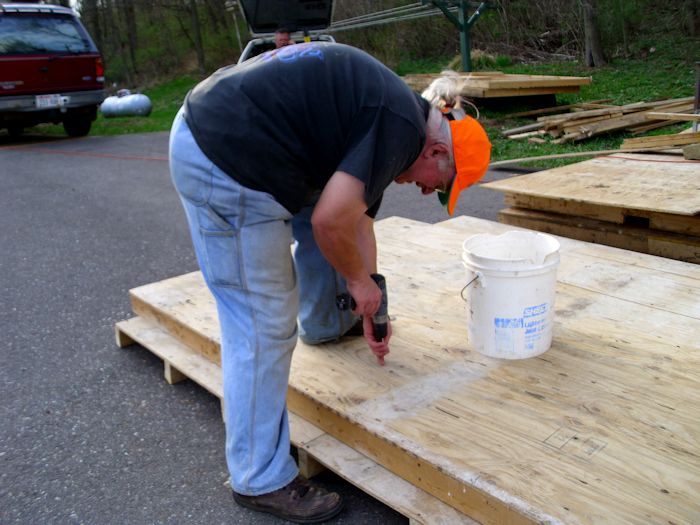
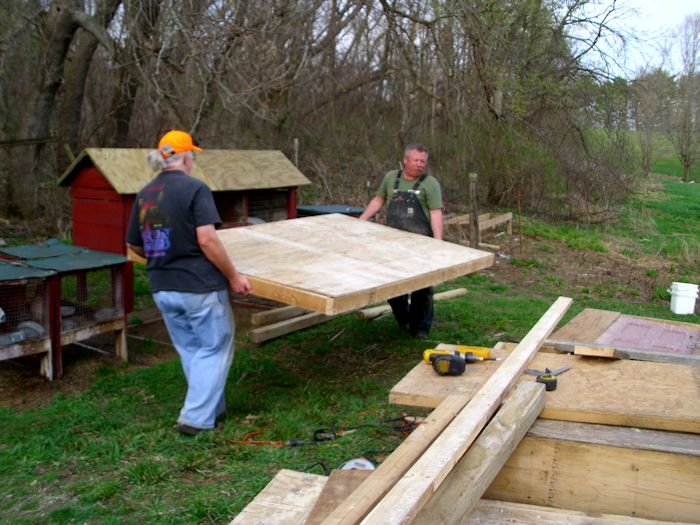
We had actually built the floor from a piece of existing wall used in the old chicken coop. Keven made a few changes to the wall design and strengthened it, but the floor was moved intact from the existing site to its new home. Floor space is important for good chicken health. The chicken coop will eventually hold ten chickens and we allowed 4 square feet per chicken inside the coop. (The chicken run allocates an additional 20 square feet per chicken.) Because the floor will take a lot of abuse, we used a double layer of 1/2 inch exterior grade plywood for the floor. The second layer was screwed on at 90 degrees to the first layer right before we moved it to the foundation.
The floor framing is 2 X 4 stock, but it’s heavily reinforced. Once the floor was ready, we moved it to the platform we had built earlier.
With the floor in place, we secured it to the platform. Of course, the final check was to make sure everything was still level.
The next step is to start putting up walls. We’re going to build them in place and move them in whole sections as well. You’ll learn the details in next week’s post. In the meantime, let me know if you have any questions about this phase of building the chicken coop at [email protected].