
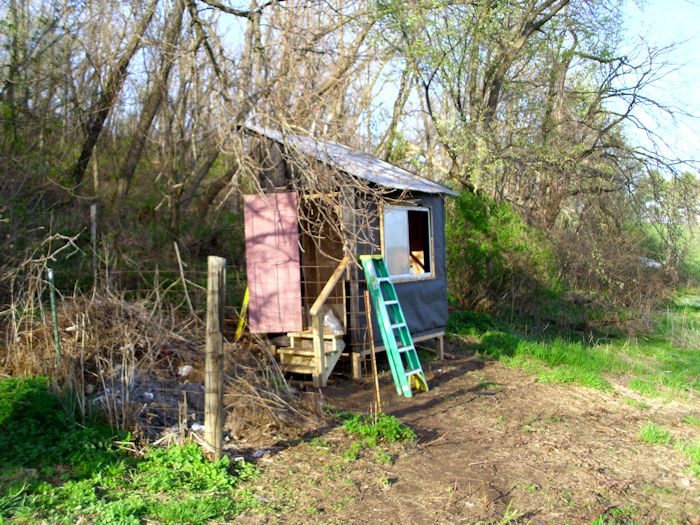
In the previous post, Bending Corrugated Roofing, you saw how to bend the corrugated roofing material. We’re actually using this material to cover every part of the chicken coop because its strong and, in this case, free. The material will eventually require painting, but for the moment, it provides a durable covering that should withstand just about anything. The covering process begins with the roof as shown here.
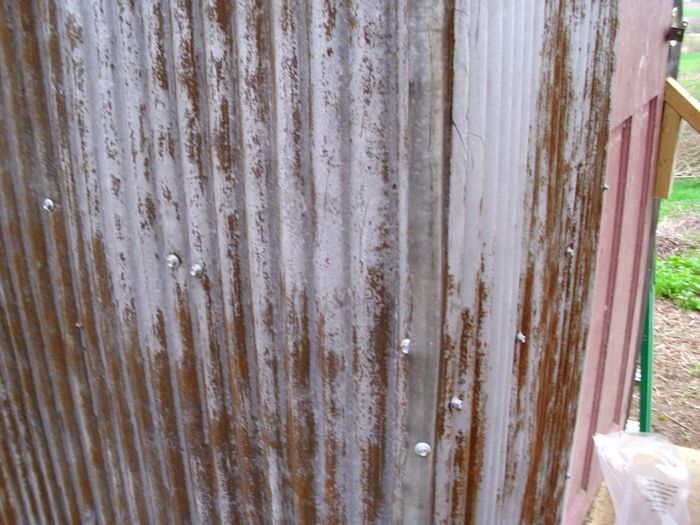
The roof sections overlap by one ridge and valley pair to provide continuous protection. You use special corrugated roofing screws to secure the corrugated roofing in place. Each screw is self-tapping. In addition, there is a rubber washer to seal the hole made by the screw. It’s important to put the screws into the ridges, not the valleys, of the corrugated roofing to allow unimpeded water flow. Notice that the roof part overhangs. This addition provides some protection for the window, just in case it’s left open during a storm.
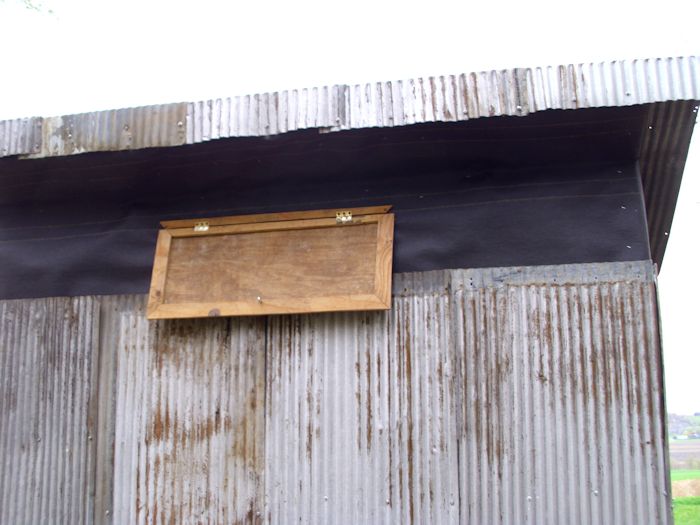
The back section pieces are all bent to provide coverage for the fascia. They provide a slight overhang as well because they need to cover the soffit pieces that are installed later. Here’s how the back looks. Notice the window that I mentioned earlier. It’s near the top of the coop to provide good ventilation during the summer months. The window seals tightly to keep the heat in during the winter months.
We worked on the sides next. When it came time to complete a corner, we made the piece a bit long and bent it around the corner. That way, the two pieces of corrugated roofing overlap and provide good protection as shown here.
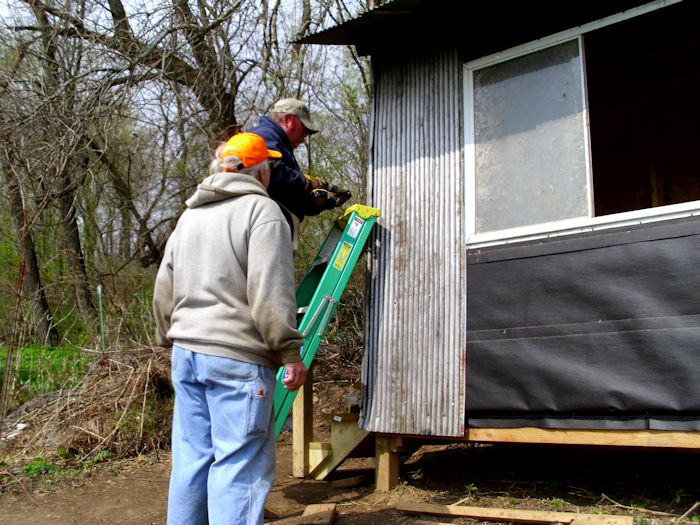
We worked around the building, overlapping the roofing material on the sides and then we realized that all sides were also in need of corrugated roof sheets to prevent the water from getting inside the building. Besides general hardware stores, these roof sheets can also be purchased online from Foregale or other related e-shops. .
The bottom pieces came first, and then those above, so that water flowing down the sides won’t get under the roofing. The soffit pieces came last. Working around the windows was time consuming, but we eventually got the task done.
The next step was to install the nest box assembly. It’s the same nest box assembly used in the original coop. There are 15 nest boxes. Outside each nest box is a roost for the chickens to get in and out of the nest box easily.

On the other side of the coop are places to put the feeder, waterer, and oyster shell feeder, along with a small roost. Your chickens will need the oyster shells or some other source of calcium carbonate, especially if you plan to let them forage outside, as we will. Chickens don’t naturally eat layer mash; they naturally eat bugs, grass, and other odd assorted natural items that don’t contain the calcium carbonate they need. Because we want to let the chickens eat as many natural items as they’d like, we provided space for both layer mash and calcium carbonate, which gives the chickens choice of what they want to eat. The result should be better quality eggs (with dark orange yolks) with strong shells.
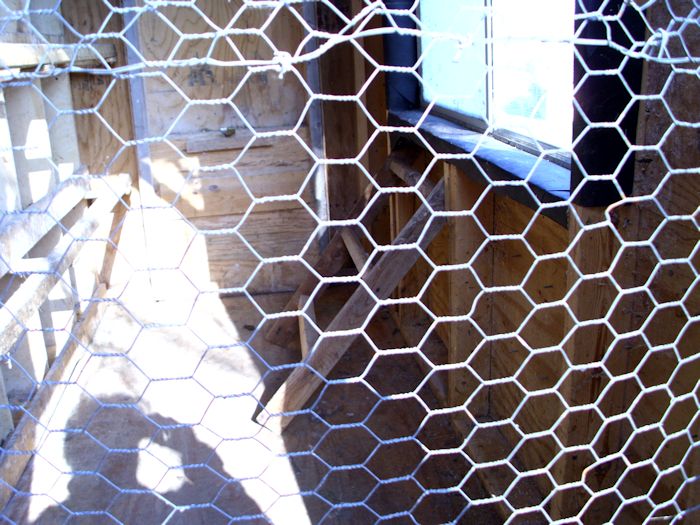
Notice the door at the side of the coop. This door leads to the chicken run outside. The last part of the building process is to fence in the chicken run. The chicken run has a ramp to make it easy for the chickens to get out of and into the coop as needed. There is also a large roost outside so that the chickens can rest off of the ground and still enjoy the sunshine. The ramp has little bars on it to provide a foothold for the chickens.
In order to make the chickens comfortable and ensure they have plenty of interesting things to eat, we allocated 20 square feet per chicken in the run. That may not prove large enough. I’ll track how the ground cover does after a month or two and may increase that to 30 square feet per chicken. The point is that the chickens will have plenty of space in which to run around. We’ll keep the run shoveled in the winter so that the chickens can come out unless the weather truly is horrible.
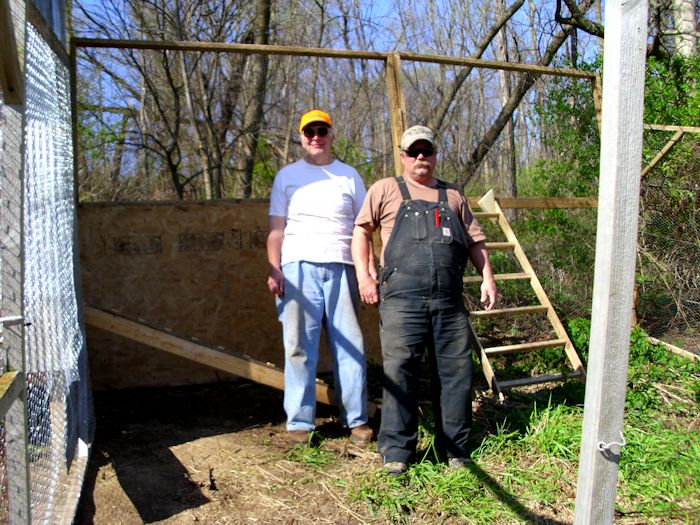
The coop is finally finished and ready for occupancy. We were originally going to raise all of our layers from chicks. However, I decided to surprise my wife with a couple of hens so we can start enjoying the fruits of our labors now. Next week we’ll talk about the inhabitants and the chicks that will arrive on June 25th to complete our coop. In the meantime, let me know if you have any questions at [email protected].