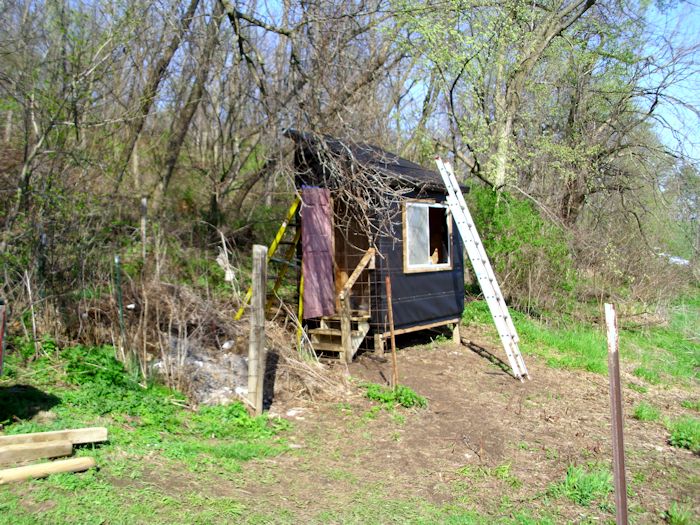
Last week you saw the roof raised on the chicken coop (see Raising the Chicken Coop Roof). There are still a number of steps to accomplish before the chicken coop is ready for occupancy. This week, you’ll see some of the finishing steps performed to make the chicken coop more habitable before adding the exterior treatment.
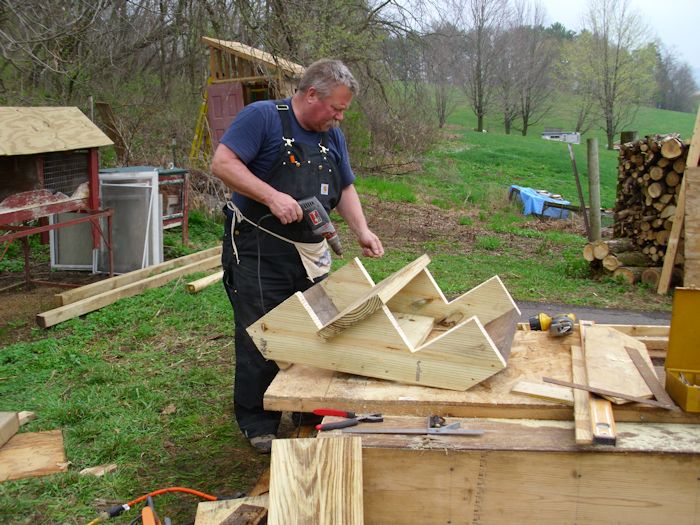
Of course, one of the more important tasks is to create a set of stairs to get into the coop. As things stand now, you need mighty long legs to get into the coop. Kevin puzzled over the dimensions of the stairs for a while and then came up with steps with a 7-inch rise.
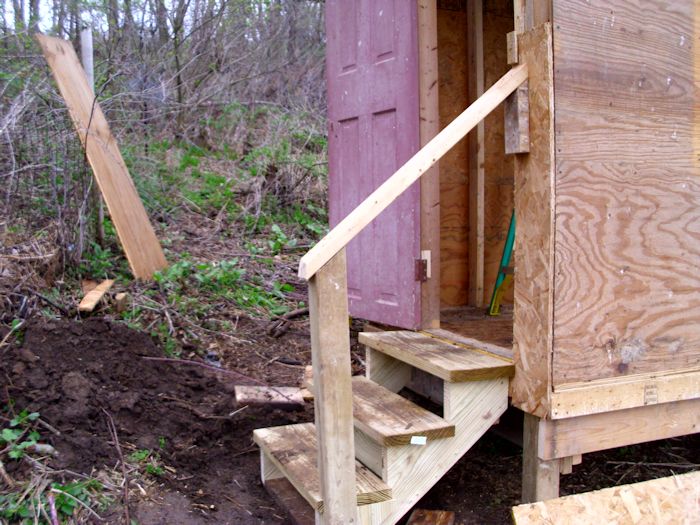
This is one of the only places where we used new wood, partly because we didn’t have any wood the right size. The stringer (the part that goes from the top of the coop to the ground and holds the treads) has to be strong enough to hold up under the conditions in which it will be used. We relied on pressure treated lumber in this case because it’s the best option available in this case. The stairs rely on 8″ treads. As you can see from the picture, there is a back support for strength.There aren’t any risers in this case because they would probably get in the way during the winter when trying to clear the treads of snow. After the steps were finished, we put them in place.
To make things safer, Kevin also added a handrail and post. In order to get the steps to fit properly, I needed to level the ground out, which required a bit of digging. The black earth shown in the picture will be added to the garden. At some point, I’ll even things out more and add some gravel to create a non-slip pathway for the winter and wet days. The stairs will receive a coat of primer, and then a coat of non-skid paint. To then make the whole thing look a little nicer for the future we’ll probably end up looking at metal trim colors to trim the different wood components with. Once the project has been completed, it shouldn’t really be looking the same as what we started with at all!
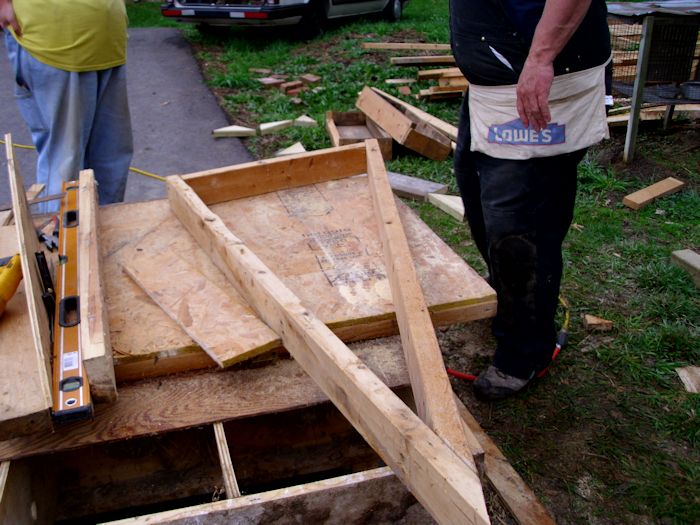
Remember that the roof is at an angle and the ceiling joists are flat. So, there is currently no way to nail any sort of cladding to the exterior of the coop. In order to provide a nailing surface, Kevin and I both built triangles to fit into the space between the ceiling joist and the roof like this one here (Kevin’s is much better than the one I created, but he also has a lot more experience than I do).
We each added a couple of studs to the triangle to make it easier to nail things in place. The coop also requires a window. The coop we took down had three windows, so we chose the best looking of the three and used it for the new coop. The window required a little work, but it now slides as it should and will provide both light and ventilation for the chickens.
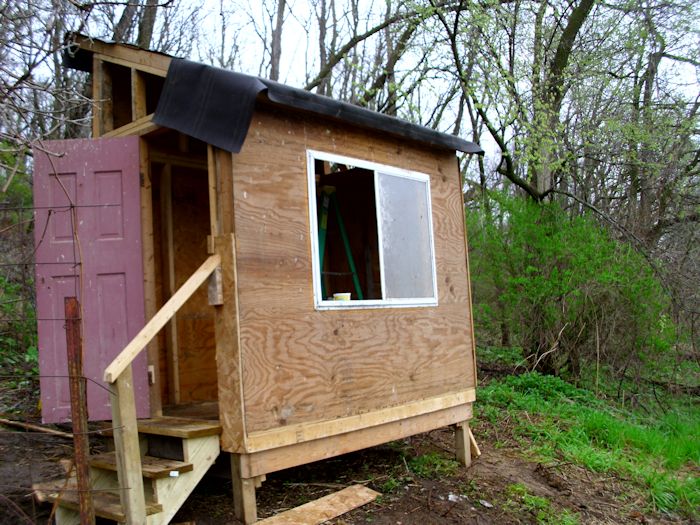
Kevin had also gotten up early this particular morning and put the tar paper on the roof. Actually, the coop isn’t quite ready for tar paper yet. We’re still putting the cladding in place. Most of the cladding is plywood that we obtained from the old coop. In a few places, we also used oriented-strand board (OSB) because the old coop had plenty of it as well.
One of the items that I managed not to get a picture of is the window in the back of the coop. We put on up near the top of the coop in the extension used to hold the roof in place. You’ll see a couple different pictures of this addition later in the process. For now, just keep in mind that we built a window back there to allow cross flow during the summer months. The window seals tightly during the winter months to help keep things warmer in the coop.
Once we got all of the cladding in place, it was time to complete the tar paper. We used staples to hold the tar paper in place. When putting the tar paper on, you start at the bottom and move up. That way, the overlaps work with gravity to keep water from getting under the tar paper. The completed coop looks like this:
Next week we’ll take a bit of a sidetrack. The coop is eventually going to be completely covered with corrugated metal, similar to the best metal buildings maryland has to offer. Who knows, as my collection of chickens grows, I might just have to buy a much bigger space for them! The long lasting covering will never require replacement and will help keep the coop daft free. Unfortunately, we needed to bend the corrugated metal, which is easier said than done. You’ll learn the technique we used to accomplish the task. In the meantime, let me know if you have any questions about this stage of the coop building process at [email protected].

