
Welcome to Day 31—the best day of the process  . The previous post, Making Wine – Day 28, described how you can clear your wine. At this point, your wine should be clear. It may not be pristine, but you shouldn’t see more than a few particles here or there. If you see a bit of pectin haze, you probably won’t be able to clear it easily at this point and will need to amend your recipe to obtain better results in the future. However, if you’re seeing more than a few particles, wait a few additional days before bottling. If the particles don’t clear up in two or three more days, you might want to repeat the Day 28 processing. Professional wineries actually have a filtering system they use to improve the clarity of their wine—the home wine maker has only time and technique to rely upon.
Assuming that your wine is clear, you’ll want to sterilize enough bottles to hold it. A single gallon container will normally provide four bottles of wine, plus a little leftover. These dregs are usually drinkable as long as you don’t pick up too much sediment, but you don’t want to bottle them. Choose good quality wine bottles. The type with the screw top don’t hold up well and you could even break the bottle during the corking process. Use the one-step sterilizer to wash the bottles and make sure you get any sediment out of the bottles. It helps to have a bottle brush designed specifically for wine bottles.
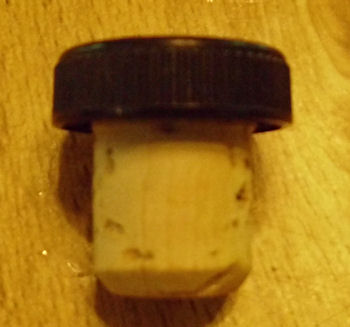
Before you can bottle your wine, you need to have a supply of corks and a corker. Many kits come with tasting corks that are absolutely worthless for storing your wine. These corks are probably good for three or four months worth of storage in optimal conditions and look like this:
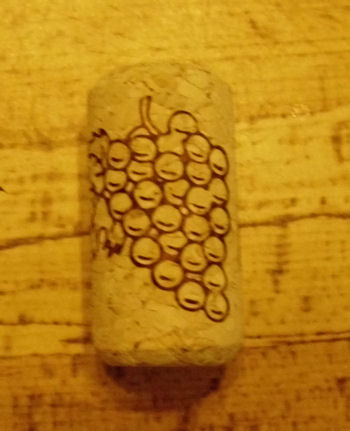
What you want instead is an actual wine cork that looks like this:
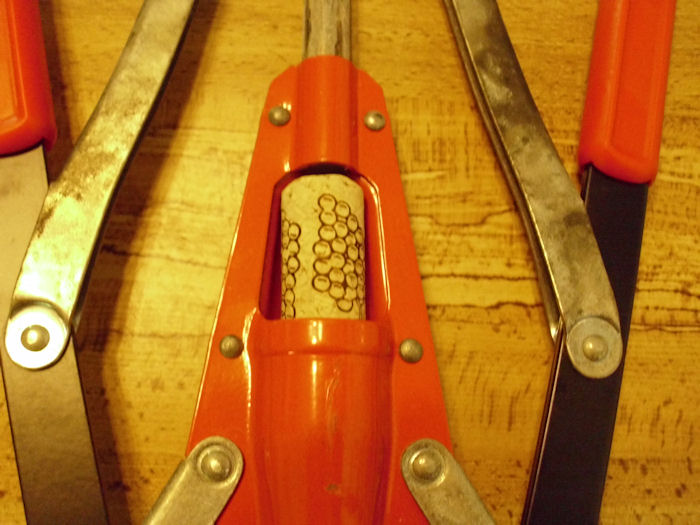
You can find them in several sizes and in a number of materials. My personal preference is actual cork, but I know of many people who are able to use the plastic corks with good results. It’s essential to choose a cork that fits the bottle you use—a #8 cork fits the standard bottle used by wineries and normally found in kits. You may have to use a different size if you choose to store your wine in a 1.5 liter bottle. The choice of cork determines the corker you use. Even a cheap floor corker (required to use anything larger than a #8 cork) will cost you a small fortune. That’s why I chose standard sized bottles, the #8 corks, and a Portuguese twin lever corker that looks like this one:
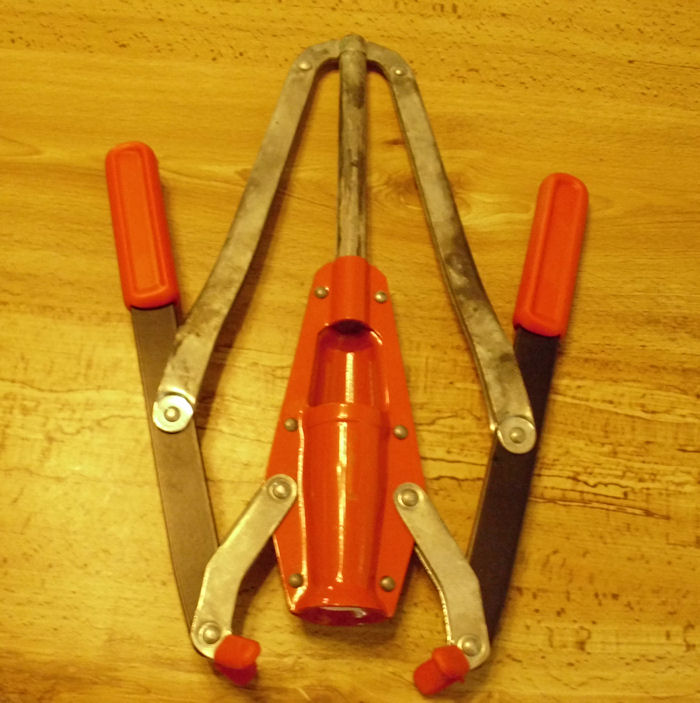
The problem with this corker is that it does require a fair amount of arm strength to use. Some people much prefer the Gilda compression hand corker, which is moderately priced and requires about half the strength, or a bench model corker, which is whopping expensive and requires even less strength to use. The kind of corker you get is also dependent on how many bottles you plan to cork. Since I only make 2 gallons at a time, I get by corking 8 bottles and using the corker that I do works fine.
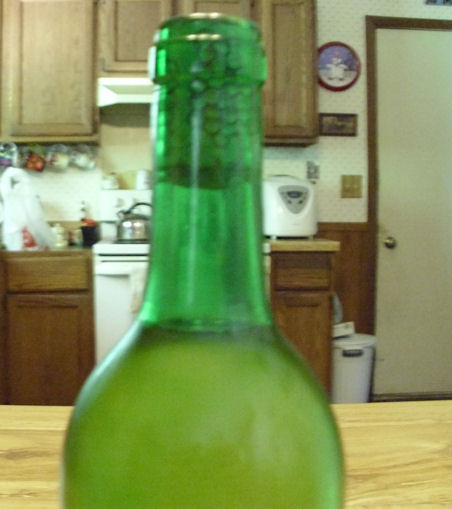
A problem that many new wine makers encounter is overfilling the bottle. If you overfill the bottle, you’ll find it nearly impossible to cork. In addition, the cork won’t seat fully (making spoilage more likely). It’s even possible that you could crack the bottle; although, I’ve never personally had this happen. Use the racking technique described on Day 10 to fill the bottles right to the point where the neck and shoulder meet like this:
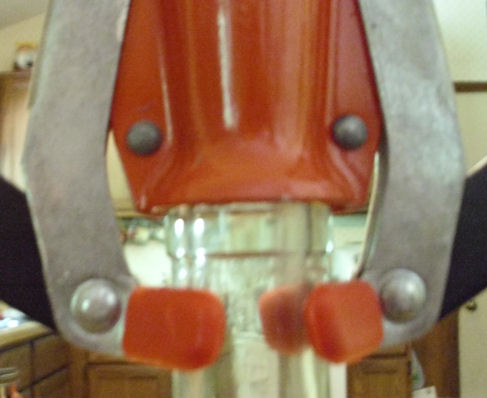
After you fill the bottle, insert the cork into the corker. Normally, the corker will have a slot you use to load it as shown here:
When you place the corker on the bottle, make sure it sits squarely and fully on the bottle top as shown here:
Push down on both handles (or on the single handle as determined by your corker) with an even, steady pressure. Eventually, the cork will seat properly and fully in the bottle. At this point, you can label your bottle and dress it up a bit (if desired). Even though your wine is drinkable at this point, you’ll normally wait three to six months for it to continue mellowing and settling. Store your wine in a wine holder designed to keep the cork wet in a cool, dry place. That’s it—you’ve completed the wine making process in a mere 31 days! So, are there any questions about day 31? Let me know at [email protected].
This post ends my basic series of posts about wine. Of course, there are all kinds of other topics I can cover. Let me know if you have a personal preference on what I discuss next in this blog.